
168澳洲幸运5开奖网:Destiny 2: The Final Shape is the climatic finale of the ten-year Darkness vs. Light saga – an epic battle between 🌼the Traveler's forces o🦹f Light and The Witness' Black Fleet.

Destiny 2: The Final 🍌🧜Shape - Still Hunt Exotic Quest Guide
Still Hunt lets any class wield the power꧟ of the Hunter's Golden Gun. Here's how to get it.
With so much on the line, you'll need new powers to counter the powerful forces of Darkness. If you want to defeat The Witness in the Salvation's Edge raiꦑd, you must expand your mastery over Light and Dark through the new Prismatic subclass. Follow this guide to complete Transmigration and bask in the power of Prismatic.
How To Cross The Threshold In Transmigration
Transmigration will set the stage for the rest of the campaign, so prepa⭕re for a wi𝓀ld ride.
Approach The First Darkness Well
Fight off the Taken and defeat the Will-Crushed Centurion, who will drop an Icon of Light.
Pick up the Icon of Light, then return to the Darkness Well and shoot the relic to activate it, revealing the real path.
This will be a repeated mechanic during Transmigration, as there are 168澳洲幸运5开奖网:plenty of shields to bypass in The Fi🍷nal Shape.
Cross the platforms that appeared after activating the well. Continue forward until your path is blocked by a Darkness barrier.

Shoot the floating Darkness switches around the barrier to deactivate it.
Continue past the barrier and up the broken floating pathway to the right.

Along the path, Tangling Weavers, a new enemy in The Final Shape, will spawn.
Be careful to avoid the Weaver Strand attacks that can pull you off the edge of a platform.
Ascend the path and break a small barrier at the top. The last switch is up and to the left of the barrier.

You'll enter an open arena with another Darkness Well off to the edge on the right side.
Put down a rally flag to refill your ammo, then move forward to spawn the Taken enemies.
Activate t൲he Darkness Well to reveal the im🐲agined path, then hunt down another Will-Crushed Centurion to gain its Icon of Light.
You'll need to deactivate another barrier to access the Darkness Well. Shoot the switches nearby, with one floating off the edge.

Activate the Darkness Well again to make the path real and advance into the monolith.
You'll enter a large open area where a group of Taken will spawn.
Once you defeat this first spawn, a second group of Bound enemies with Prismatic shields will appear – ignore them and run past, following the marker.
Follow the path to the right and go upwards, then fight off another spawn of Taken at the top of the path.

Here, you'll reach yet another 𒅌set of platforms with a Darkness Well that can reveal the path forward.
Repeat the same process of hunting down the Will-Crushed Centurion, deactivatin꧃g the shield around the Darkness Well, and revealing the real path by shooting the Darkness Well with an Icon of Light acquired.
There are two switches off the edge here, once closer to the first Ce𝓀nturion opposite the Darkness Well, and a second switch closer to the Darkness Well.

Follow the real path upward, then collect a reward chest at the end of the path.
From the chest, peek around the corner to the right, and you'll see a series of platforms leading to your destination.

Ignore another set of Bound enemies here. You cannot defeat them yet. Run toward th🧜e distance and get swept up into the Threshold with help from Mara Sov.
Sit back and enjoy the cutscenes while the second portion of the mission begins.
What To Do After You Cross The Threshold

Once the cutscenes ๊wrap up, you'll be beckoned to "Come and See".
Follow the path forward as new platforms illuminate before your eyes and pass through a cave to drop into The Lost City, Outskirts.

Explore the area, and you'll come across a spectral bird – follow its flight path as it fades from existence.
Head up 🏅the cliff side into a door that resembles architecture from The City, and you'll reach a clearing with a new enemy.

The Resonating Grims are another new flying ene🦂my introd💙uced in Destiny 2: The Final Shape.
Keep your distance; the Grims can scream and inflict y💯ou with the Tinnitus debuff.
Fight past the Grims until you reach a barrier that blocks your path.
In this area, you'll encounter a Harvester of Light wizard you must defeat. Take the wizard's Icon of Darkness and defeat the rest of the Taken that spawn.
Approach the Prismatic Wellspring t▨o the left side of the room to Transcend for the first time, allowing you to damage Bound enemies by breaking their shields.
Defeat the Bound enemies that spawn, then exit the room through a gate on the left side (from the entrance).

Follow the path along the roofs as the spectral bird guides your way.

Once you arrive in the main open area, there will be a large spawn of Tangling Weavers; defeat them, then follow the bird's path to a marker on the right side (from the entrance).

Defeat the enemies that spawn here, then use the Prismatic Wellspring to Transcend and defeat the Light Harvester Wizard in this area, claiming its Icon of Darkness.
Backtrack and fight your way back to the barrier door in the center room, then bank the Icon of Darkness to remove one of the locks on the door.
This will trigger another large group of spawns and require you to repeat the process, this time on the left side of the room.

Once you return to the middle area again, defeat the Ogre called the Icon of Finality and bank the second Icon of Darkness to remove the final barrier in your way.
Collect the chest here, then head through the door, progressing to the left, ascending to the next area.
You'll find yourself in the old Vanguard command center in the Tower from the original Destiny.
Approach the Prismatic Wellspring and commune with it, which allows you to unlock the Prismatic subclass.
Inspect your new subclass before you 𒈔continue forward.
Follow the tunnel behind the Wellspring to move deeper into tꦛhe tower, eventually💛 reaching the courtyard.
Put down a rally flag and prepare for a fight.
Once you step forward far enough, a group of Taken enemies will spawn, followed by a second batch of Bound enemies you must Transcend to defeat.
Once those groups are defeated, the real fight will begin.
Defeat Vrihn, Subjugator of Gardens
Vrihn is a powerful Subjugator boss wh🐼o has plenty of health, mobility, and enough damage and abilities to decimate your shields in a second.
The most important thing here is to keep your distance from Vrihn, ideally using the cover around the tower 🧸to keep something between you and this Subjugator at all times.
Vrihn can suspend you using Strand, then attack you freely with a s𝐆plit staff attack that can simultaneously hit you with multiple projectiles.
Clear out each enemy spawn before focusing on Vrihn, as the arena i෴s difficult to navigate while enemies attack from all sides.
A new spawn of enemies will appear for every 33 percent of Vrihn's HP gone, so prepare t💦o c🐻lear them out after you finish damaging the boss.
Use the stairs on the right side of the map to gain a height 🎀advantage over Vrih𓂃n, while keeping the architecture between you and his Strand attacks.
Counter with Strand attacks of your own and Vrihn will be defeated.
Collect your chest after Vrihn goes down a🎉nd sit back for another round of cutscenes.
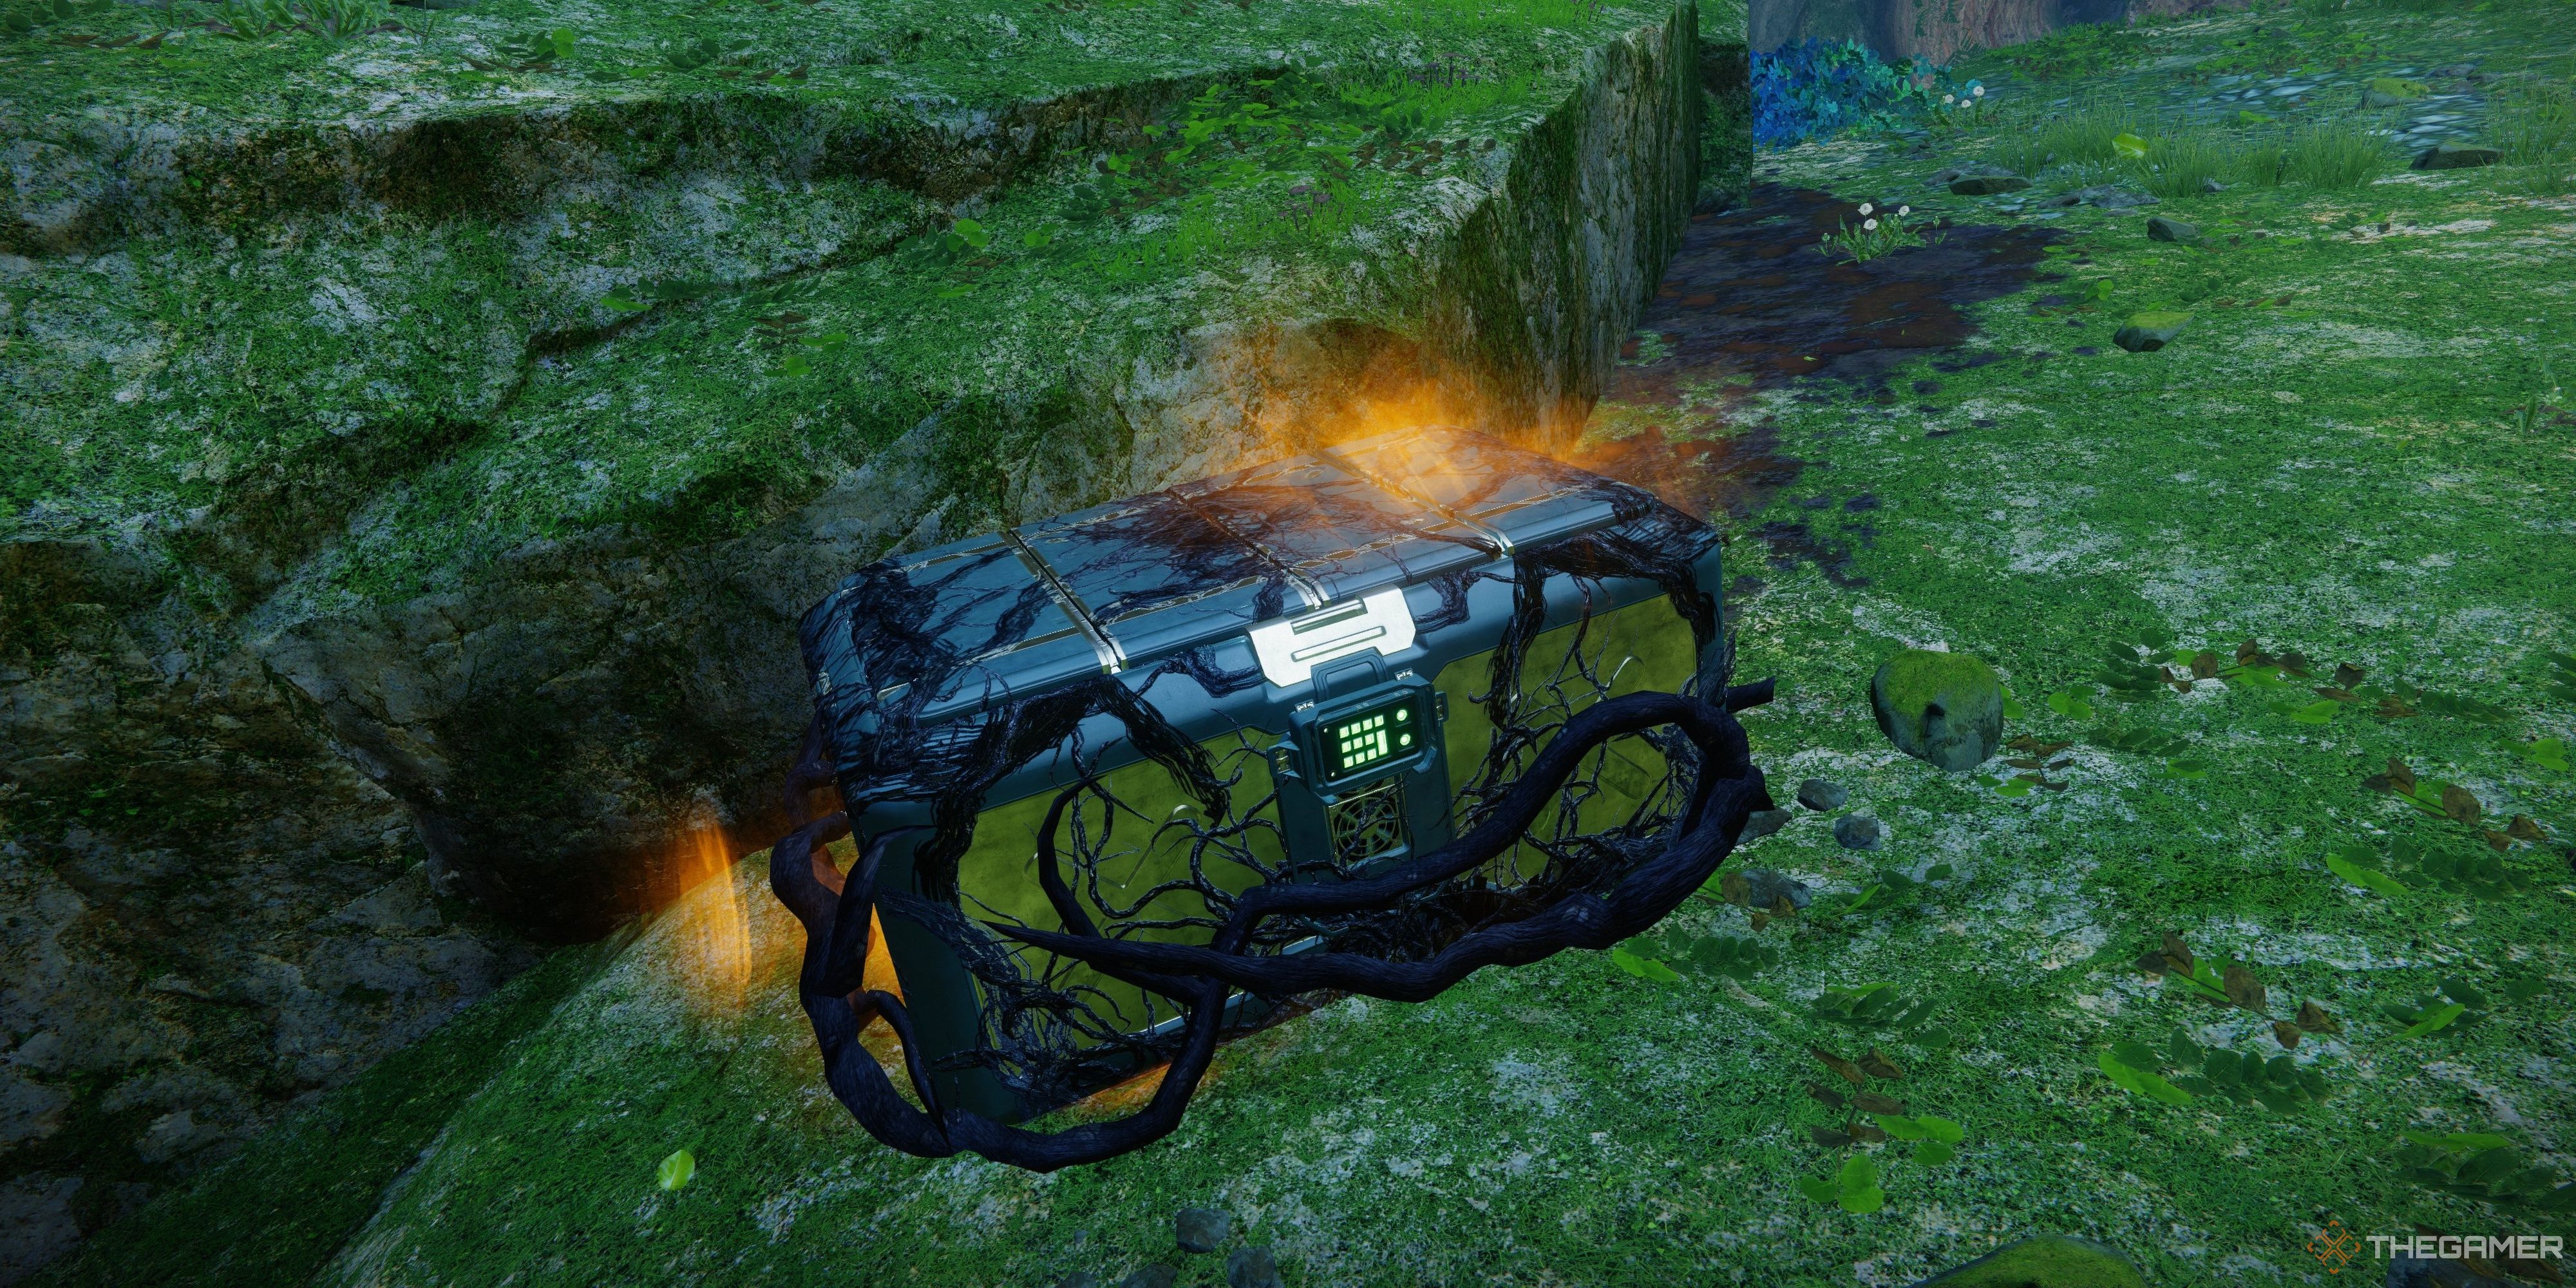
ꩲ Destiny 2: The Final Shape - How To Get Memory Vestiges Of Light And Darkness
Cleanse corrupted chests and clear cyst caves to get your h🐭ands on M🍨emory Vestiges.