
168澳洲幸运5开奖网:Final Fantasy 14: Dawntrail is here and is꧅ offering the goodness its player base yet again with lots of challenging and fun Dungeons, Trials, and much more to work through as you climb your way through the Main Scenario Quest ꦐand onto the post-game content.

Fin𝓡al Fantasy 14: Dawntrail - Vanguard Du♛ngeon Guide
Here's our complete walkthrou🌳gh for Vanguard, a level 97 Dungeon in Final Fantasy 14: Dawntrail.
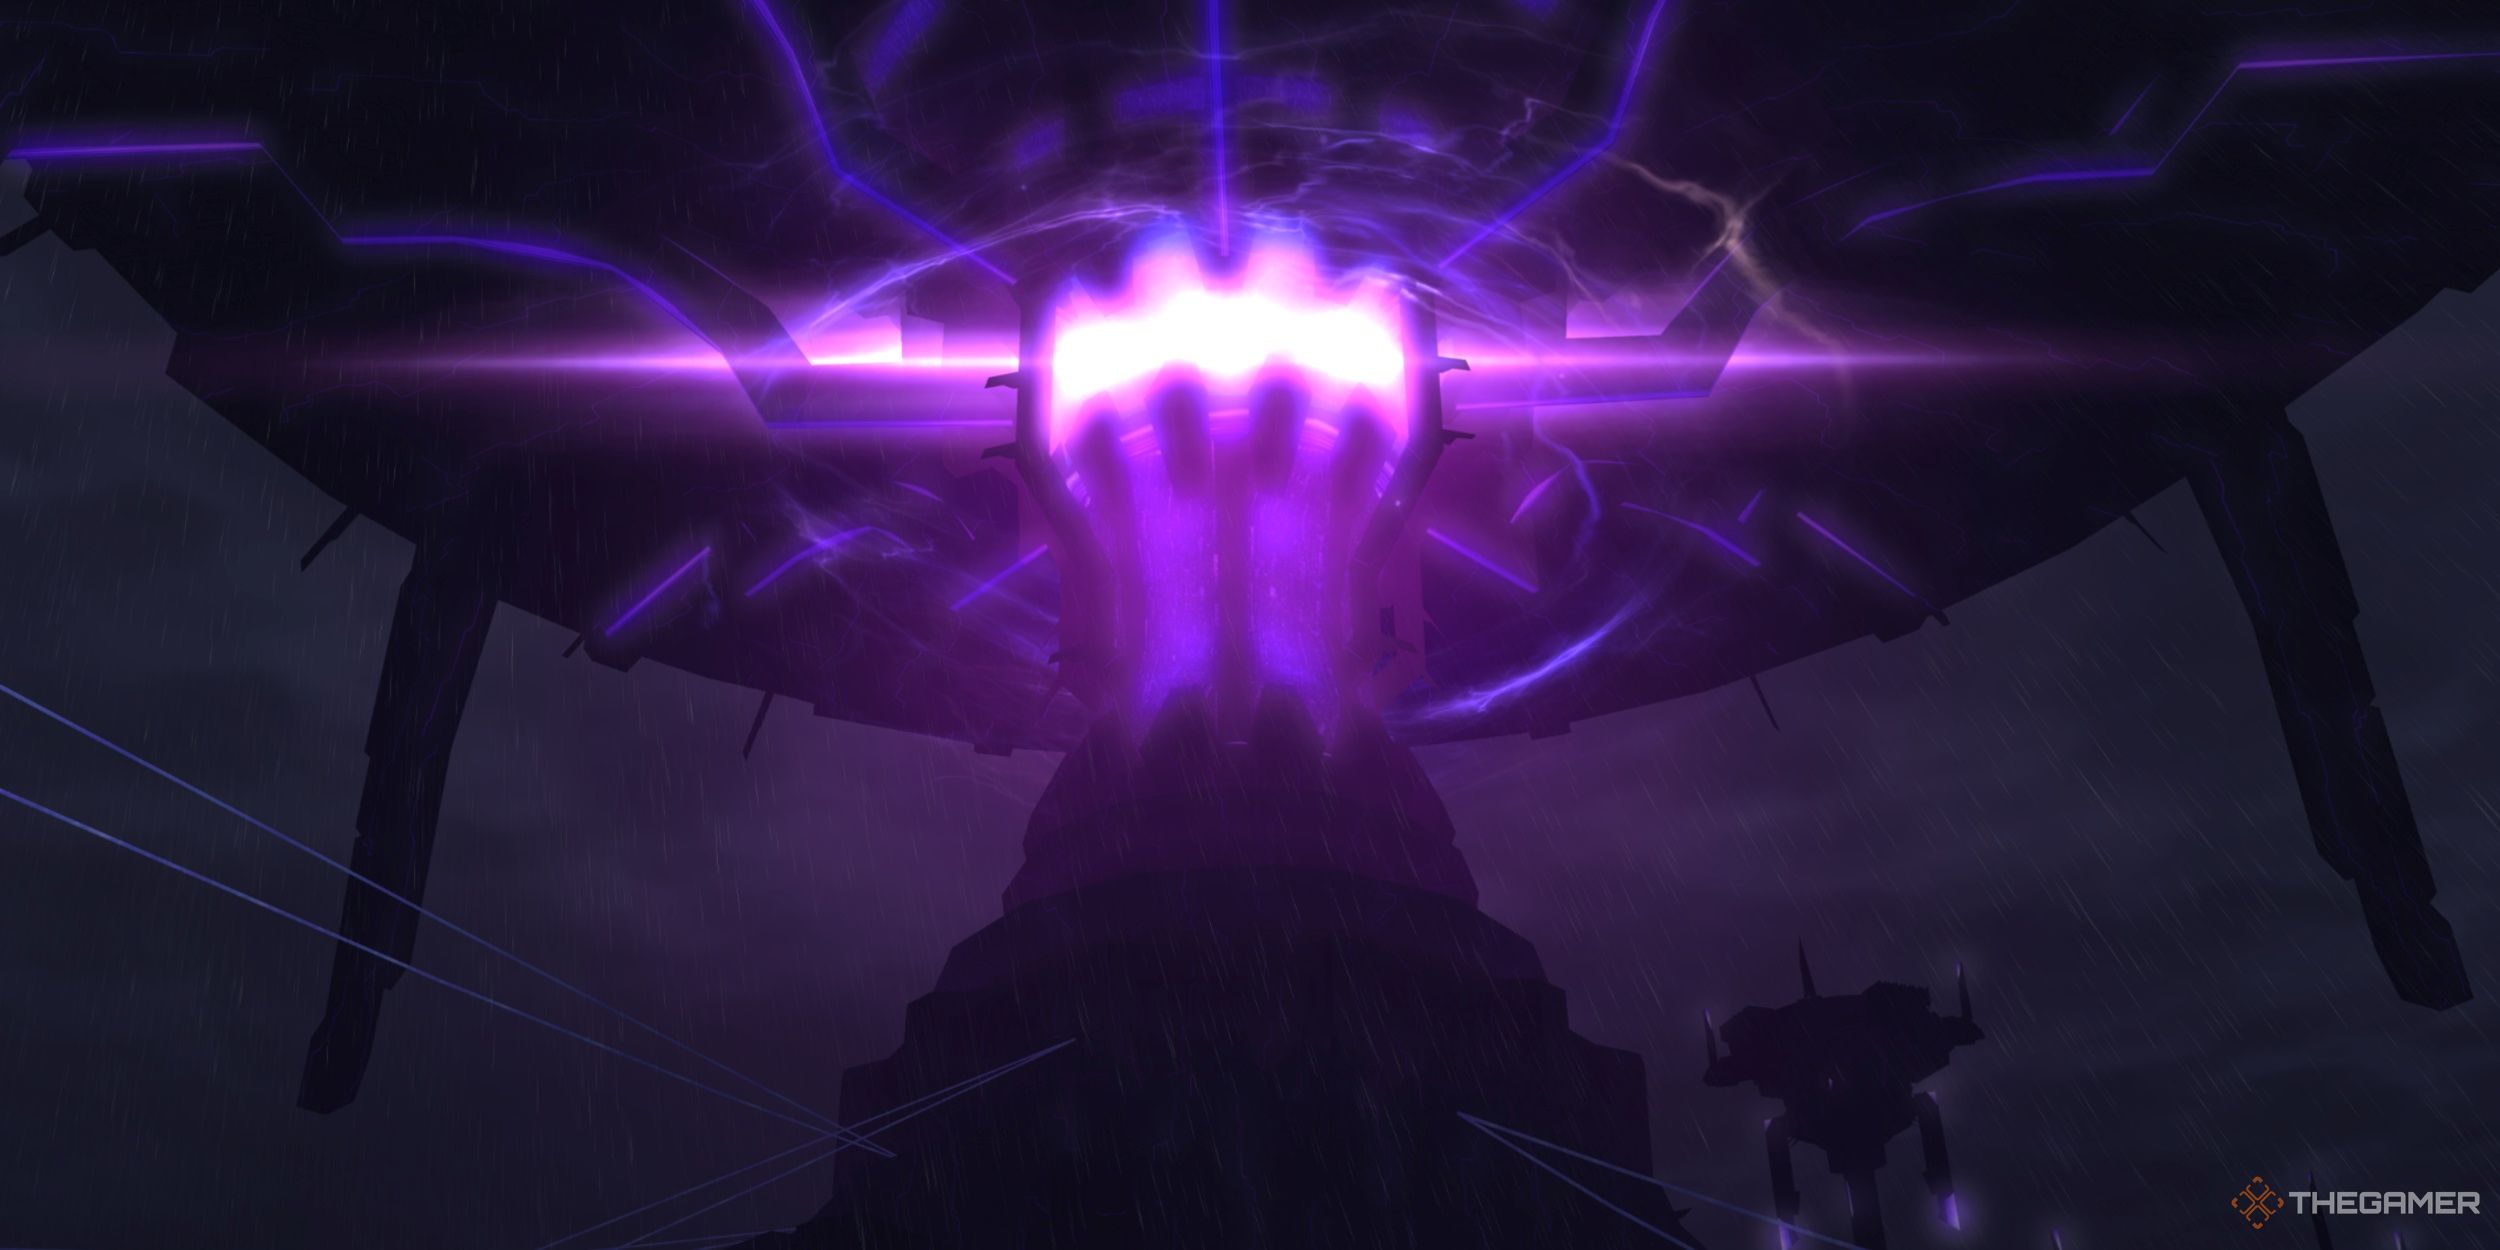
And, as expected, 🐎the closer to the end of the Main Scenario Quest, the more challenging and complex these activities will geജt, and the Origenics Dungeon is a prime example of this, offering some of the best encounters in the MSQ that will surely give you a run for your money if you go in ill-prepared!
How To Unlock Origenics Dungeon In Final Fantasy 14: Dawntrail

|
Quest |
The Resilient Son |
|---|---|
|
Quest Giver |
Cahciua (X:15.6, Y:5.0) |
|
Rewards |
|
The Origenics Dungeon is a Level 99 Dungeon part of Dawntrail's Main Scenario Quest (MSQ). To gain access to this Dungeon, you must begin the MSQ 'The Resilient Son' by speaking to Cahciua in the Heritage Found (X:15.6, Y:5.0).
After speaking with her and accepting the quest, following the waypoints will lead you directly to the Origenics Dungeon, where you can queue up with other players or use NPCs to get through it if you wish to do it that way. As usual, there are three bosses within the Dungeon, all of which will be covered below!
Herpekaris Boss Guide

Herpekaris is the first boss of the Origenics Dungeon and has many tricky moves at its disposal that will trip you up if you aren't prepared. Below is its complete set of moves that it will display throughout the encounter, along with how to deal with them to avoid taking damage or dying!
Strident Shriek

Strident Shriek is likely the first move Herpekaris will toss out, and it is a Party Wide attack that deals Magic Damage. Pop defenses before the attack goes off and heal up afterward to mitigate and recover any damage lost, then prepare for its following action!
Vasoconstrictor

A common tool in Herpekaris' arsenal is its Vasoconstrictor action, having it summon two blobs of venom in front of itself, positioning itself at the back of the arena. While this action isn't much to worry about, its follow-up attack that immediately follows can be devastating if you aren't paying attention!
Venomspill

Immediately after Vasoconstrictor is casted, Herpekaris will cast Venomspill several times in a row. Essentially, this action has Herpekaris raise one of its arms high in the air above one of the blobs of venom. Depending on the arm raised, you must make your way to the opposite end of the arena to avoid taking damage.
For example, if Herpekaris raises its left arm, you would make your way to the right side of the arena and vice versa. After it slams its arm into the blob of venom, many AoE Circles will appear on that side of the arena, making it near-impossible to dodge, and it will deal tremendous amounts of damage on contact.
Furthermore, in the later stages of the encounter, Herpekaris will also cast Targeting Markers on all players, having them move to the opposite side of the arena and stay far enough apart to avoid taking stacked damage and potentially dying. Fun!
Writhing Riot

Writhing Riot is up next, having Herpekaris reveal three separate areas it will strike in successive order. Here, you must memorize its attack patterns and position yourself accordingly to avoid all incoming damage.
Watch for where its first attack will be, position yourself elsewhere, and then keep an eye out for the last two. After it performs the first attack, move to a spot where the last two won't overlap, leaving you in a safe place f𒐪or the rest of t✨he attack string!
Collective Agony

Lastly, we have Collective Agony, having Herpekaris cast a Line Soak Marker above one of the party member's heads. Once you see this, you must line up in a straight line to spread damage evenly amongst everyone to avoid getting anyone killed. Then it's just a matter of repeating everything covered until it is defeated!
Deceiver Boss Guide

Deceiver is the second boss encounter of the Origenics Dungeon in Final Fantasy 14: Dawntrail and also has quite a bit of attacks that can trip you up if you aren't paying proper attention. Nonetheless, we have all of them laid out for you below, along with how to approach them to avoid taking damage!
Electrowave

Like the Herpekaris, the Deceiver's Electrowave action is a Party Wide attack that deals Magic Damage and is handled the same way. Shield up before the attack goes live, then heal afterward if need be to gain back any damage taken in the process, ♛and then prepare for what comes next!
Bionic Thrash

Bionic Thrash is up next and has the Deceiver unspool its massive arms, having them hang above the arena. Wherever its arms are, a Conal AoE will appear underneath. Simply position yourself away from the arms to avoid taking damage!
Initialize Androids
From here, the Deceiver will Initialize Androids, summoning a row of Sentry G9s on either side of the arena and having them charge railguns up. However, some Sentries will glitch out, having this odd pixelated mess over them.
The goal here is to find two glitched-out Sentries that are facing one another and then stand in that lane, as they won't fire their weapons, leaving a safe area to avoid all incoming damage. The number of safe lanes available will diminish later in the encounter, but the same rules will apply.
After the Sentries fire their weapons, they will join in the battle to help fight alongside the Deceiver; ensure you take them out as quickly as possible, as they can be a nuisance if left unchecked!
Initialize Turrets
Immediately after the previous attack, the Deceiver will Initialize Turrets, following a similar protocol. Here, there will be a row of turrets on either end of the stage, with some being glitched-out.
Like before, look for two glitched-out turrets facing one another and stand in that lane to avoid taking damage, as they won't fire. The turrets will stay on screen for the𒀰 next at🍃tack, so be prepared!
Surge

Instantly after the turrets fire, the Deceiver will cast Surge, having it move to the back of the arena before leaping into the center with tremendous force, pushing you in the direction of the arrows on the ground.
For this attack, position yourself in line with one of the real turrets from earlier, as the glitched-out ones aren't real and will send you hurtling out of the map and to your death. Then, it will repeat its attacks, which you will handle the same way!
Ambrose The Undeparted Boss Guide

Finally, Ambrose, the Undeparted, is our third and last boss of the Origenics Dungeon in Final Fantasy 14: Dawnbreaker. This is a tricky encounter due mainly to how many attacks are at Ambrose's disposal, all of which will keep you on your toes from start to finish. Fortunately, you can learn how to best all of his actions below!
Psychic Wave

Psychic Wave will be Ambrose's opening action, which is a - you guessed it - Party Wide attack that deals Magic Damage. As you did with the others, shielding up before the attack comes out will help mitigate the incoming damage, and healing afterward, if need be, will help overcome this action!
Overwhelming Charge

Overwhelming Charge is next up, having Ambrose perform a cleave attack that covers half the stage in the direction he's currently facing. To evade this action, simply move behind him when the attack starts up to avoid getting cleaved!
Psychokinesis
Following that is his Psychokinesis attack, having Ambrose use his mind to fling the large cages on the outside of the arena through the battlefield, turning them into deadly projectiles. When you see him begin casting this action, look for the bright glowing and shaking cages and move out of their way, standing where one is currently not shaking.
After a brief moment, Ambrose will launch the cages, releasing the monsters behind them into the arena. After dodging the soaring cages, dispatch the handful of enemies as soon as possible!
Extrasensory Field

From here, Ambrose will cast his Extrasensory Field, splitting the arena up into four quadrants before knocking you back in the direction the arrows are pointing toward. Position yourself on a quadrant that won't immediately push you off the side of the arena.
So, if an arrow is pointing to another section of the quadrant, choose that one over theﷺ one that's pointin꧙g directly off the edge!
Psychokinetic Charge

Next up is Ambrose's Psychokinetic Charge, which has him combine his Overwhelming Charge and Extrasensory Field together. Both actions are resolved the same way. You just have to wor෴ry about 🐼dealing with two moves at once.
Whichever direction Ambrose is facing, he will cleave, so ensure the quadrant you're standing on leads you away from Ambrose and onto another tile to resolve this mechanic without taking damage!
Electrolance

Electrolance will be Ambrose's following action, having him throw an electrically charged lance across the arena, directly across from him. Simply run beside Ambrose to avoid taking damage here.
Psychokinesis: Part Two
Psychokinesis returns with a twist, having Ambrose toss out two blades that trace across the arena, creating Line AoEs wherever they go. Stay out of their path and watch where they go to avoid them by positioning yourself away from their trajectory.
After that, Ambrose will place Targeting Markers above all Party Members before executing his Psychokinesis attack with the cages again. Look for the cages being pulled, move away from them, and then spread out from your teammates to avoid taking stack damage.
From here, the enemies from within the cages will now be free, so deal with them quickly before refocusing your efforts on Ambrose!
Voltaic Slash

Finally, we have Voltaic Slash, a Tank Buster that will be placed above the Tank. Have everyone else move away from the Tank, having them Shield through it while the Healer keeps them topped up throughout the action to avert a crisis this close to the finale. From here, it's just a matter of repeating everything above until you finish the fight!

Final Fantasy 14: Dawntrail - The Skydeep Cenote🍰 Dungeon Guide
Here's our complete walkthrough for The Skydeep Cenote, a level 95 Dungeon in Fina⛎l Fantasy 14: Dawntrail.