

Quick Links
As an open-world game, 168澳洲幸运5开奖网:Genshin Impact has lots of places for players to explore. This is no exception in the France-inspired region of Fontaine. Right in the middle of the map is the Sealed Ruin Tower (also known as the Tower of Ipsissimus and the Tower of Gestalt), which is just begging to be explored. But it's sealed, and it may not be apparen🅷t how to get in there.

168澳洲幸运5开奖网: Genshin Impact: Ousia And 𒅌Pneuma Expla𓂃ined
Learn everything you need to kn𝓰ow about Genshin Impact's Ousia and Pneuma mechanics to explore Fontainౠe successfully.
The tower is accessible by doing the In The Wake❀ Of Narcissus quest, along with several other quests such as Ancient Colours, Ann of the Narzissenkreuz, and the Unfinished Comedy. You will also have to solve several puzzles and break a few seals first.
Where To Find The Sealed Ruin Tower (Tower Of Ipsissimus/Gestalt)
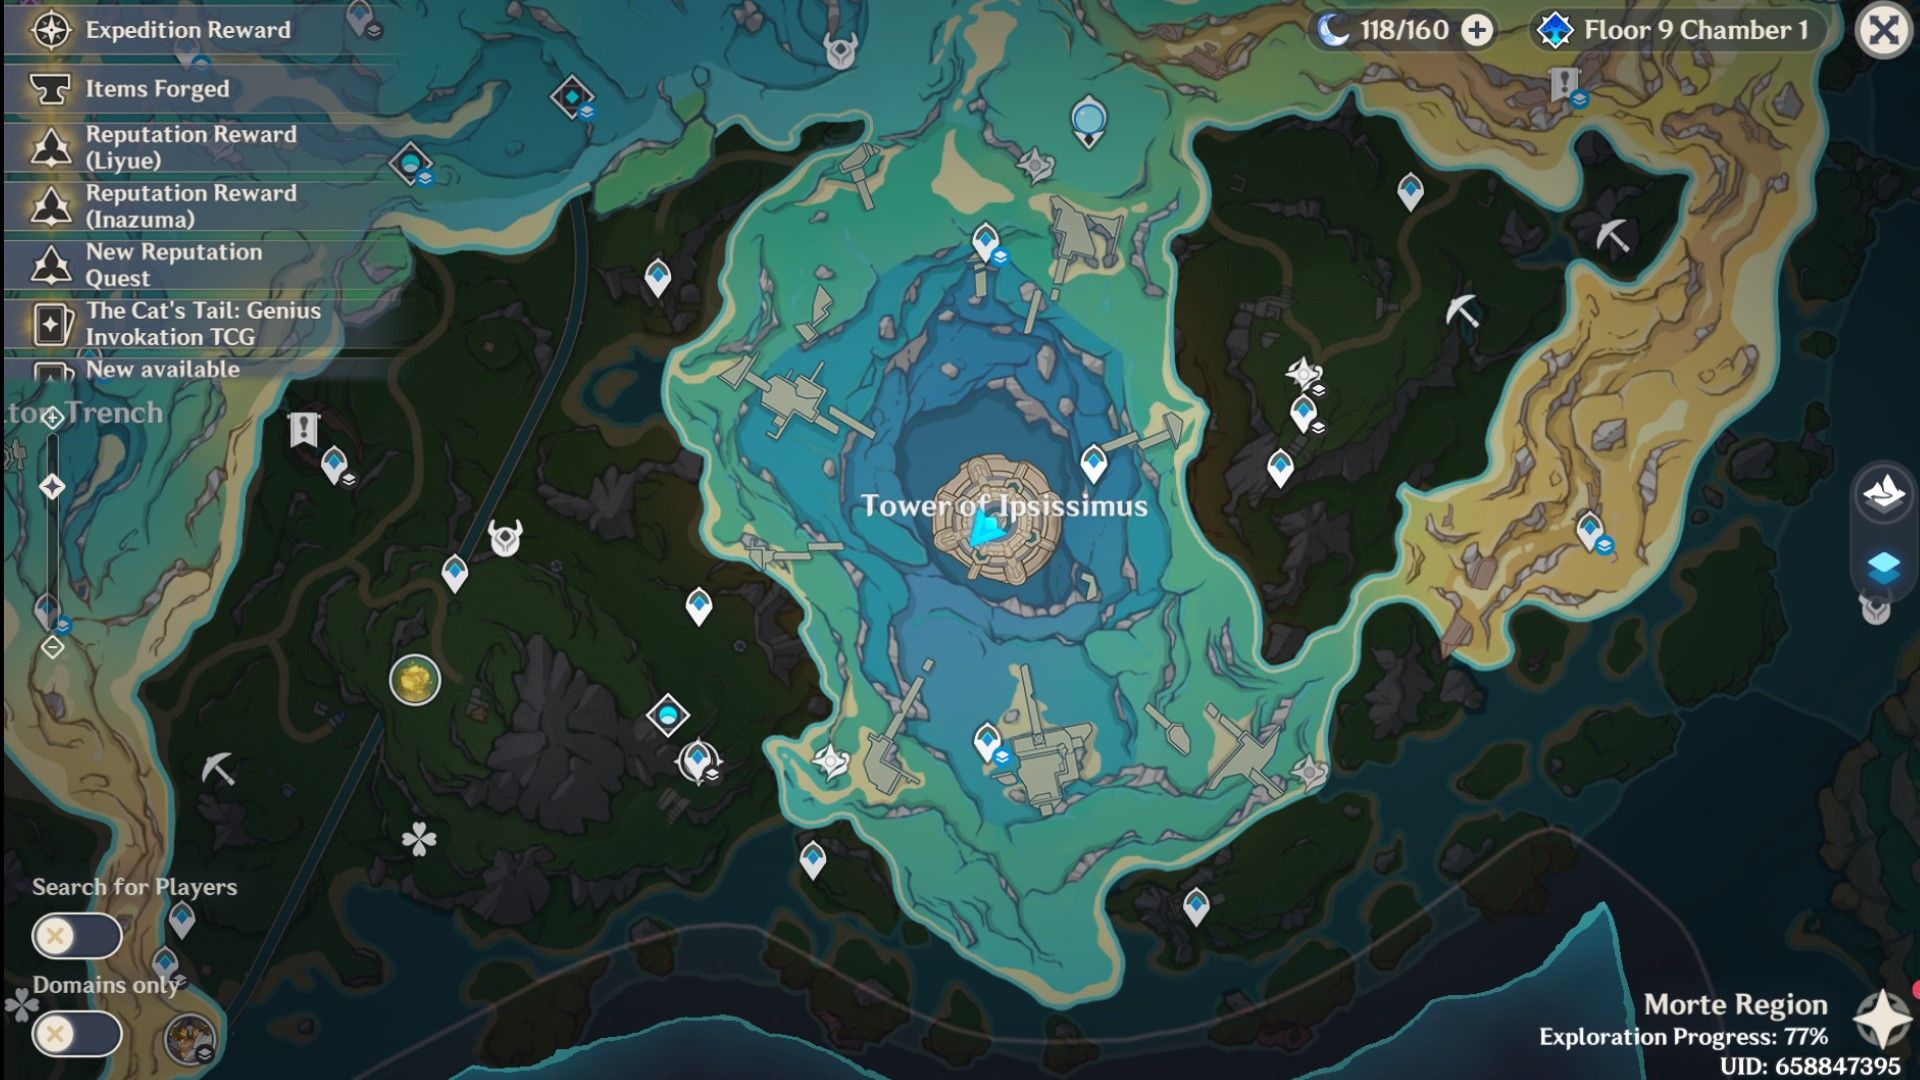
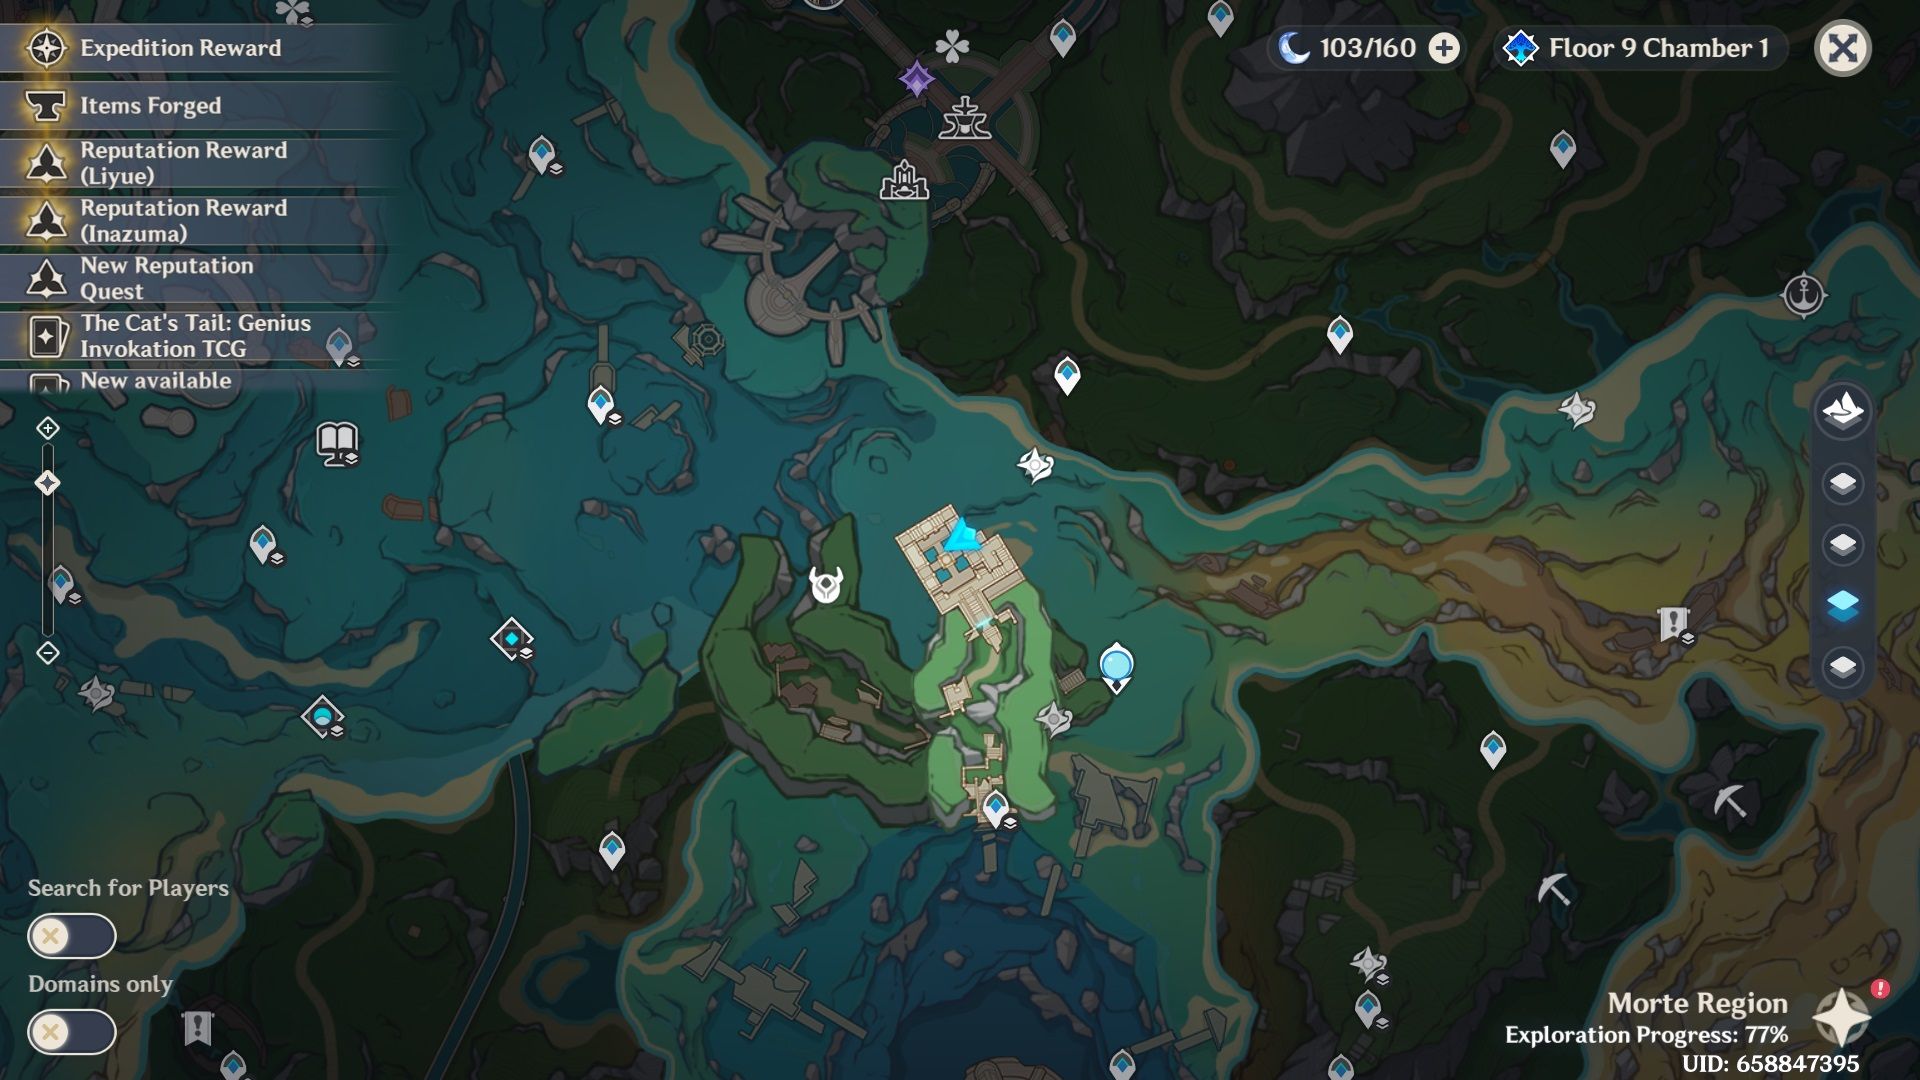
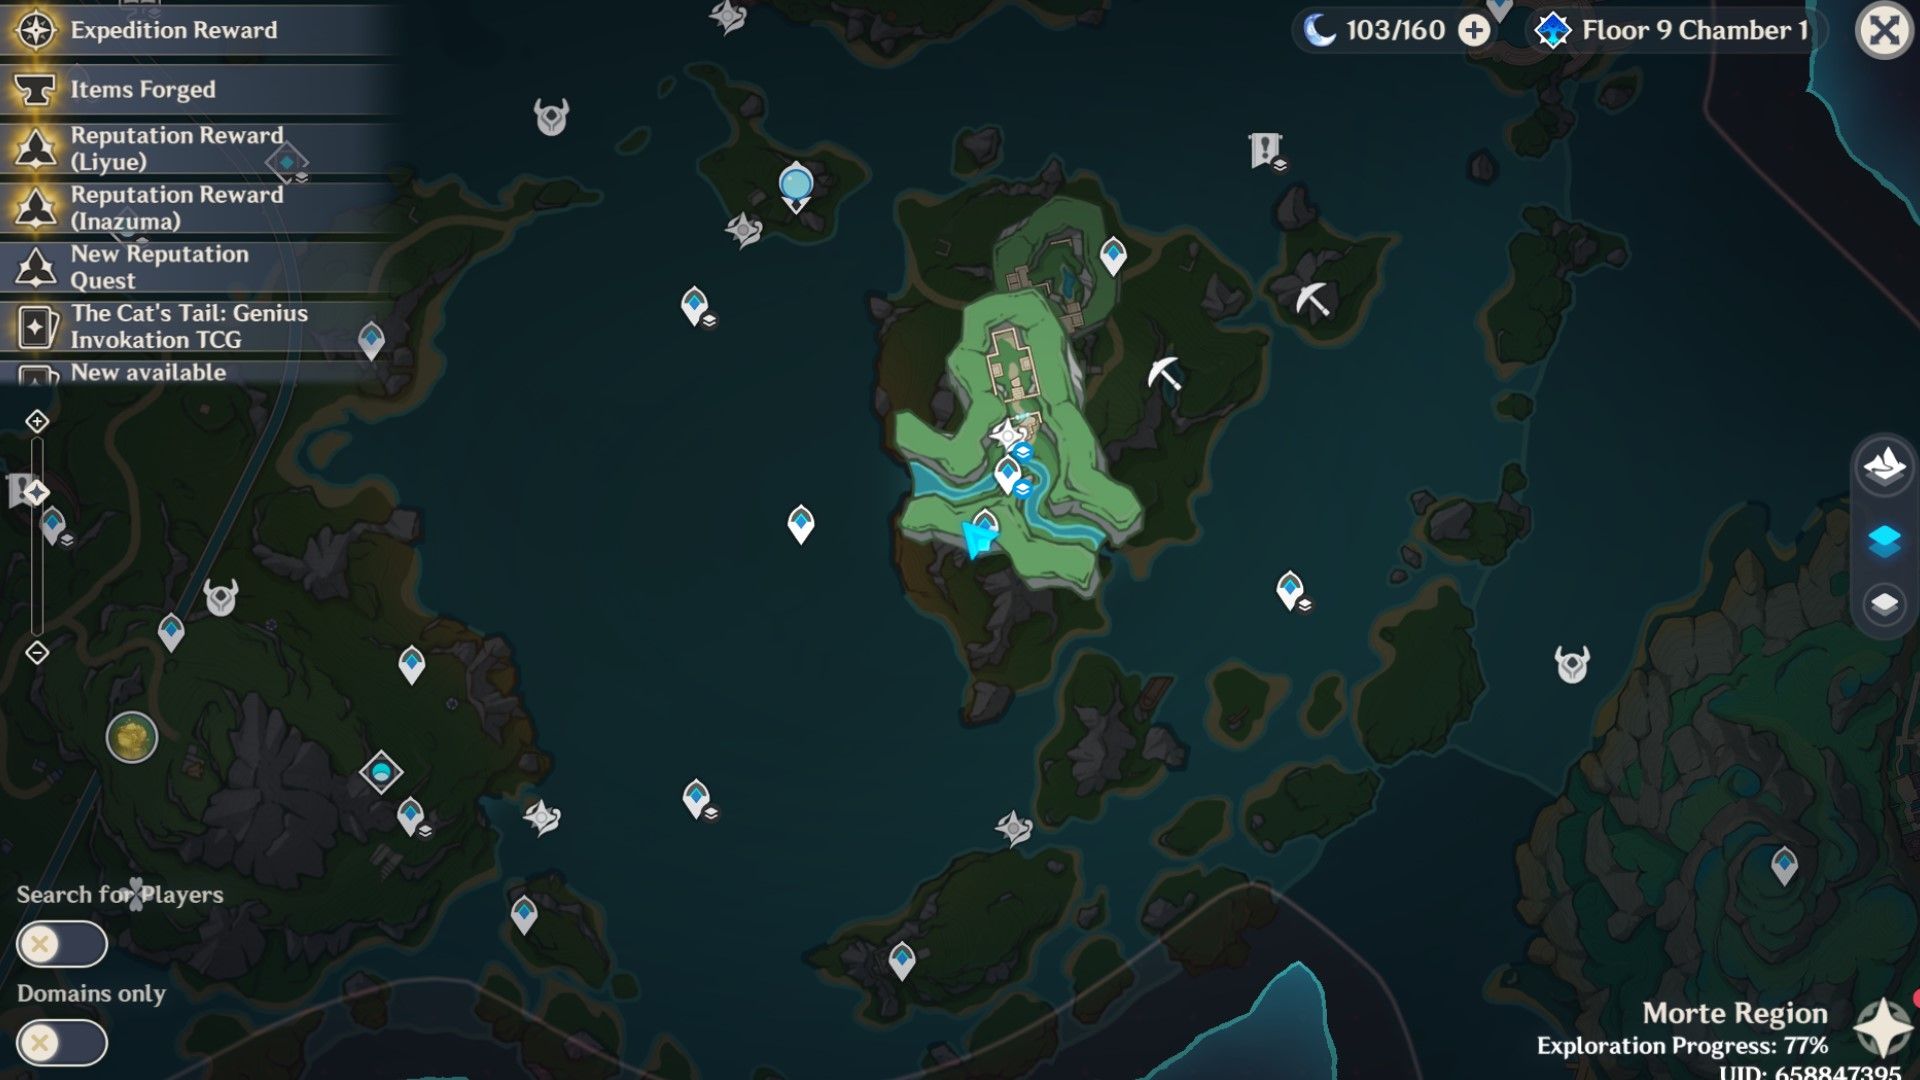
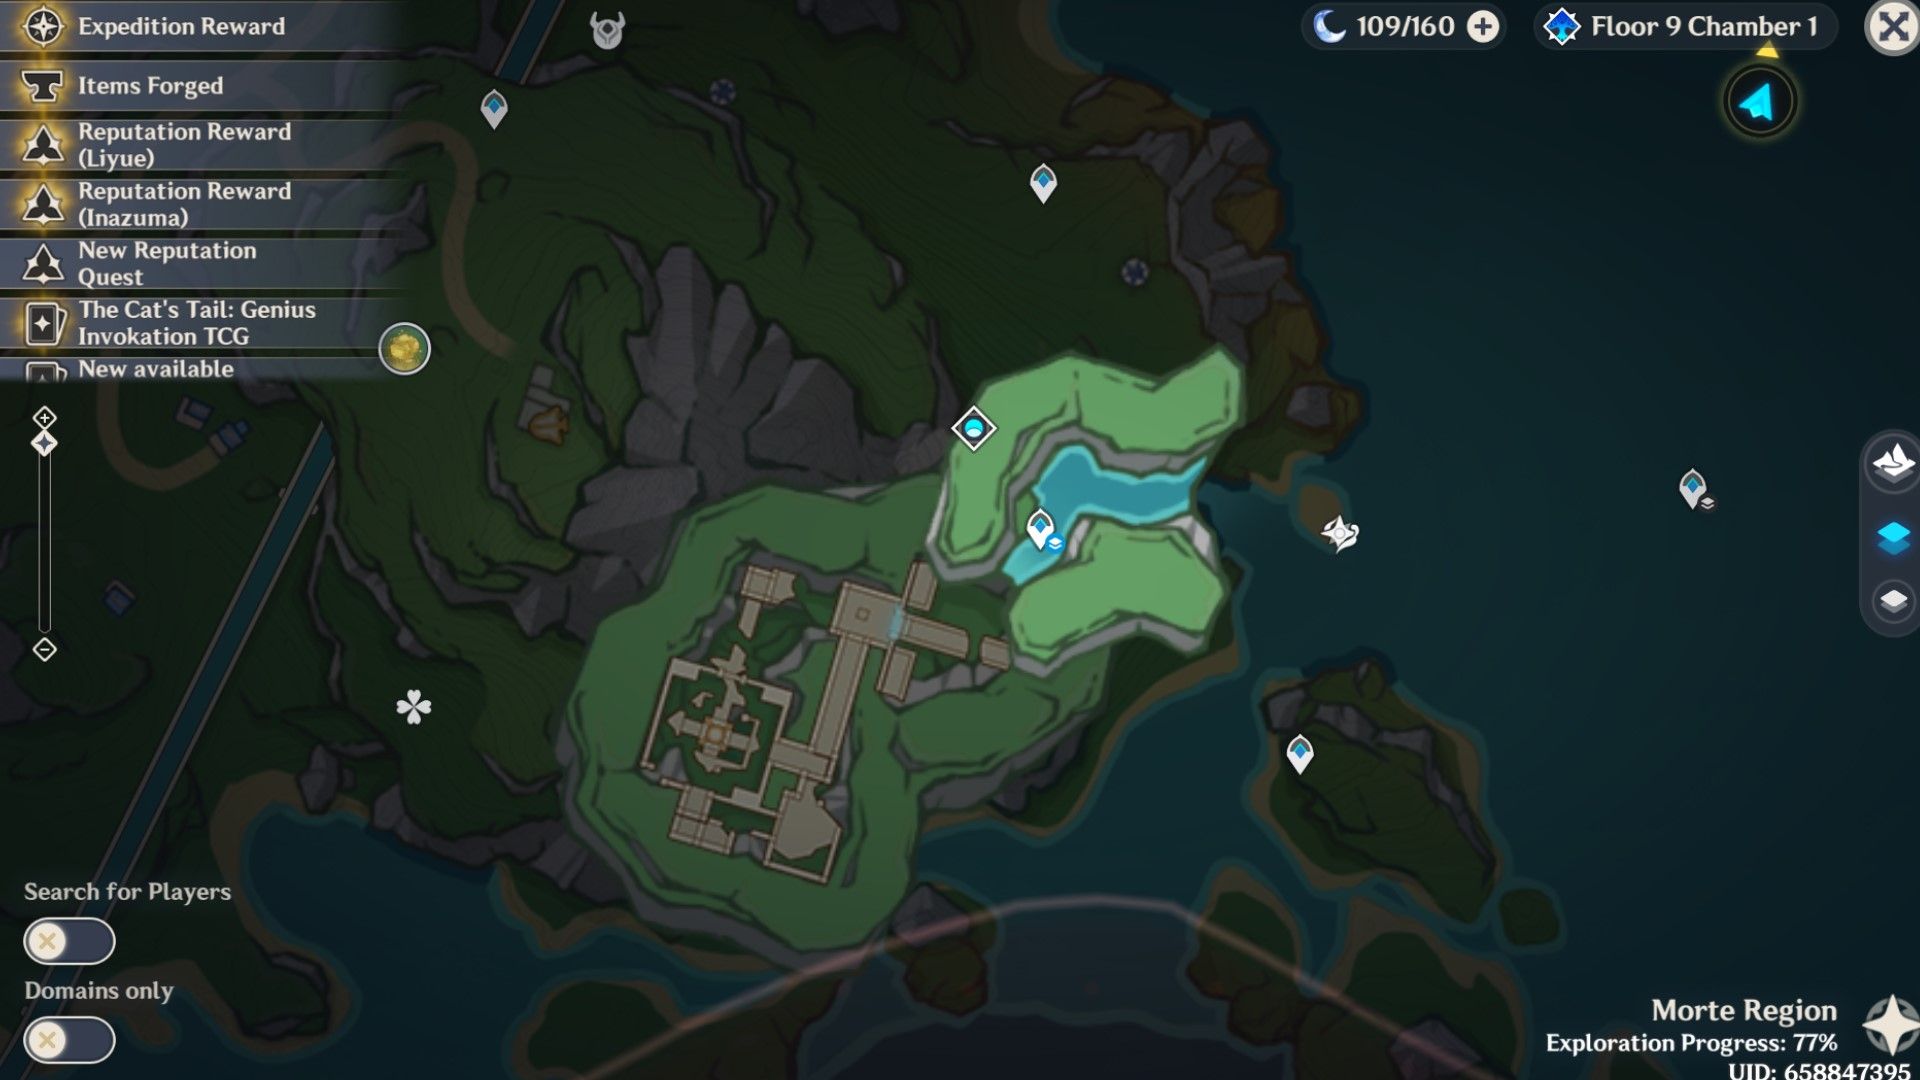
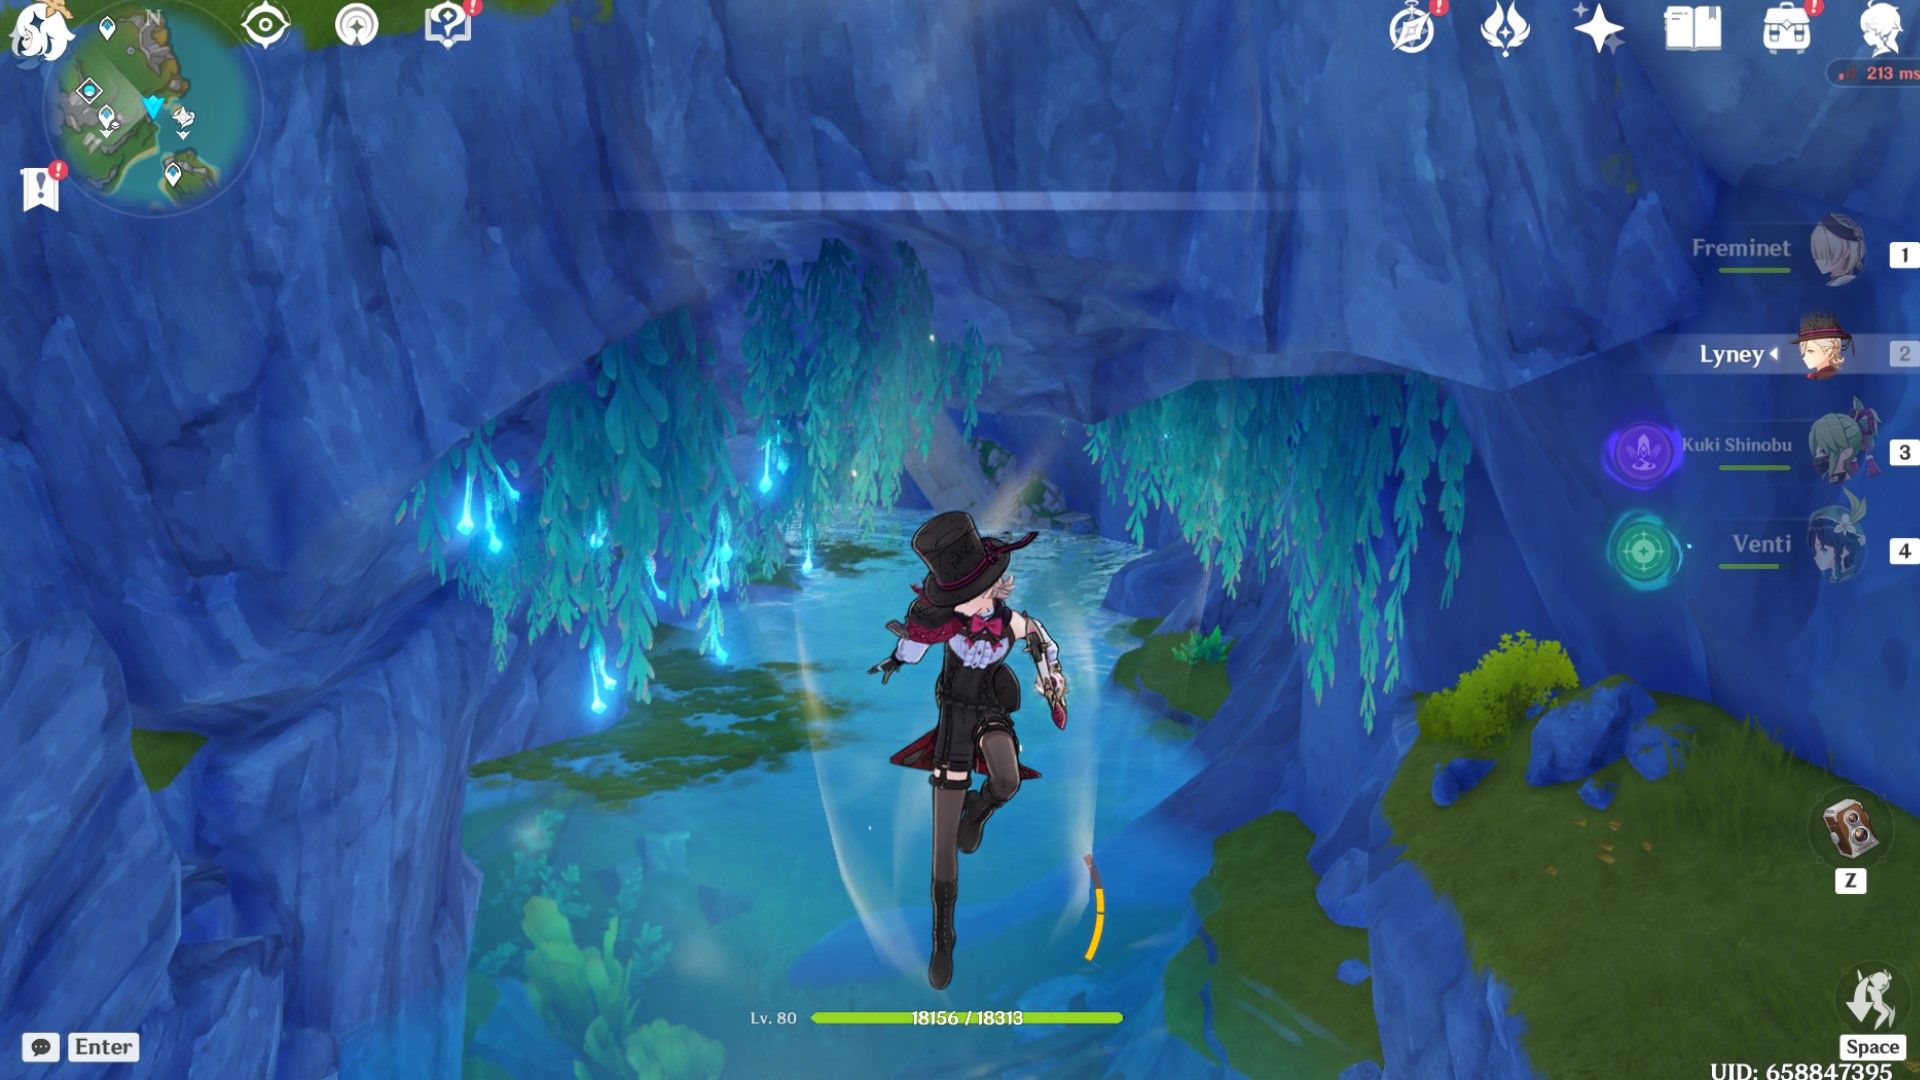
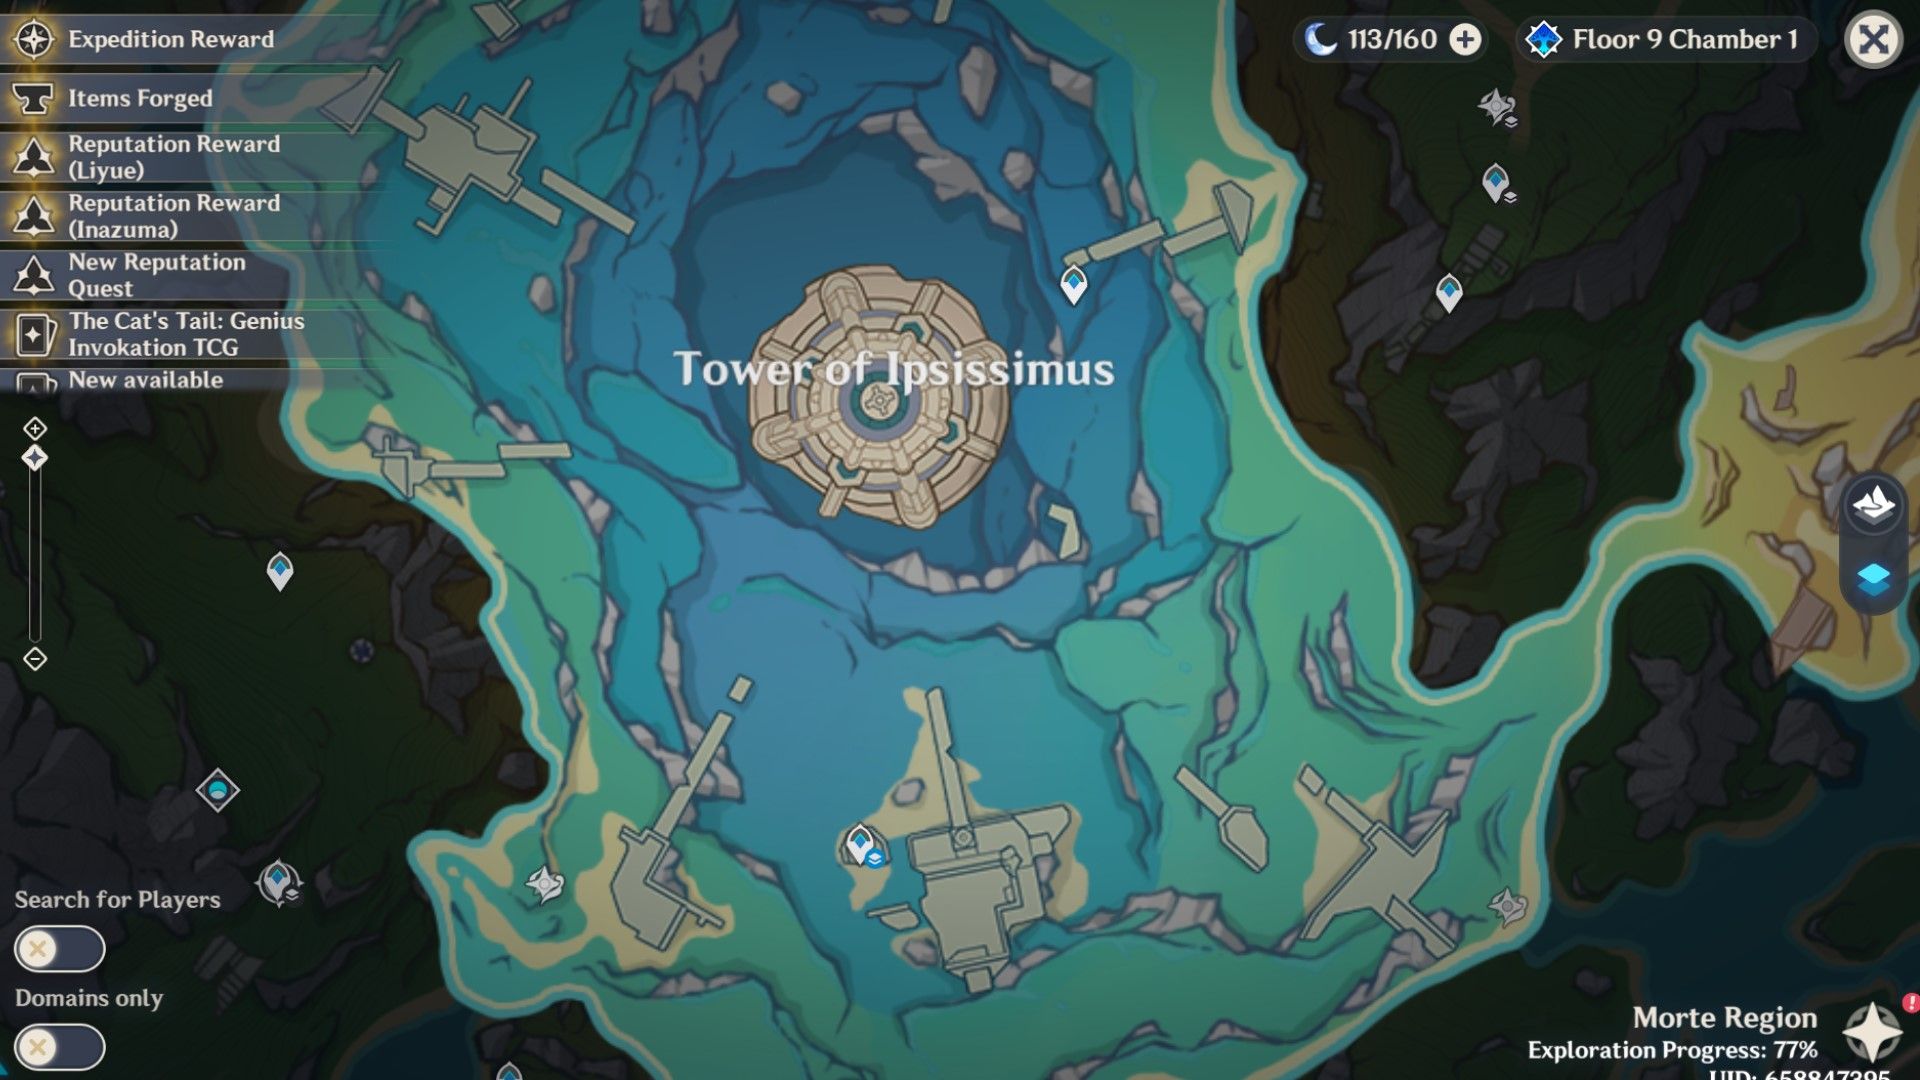
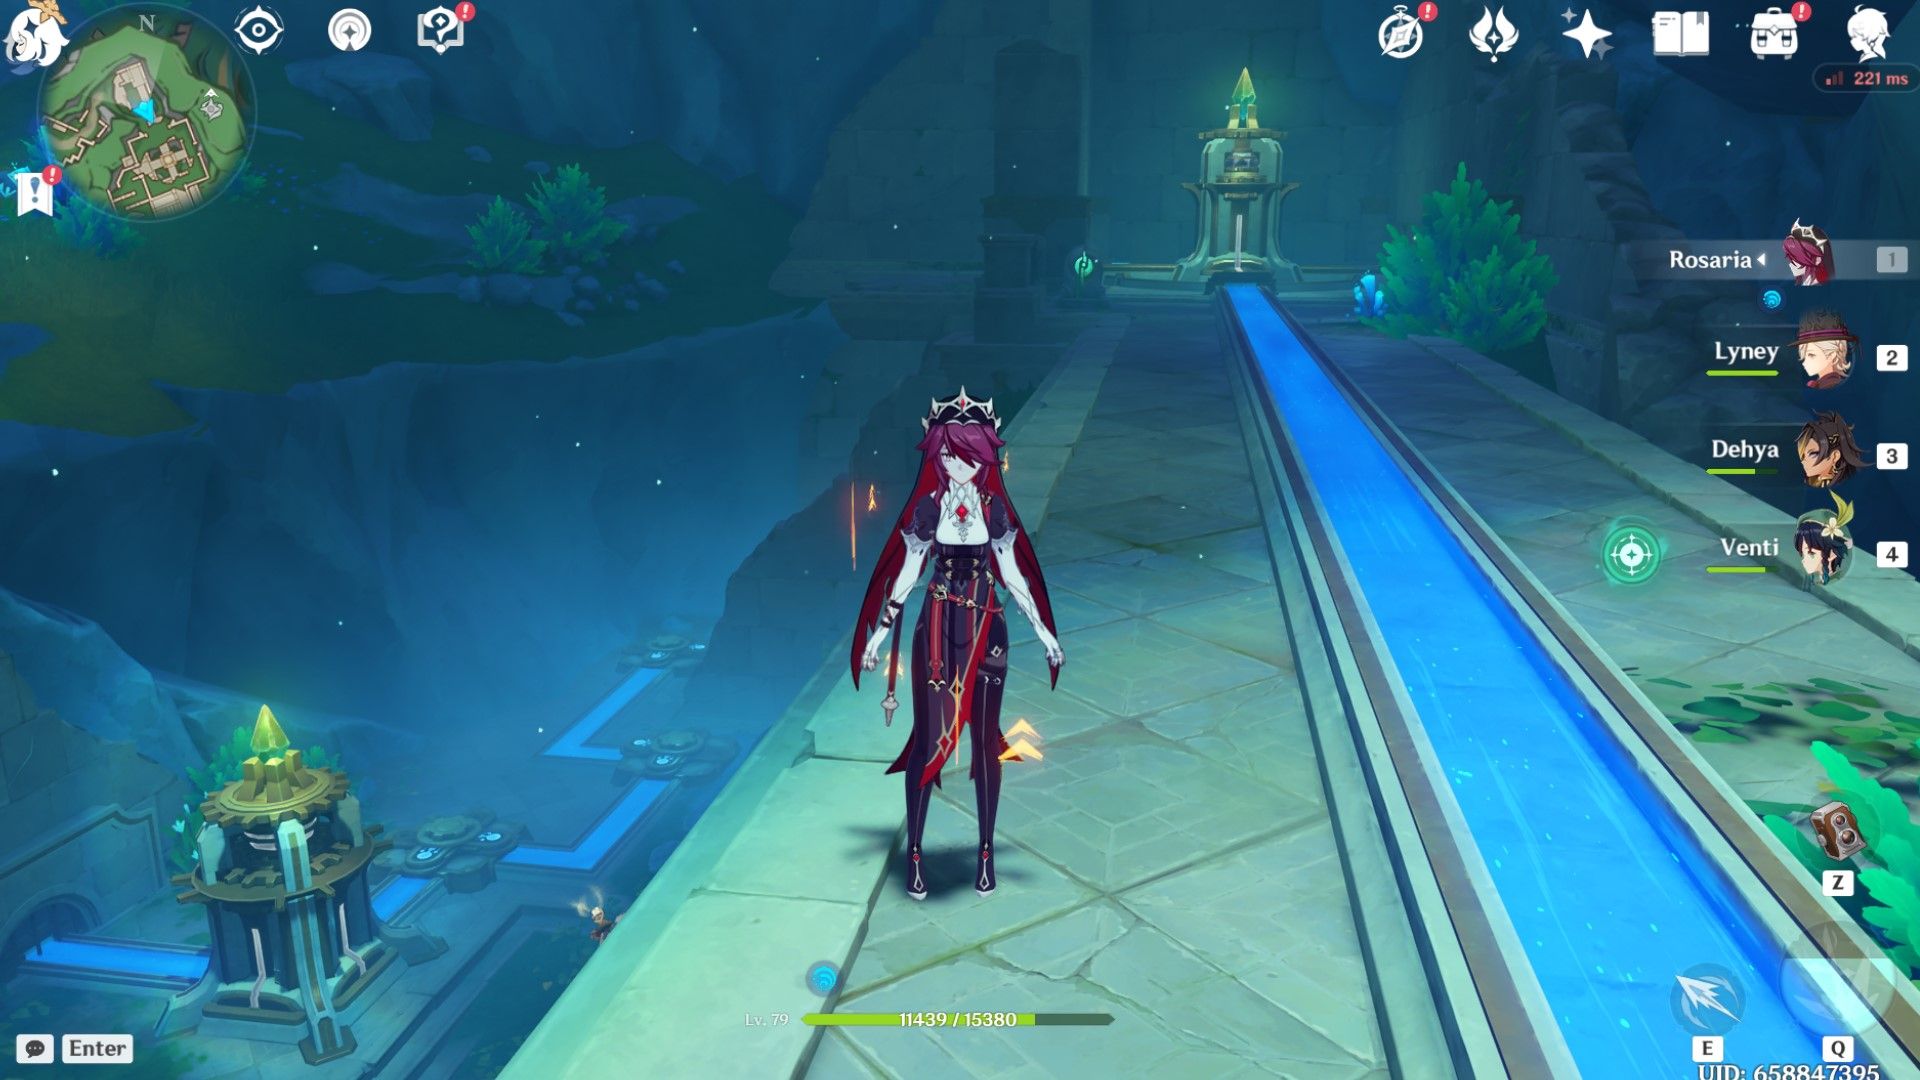
The Sealed Ruin Tower (also known as the Tower of Ipsissimus and the Tower of Gestalt) is physically located in the Morte Region of Fontaine between this region's two main islands.
⛄If you have n♐ot completed the quest In The Wake Of Narcissus, it will appear above ground. If you have already completed it, it will be underwater.
To unlock the Sealed Ruin Tower, you must first complete the In The Wake Of Narcissus quest.
How To Unlock The Quest In The Wake Of Narcissus
You can only unlock the tower during the In the Wake of Narcissus quest. To unlock this quest, there aꦍre several quests you 🐟must complete first:
Ancient Colours

Ancient Colours has no prerequisite quests, so yo💫u can begin it no matter where you are in Genshin Impact's overall story.
You can begin the Ancient Colours quest by going to the Merusea Village in the Beryl Region of Fontaine. There, you'll find a Melusine named Mamere as she paints. Speak to her to begin this quest.
Ann Of The Narzissenkreuz
Ann of the Narzissenkreuz, like Ancient Colours, also has no prerequisite quests, so you'll be able to uꦗnlock and complete it whenever you want in Genshin Impact's overall story.
You can unlock Ann of the Narzissenkreuz by heading to the Chemain de l'Espoir, which is found by going to the underwater Teleport Waypoint west of the Court of Fontaine. There, you will encounter a small Oceanid named Ann. Speak to Ann to begin the quest.
Fontaine Archon Quest Act Three: To The Stars Shining In The Depths

To proceed with the rest of the In the Wake of Narcissus story, you'll need to gain access to the Fortress of Meropide and be able to gain Cupons.
Chapter Four Act Three of the Archon Quest (main story) sends you to the Fortress of Meropide, you can begin the next prerequisite quest, Unfinished Comedy, by completing Act Three: To The Stars Shining in the Depths up until the Scenes From Life in Meropide subquest.
Unfinished Comedy
The Unfinished Comedy can be unlocked after talking to Darcy in the Fortress of Meropide where you will meet the key cha🐼racter, Caterpillar.
In The Wake Of Narcissus

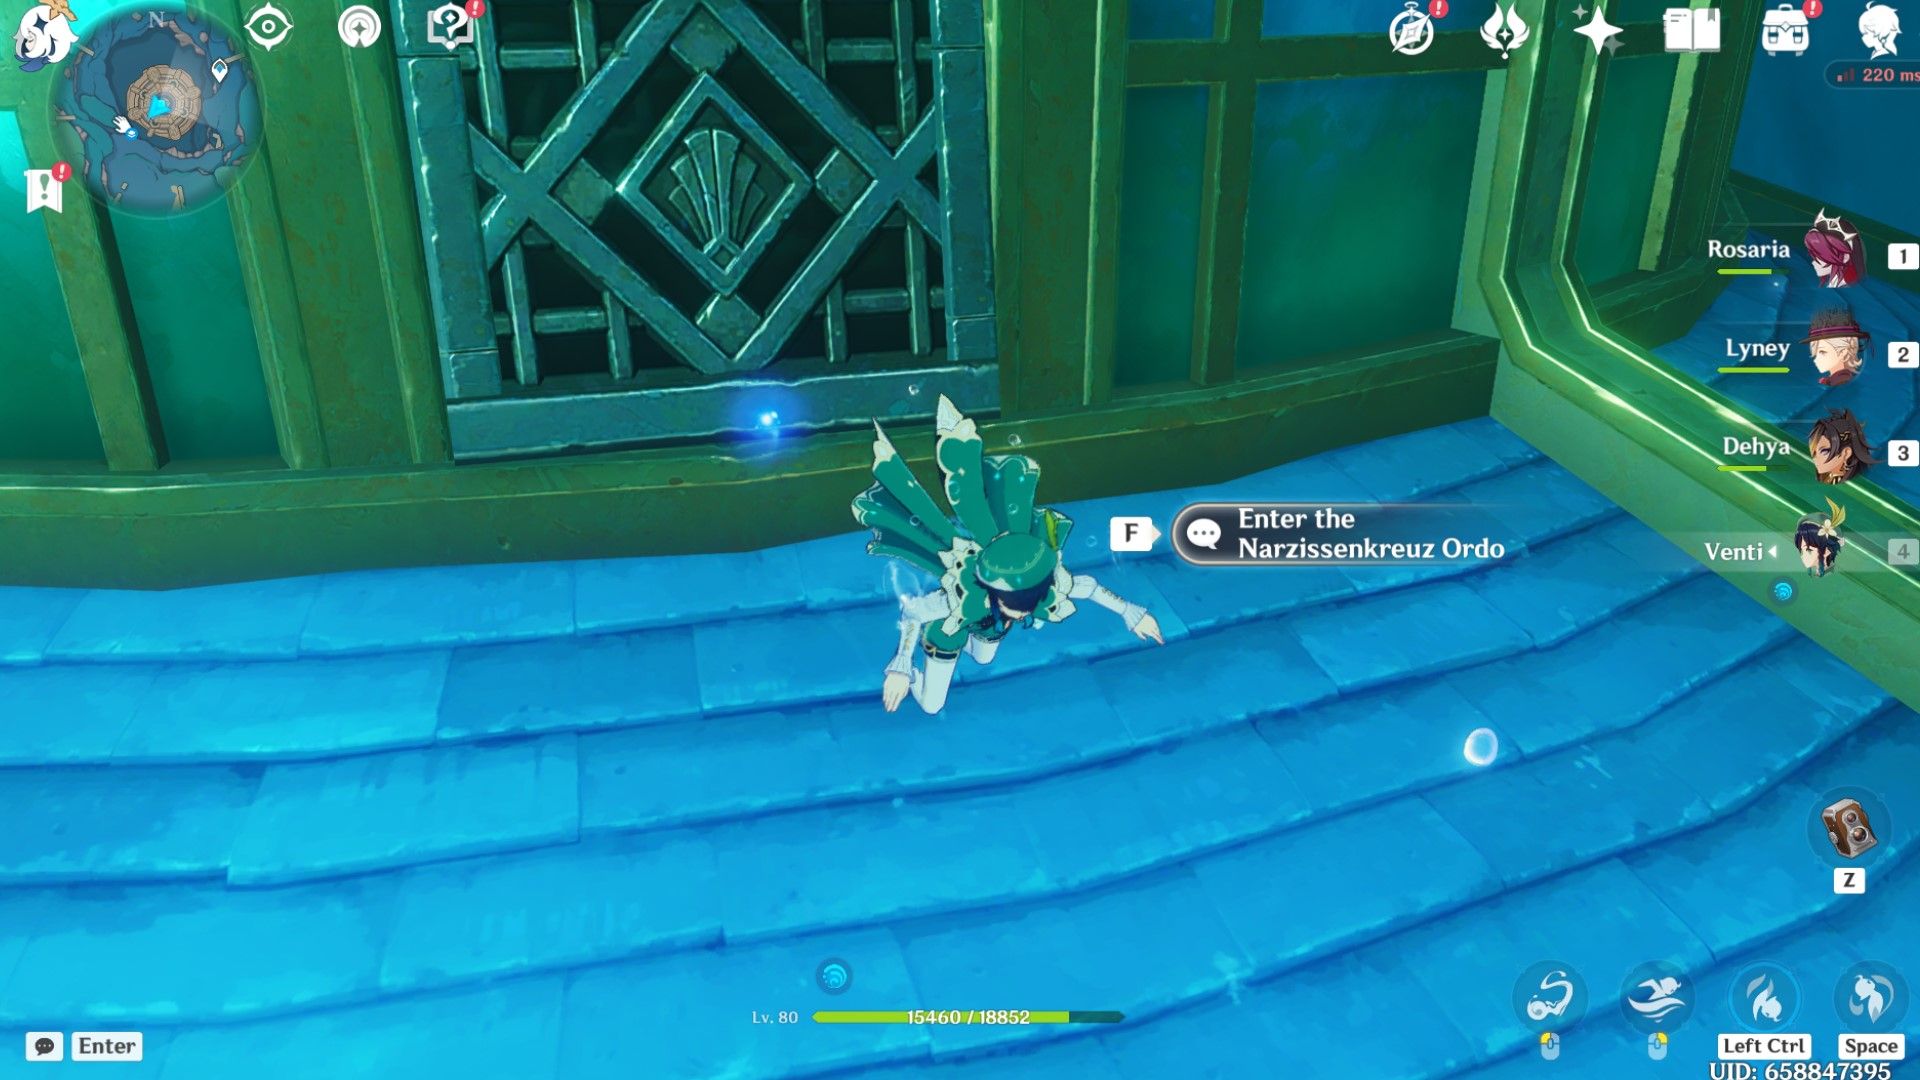
With all these quests done, you'll finally be able to begin In the Wake of Narcissus. Travel to Narzissenkreuz Ordo (located near the Institute of Natural Philosophy underwater near the Court of Fontaine) and talk to Caterpillar.
The Sealed Tower can be unlocked in its first subquest, called Search in the Algae Sea.
How To Unlock Seal One (Muse's Mother)
Here is how to unlock the first seal. Thꦍis is also known𒈔 as the Muse's Mother subquest.
Finding The First Seal
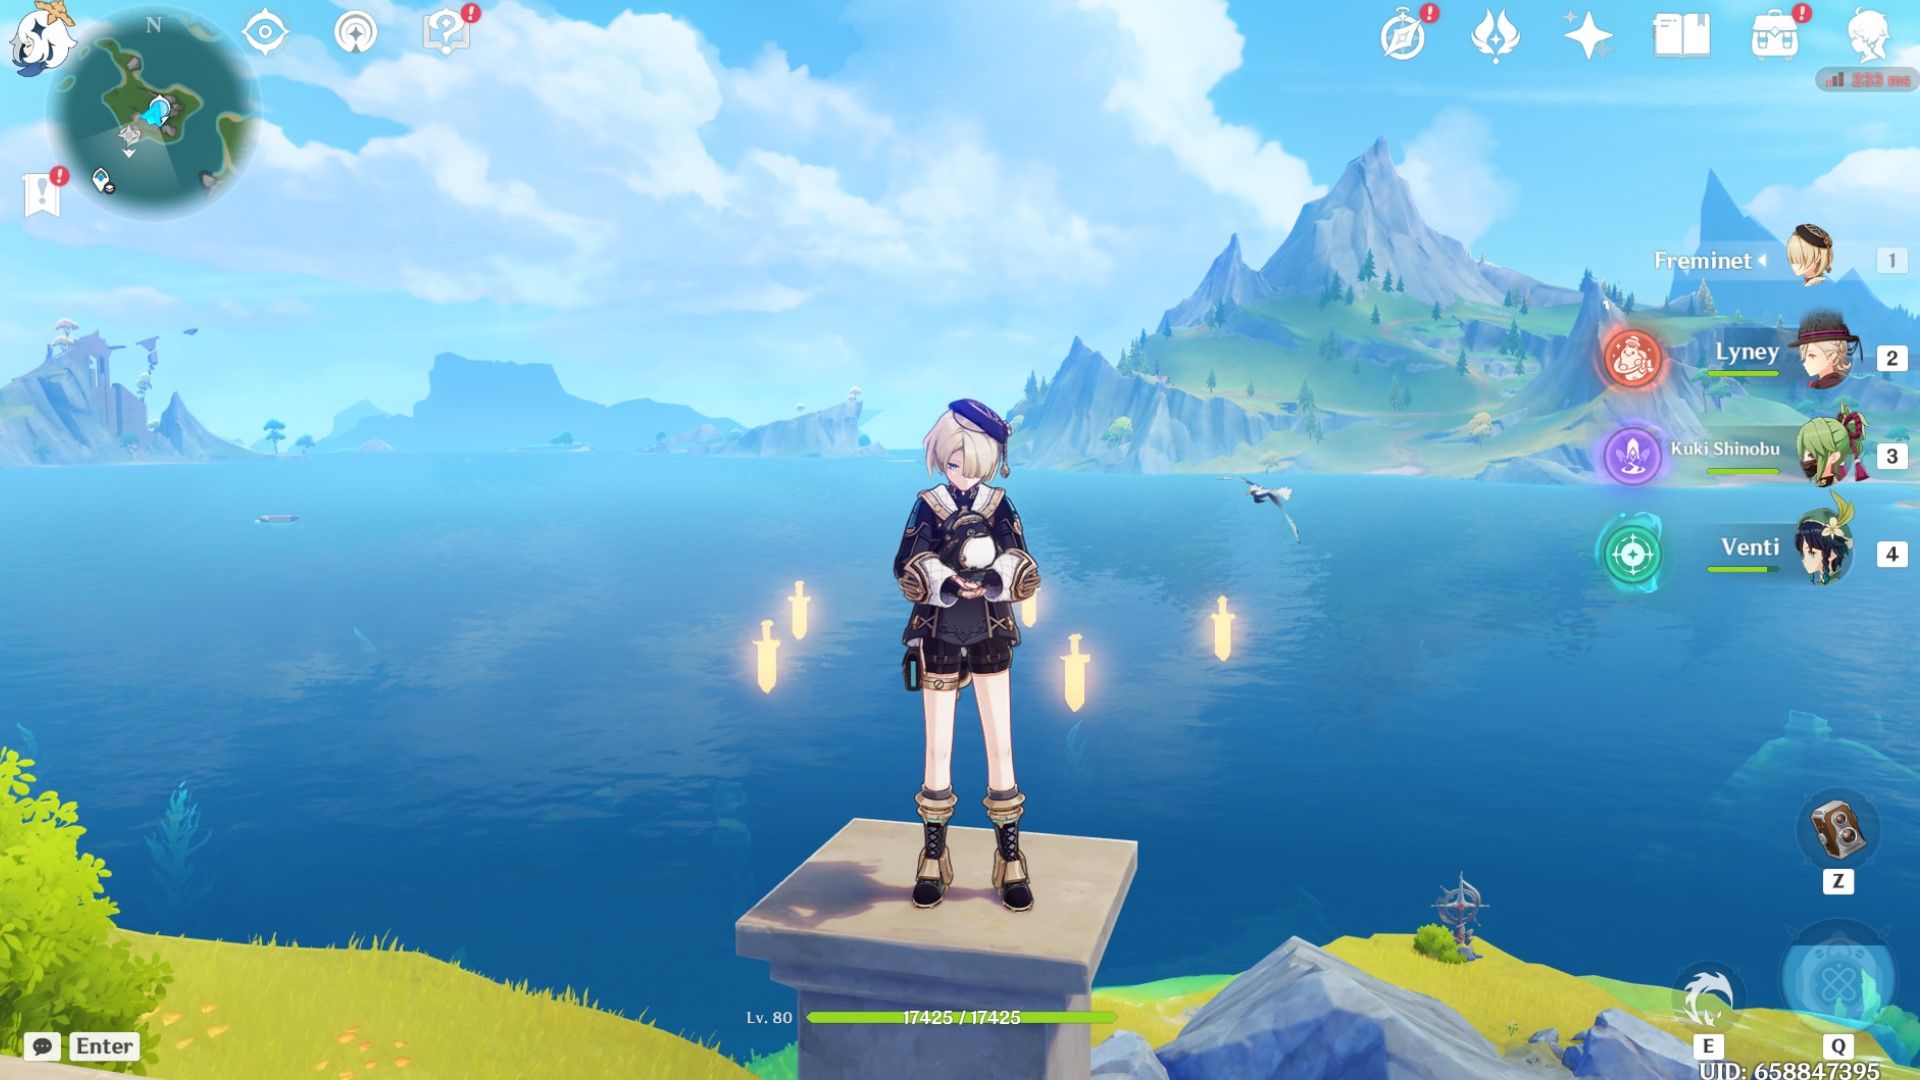
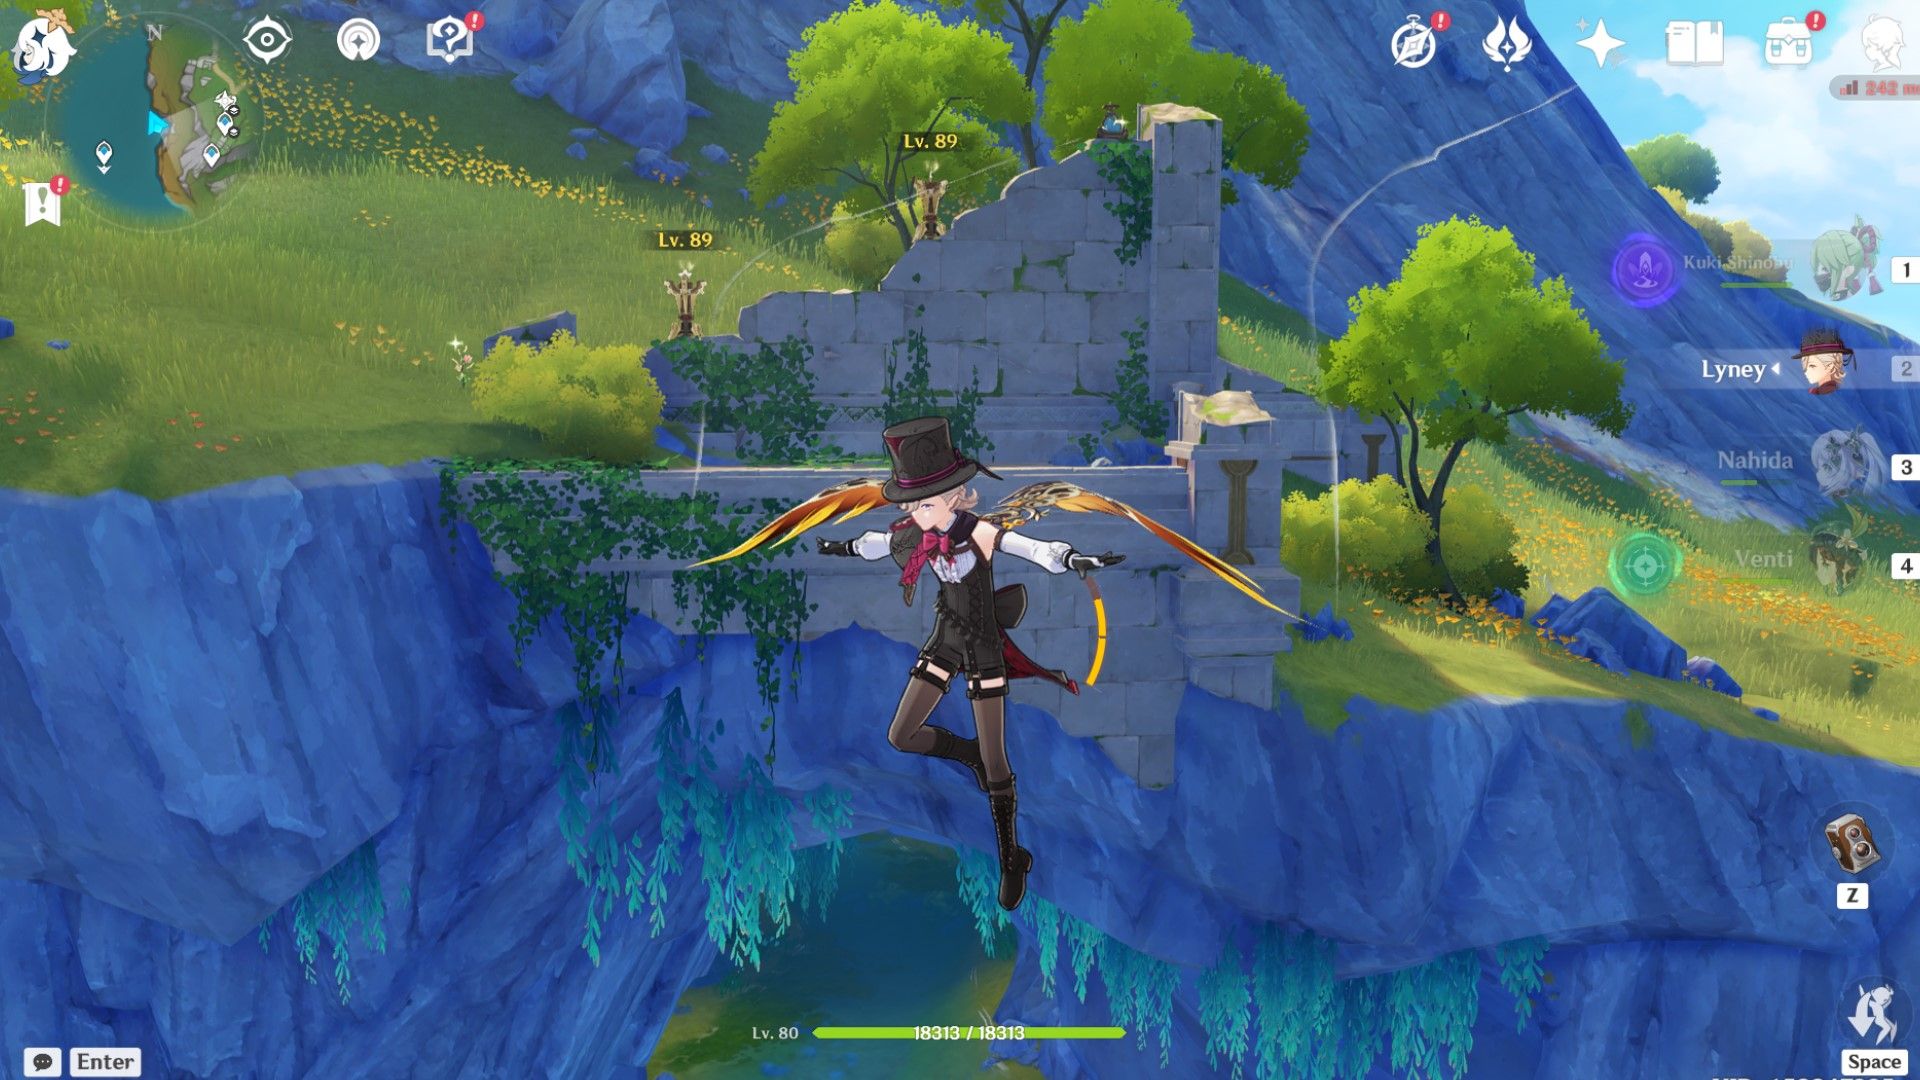
- Head to the Statue of the Seven on a small island above and between two larger islands in the Morte Region.
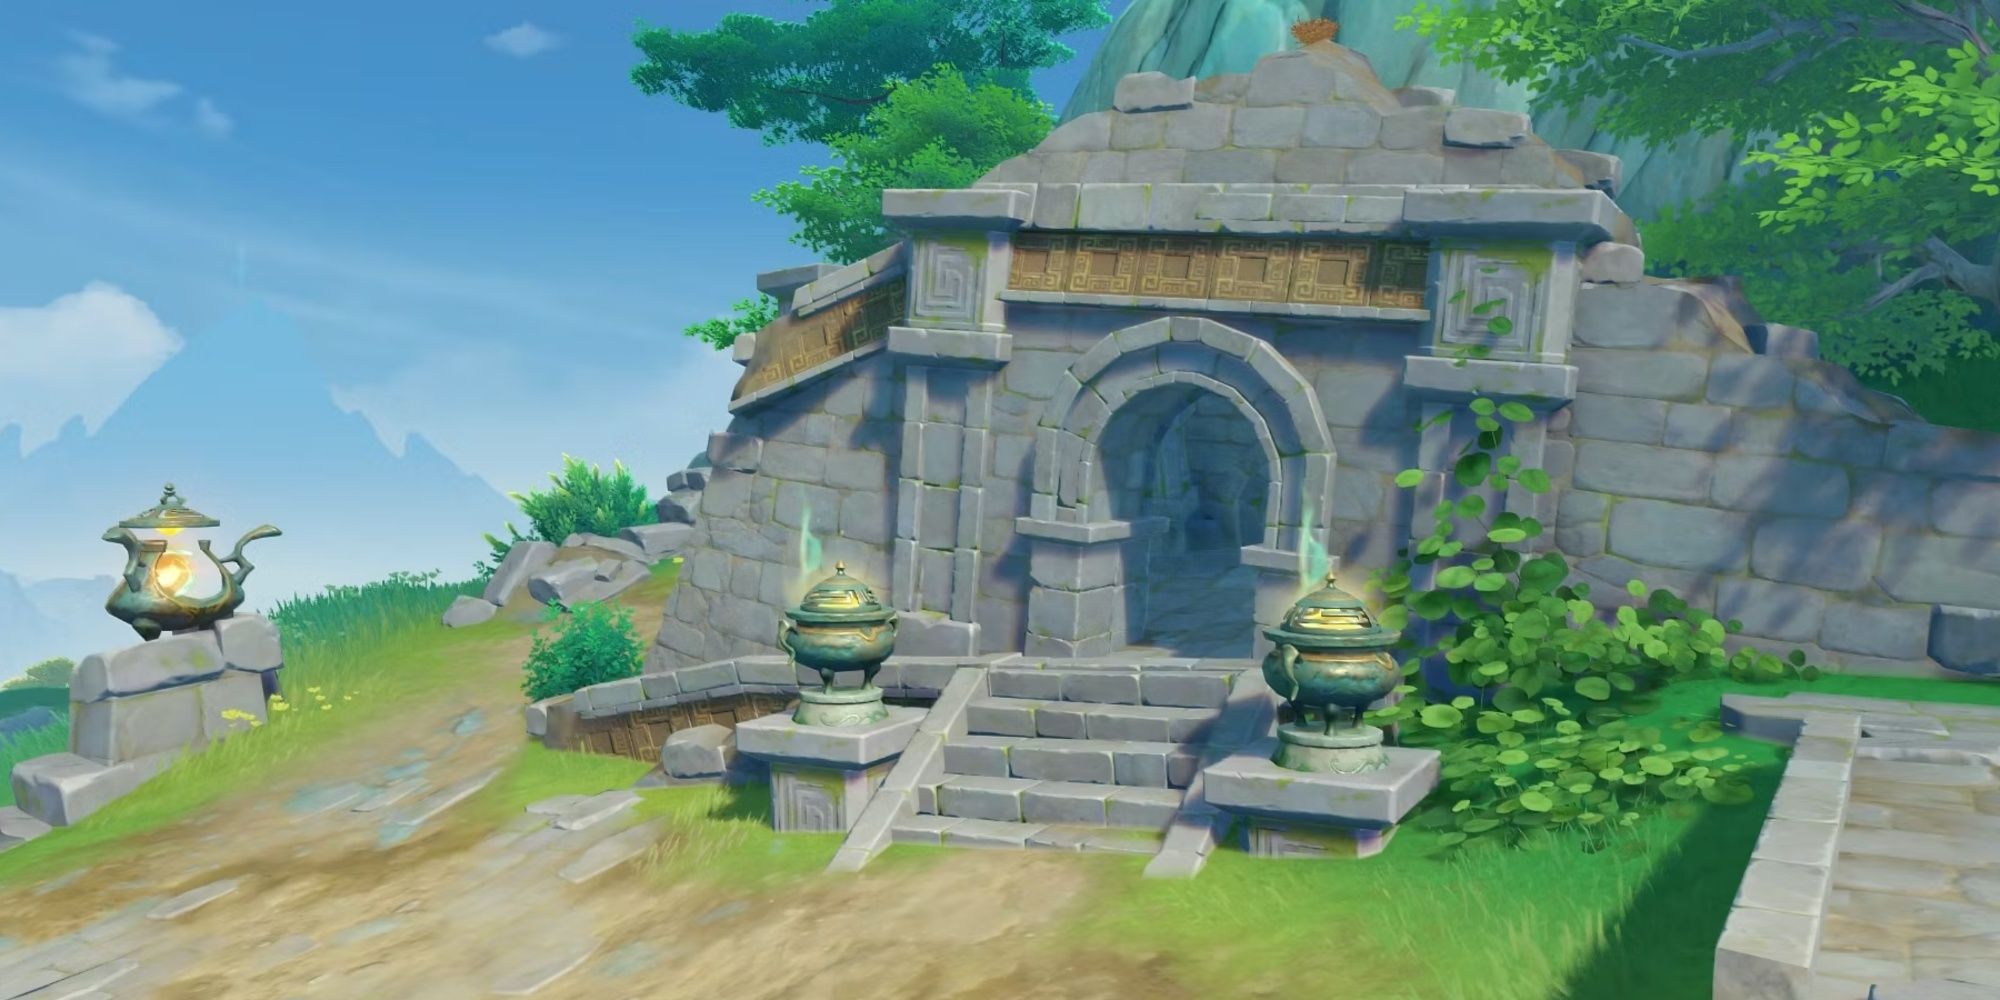
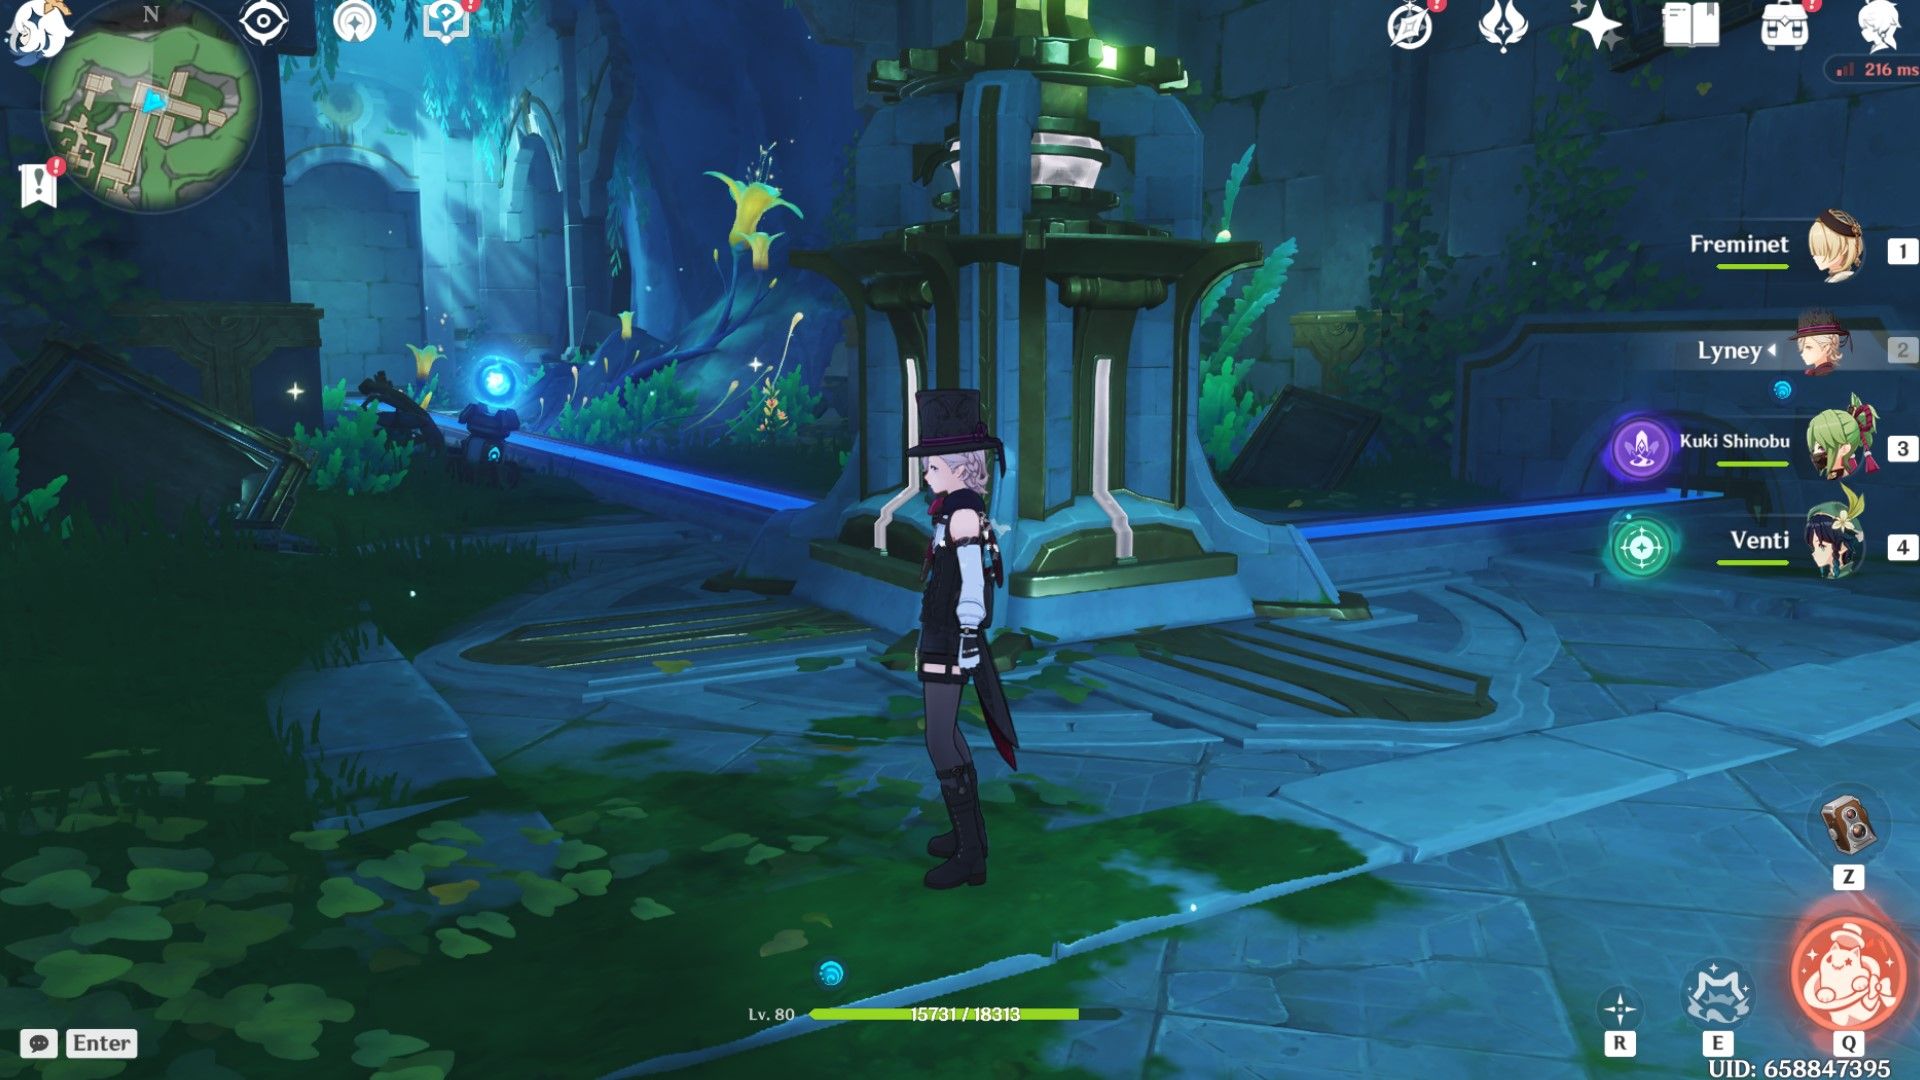
- Go towards the Hilichurl camp and head to the basement of the ruins.
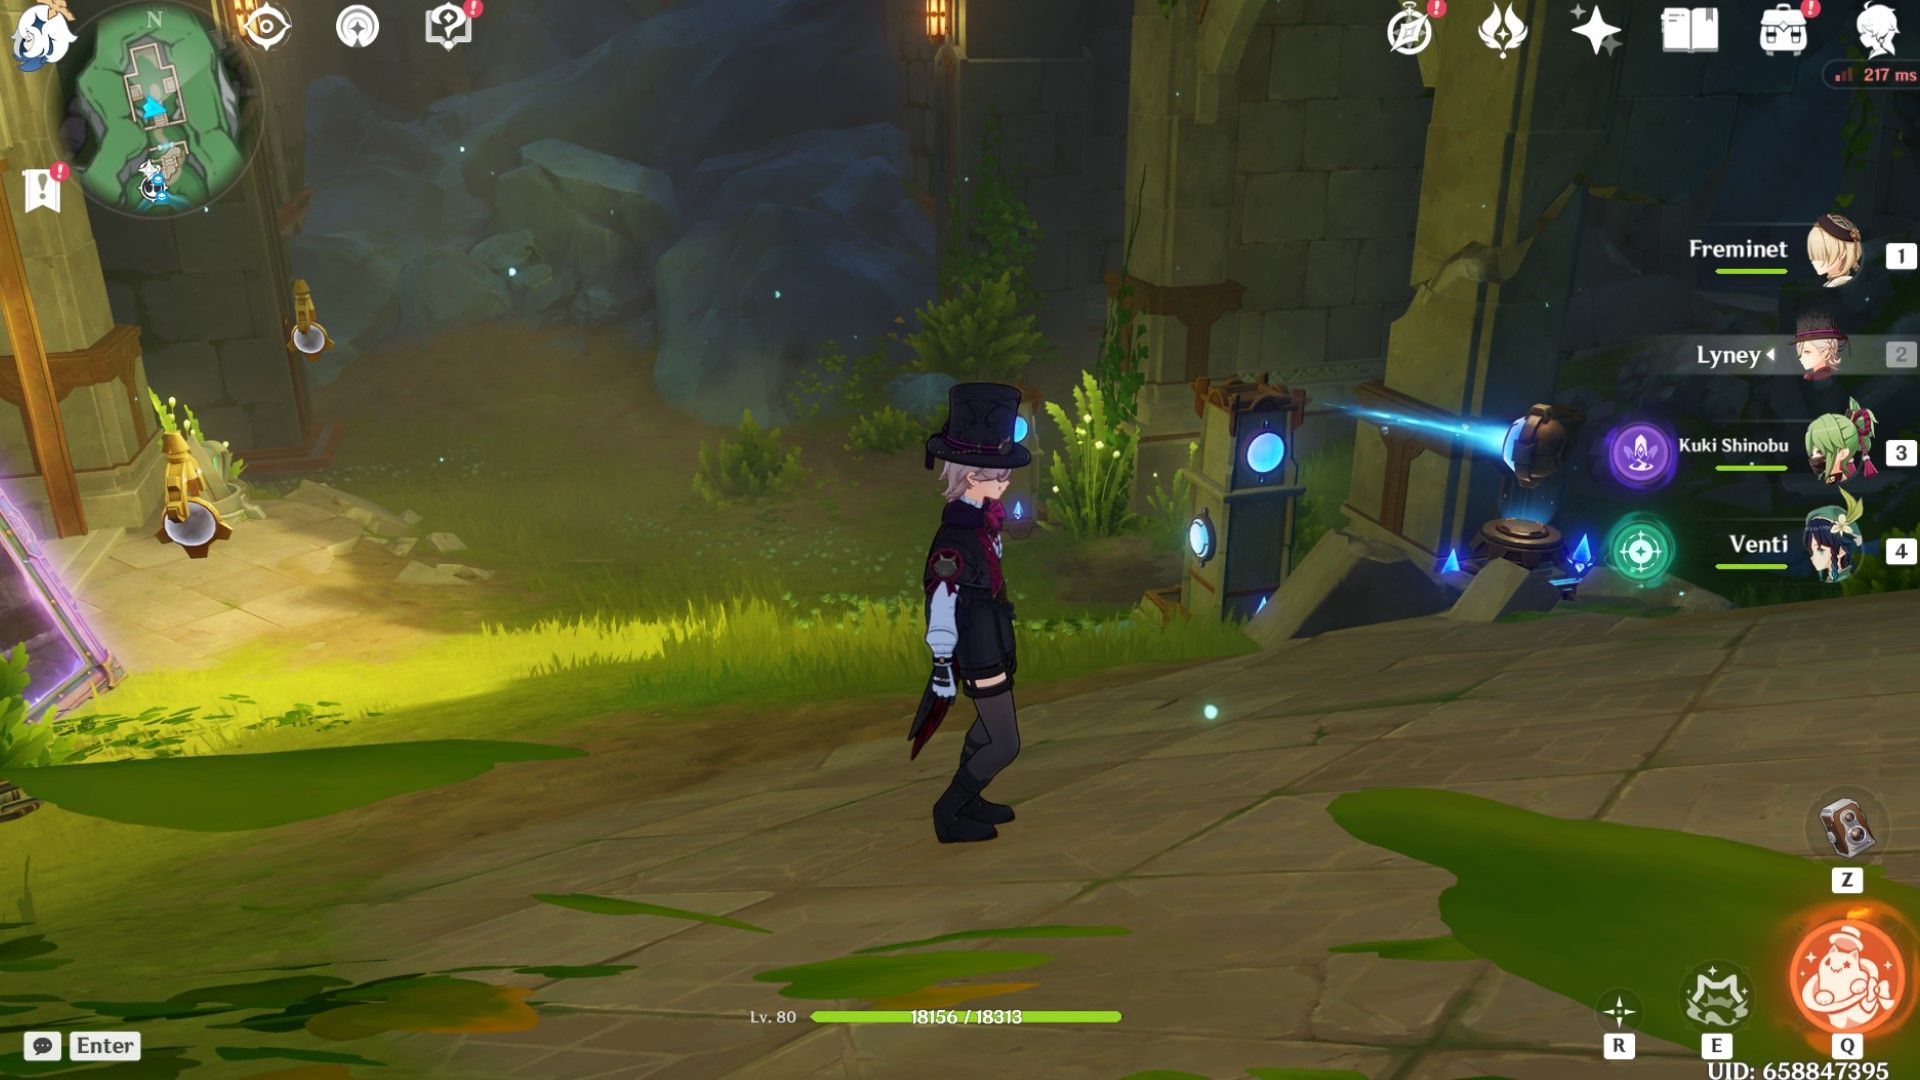
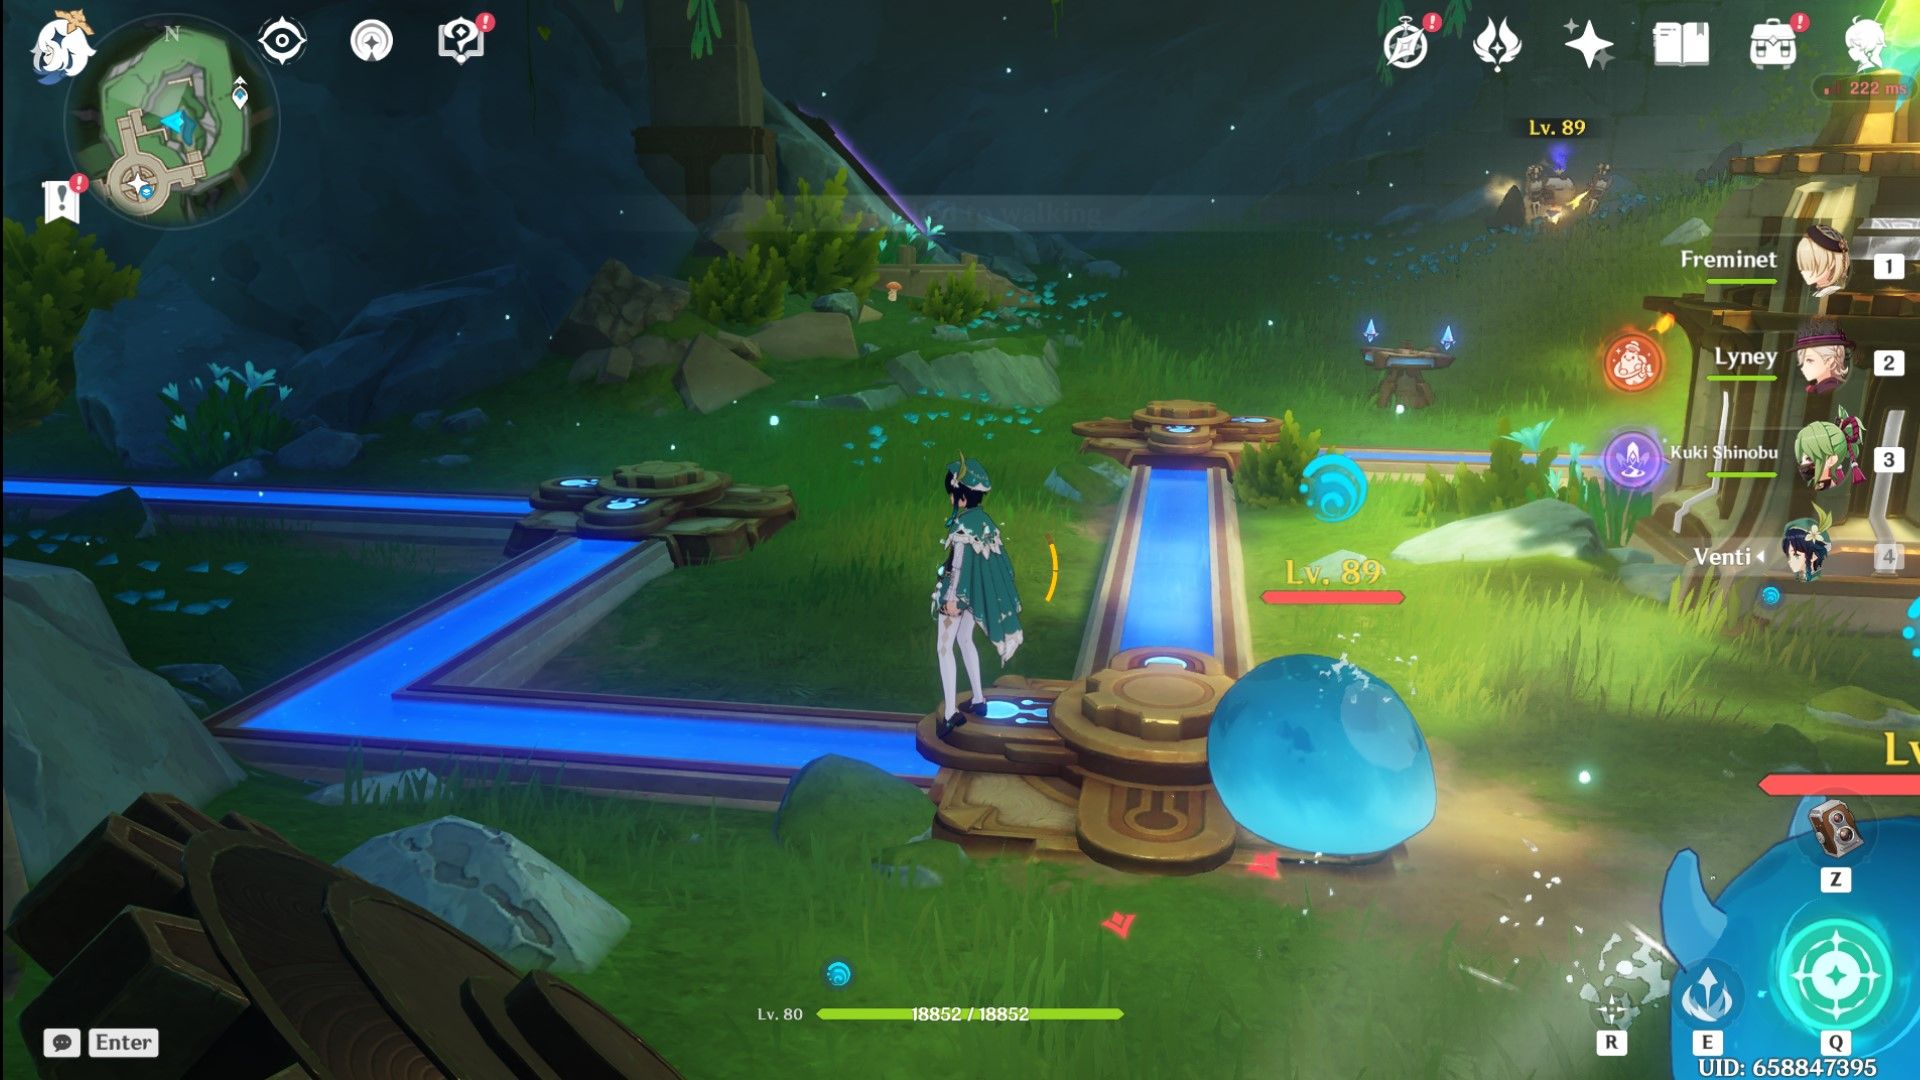
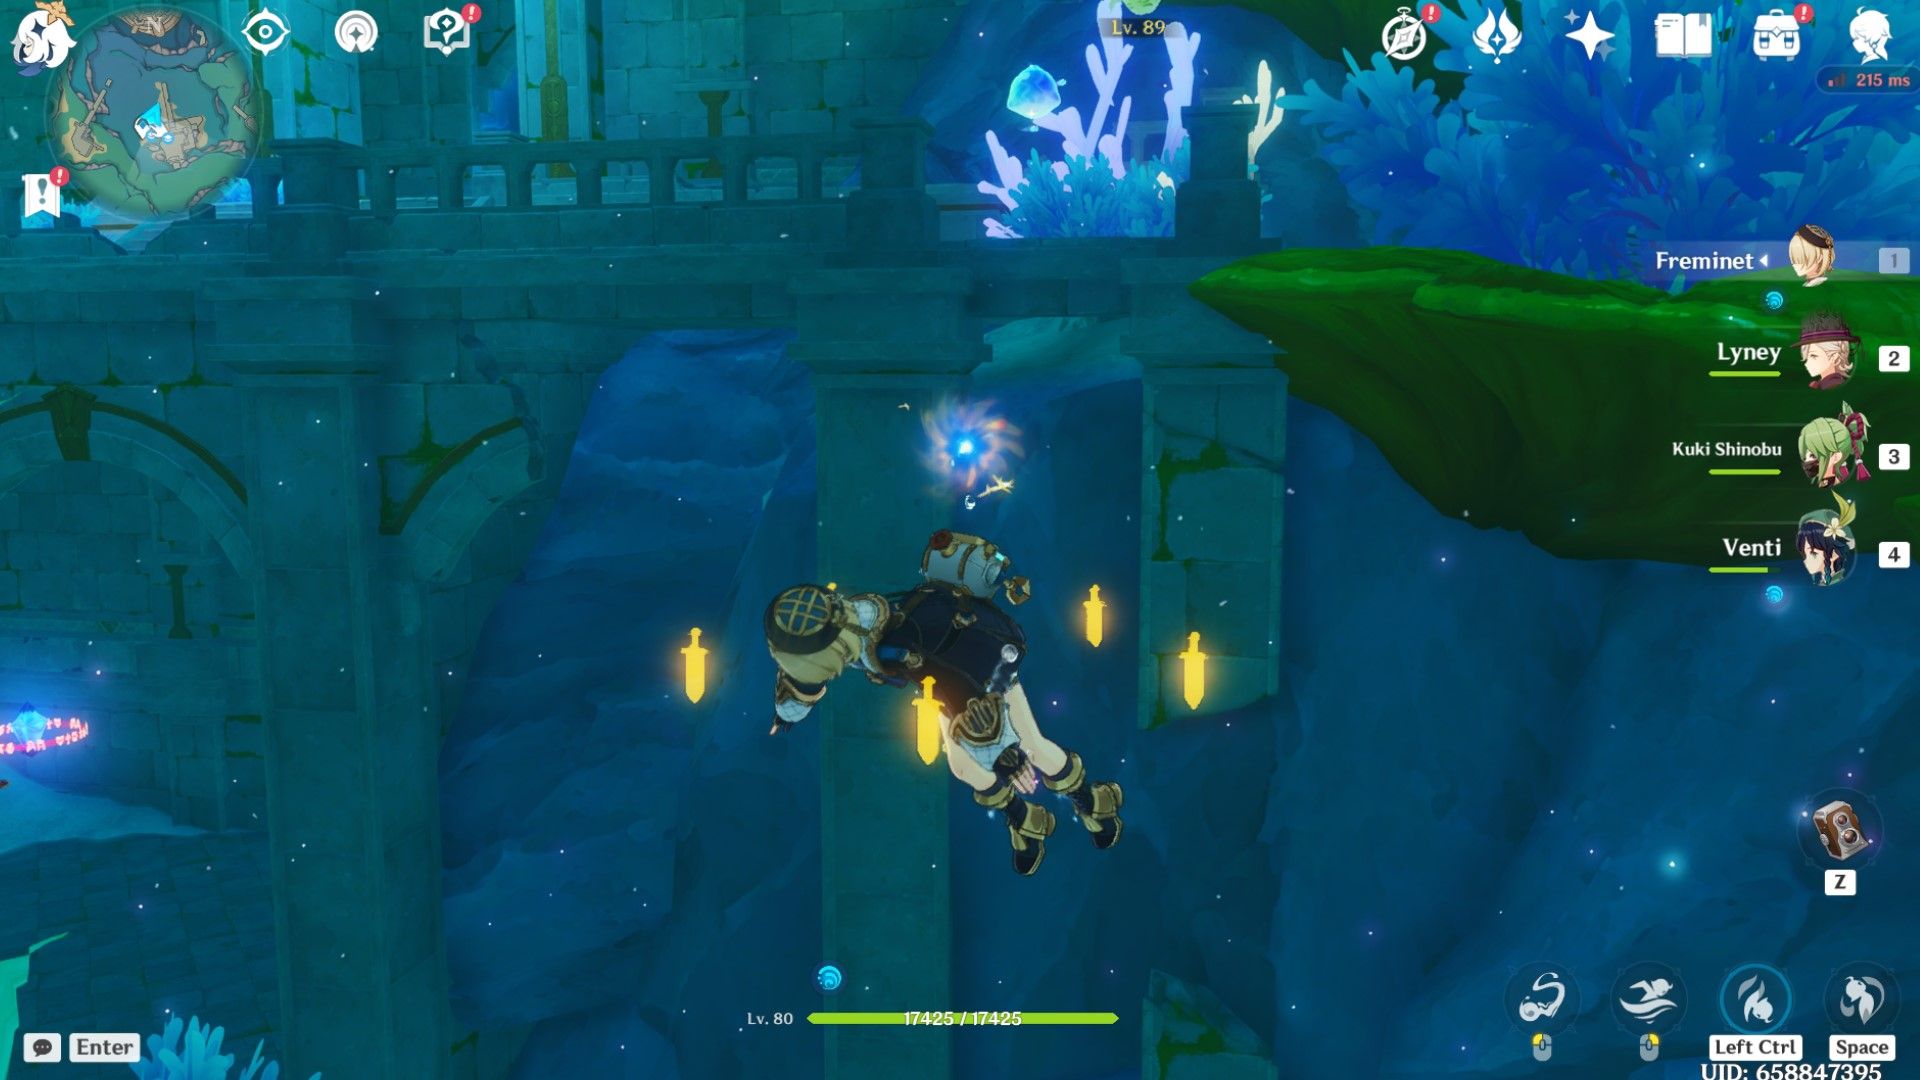
- Interact with the glowing blue orb. This will allow you to use the Feather Valve mechanism near the grated hole.
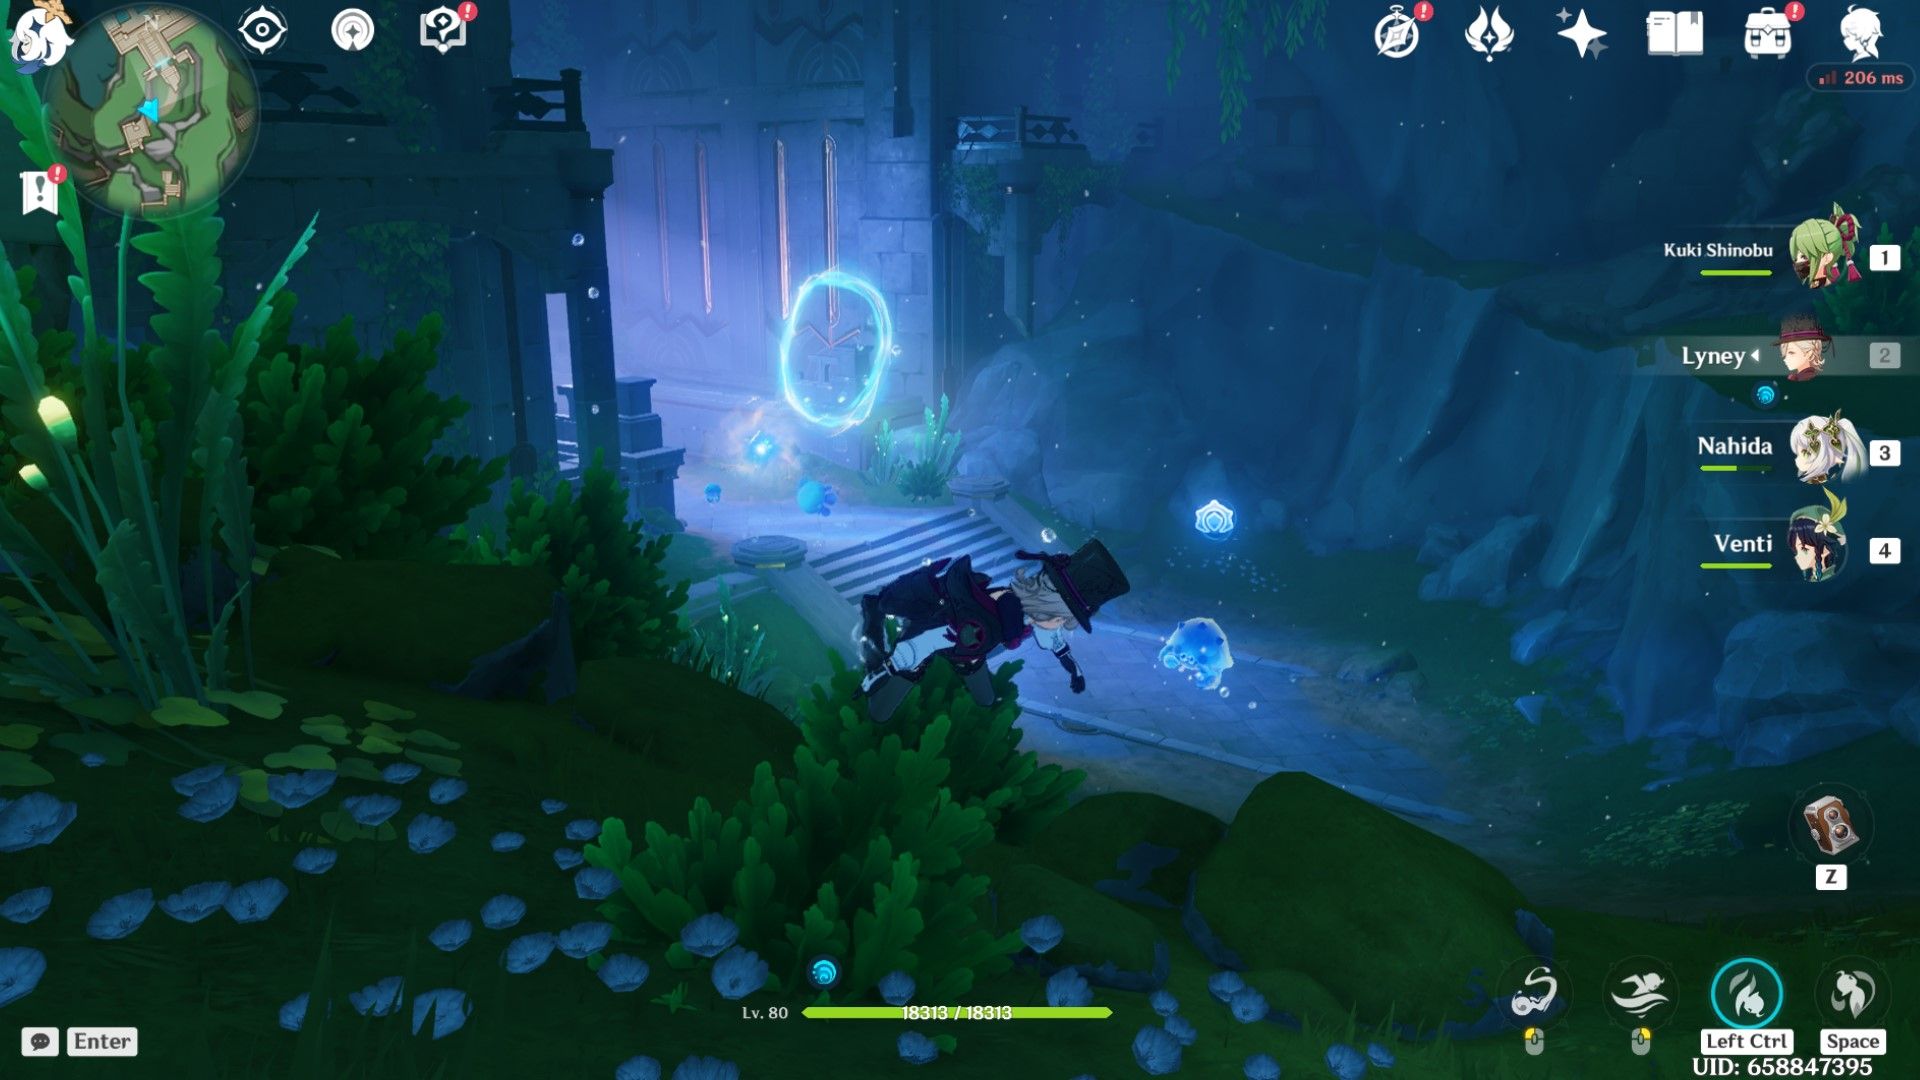
- Once the grate opens, jump through the hole.
- Traverse through the tunnel and jump through the hole at the end.
- Interact with the blue orb and turn the Feather Valve mechanism to open the grate.
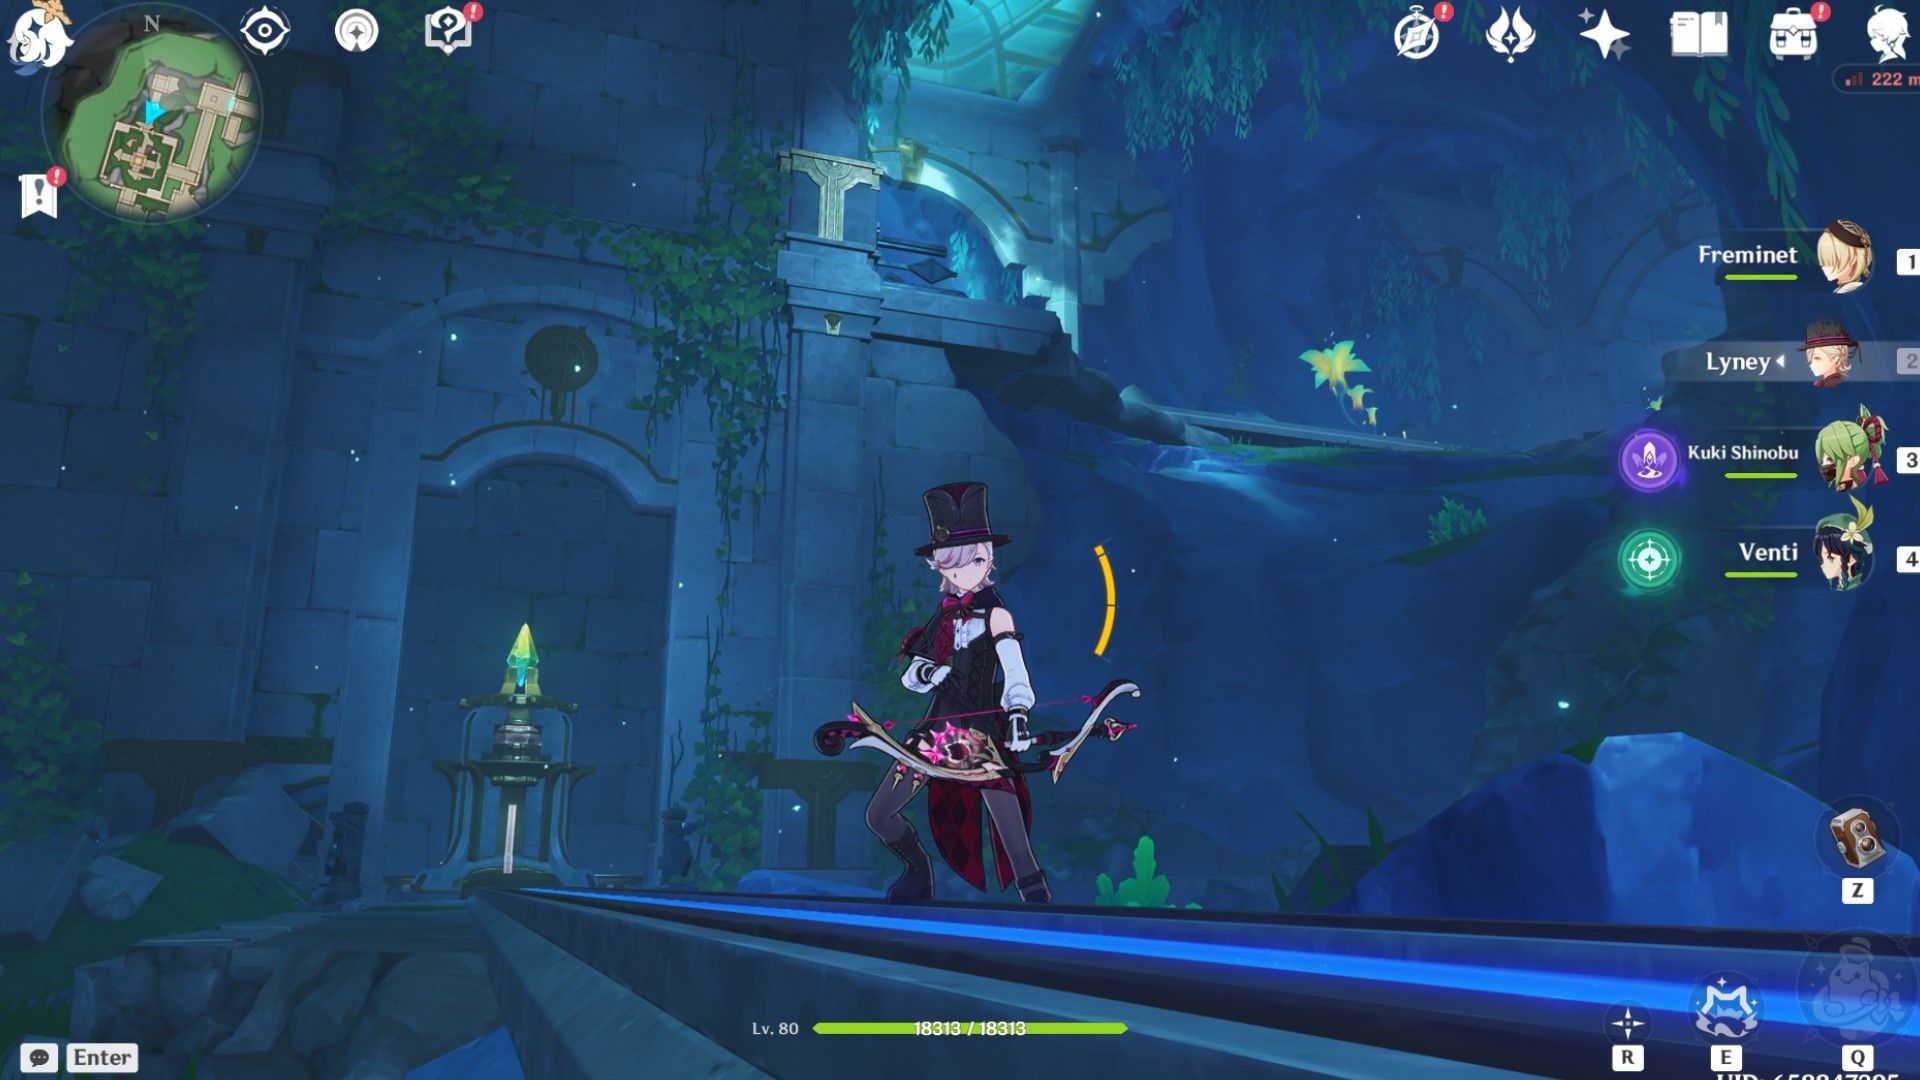
- Jump through the hole and proceed into the ruins: Orthat of Memory.
Top Quadrant

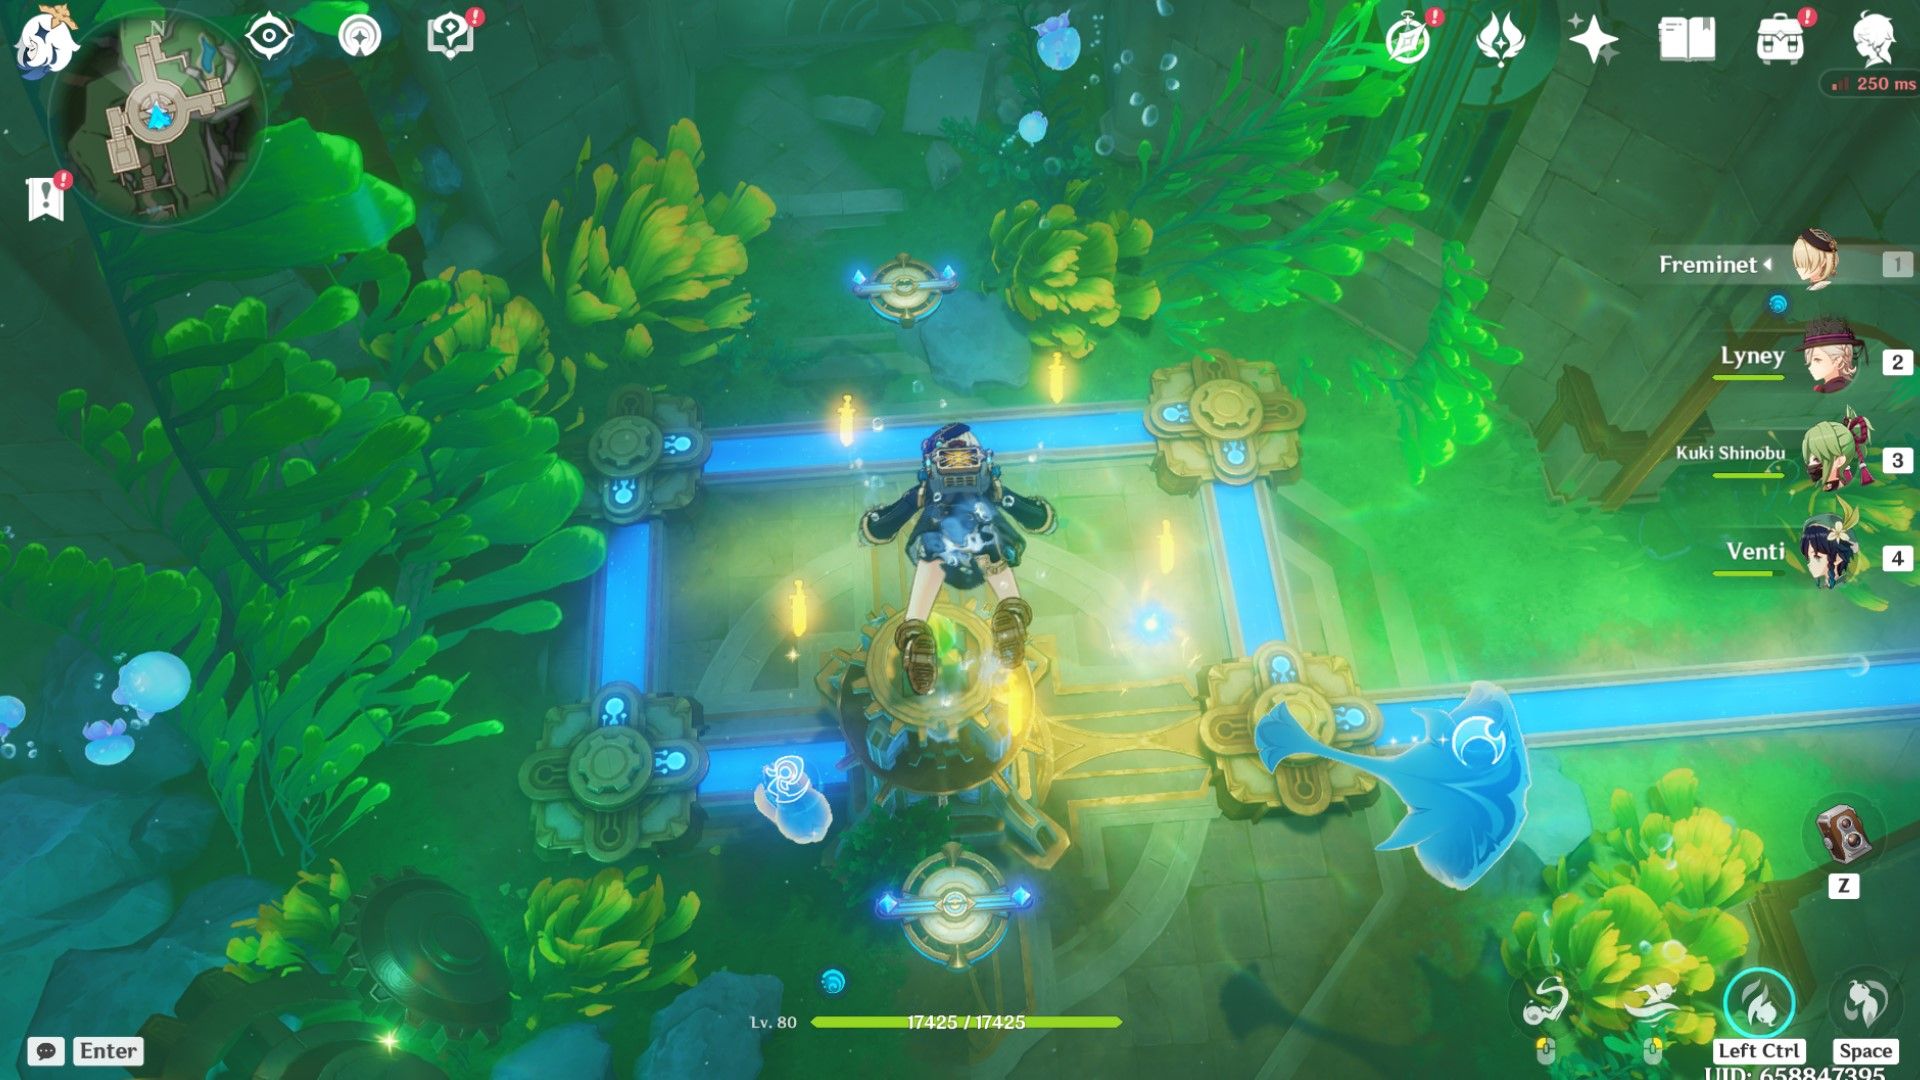
The primary mechanics of these puzzles will be to head into each quadrant and free the waterways so they all meet in the centre mechanism. This is the same mechanic used in every seal.
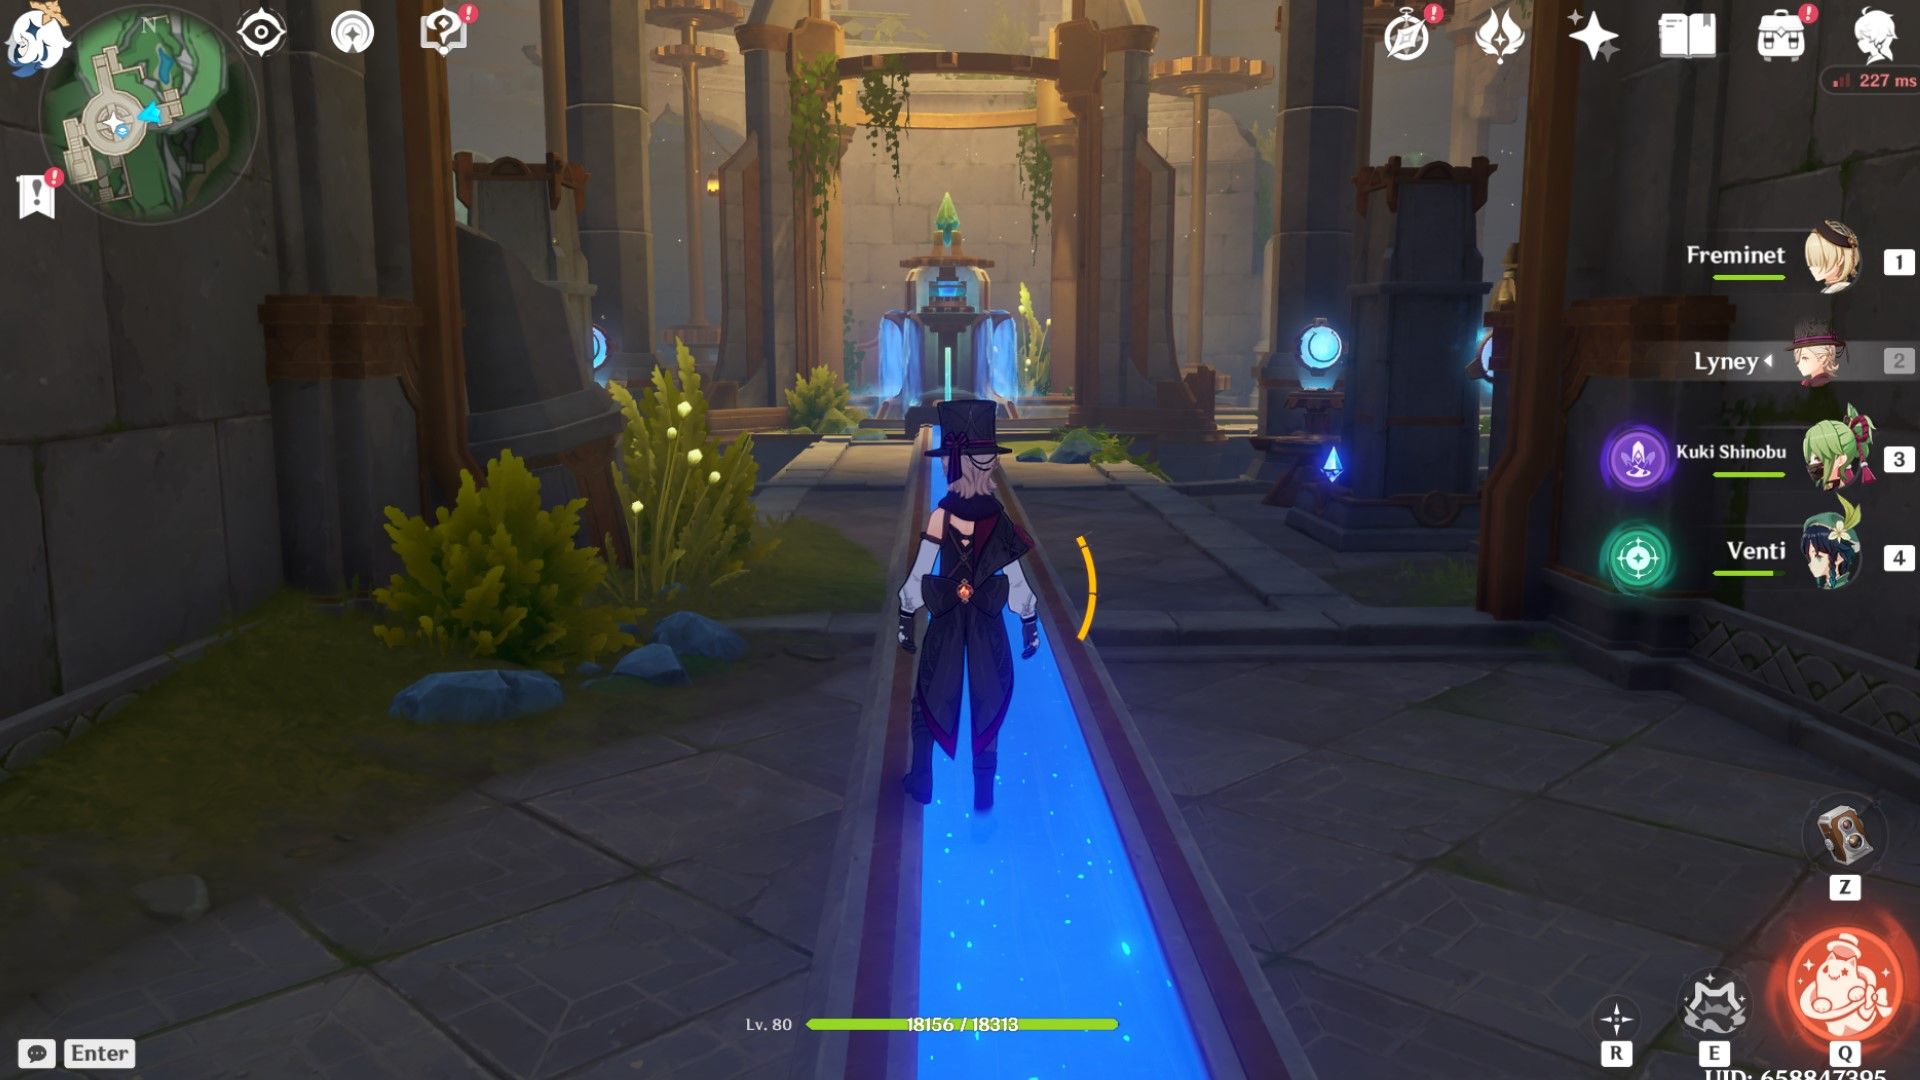
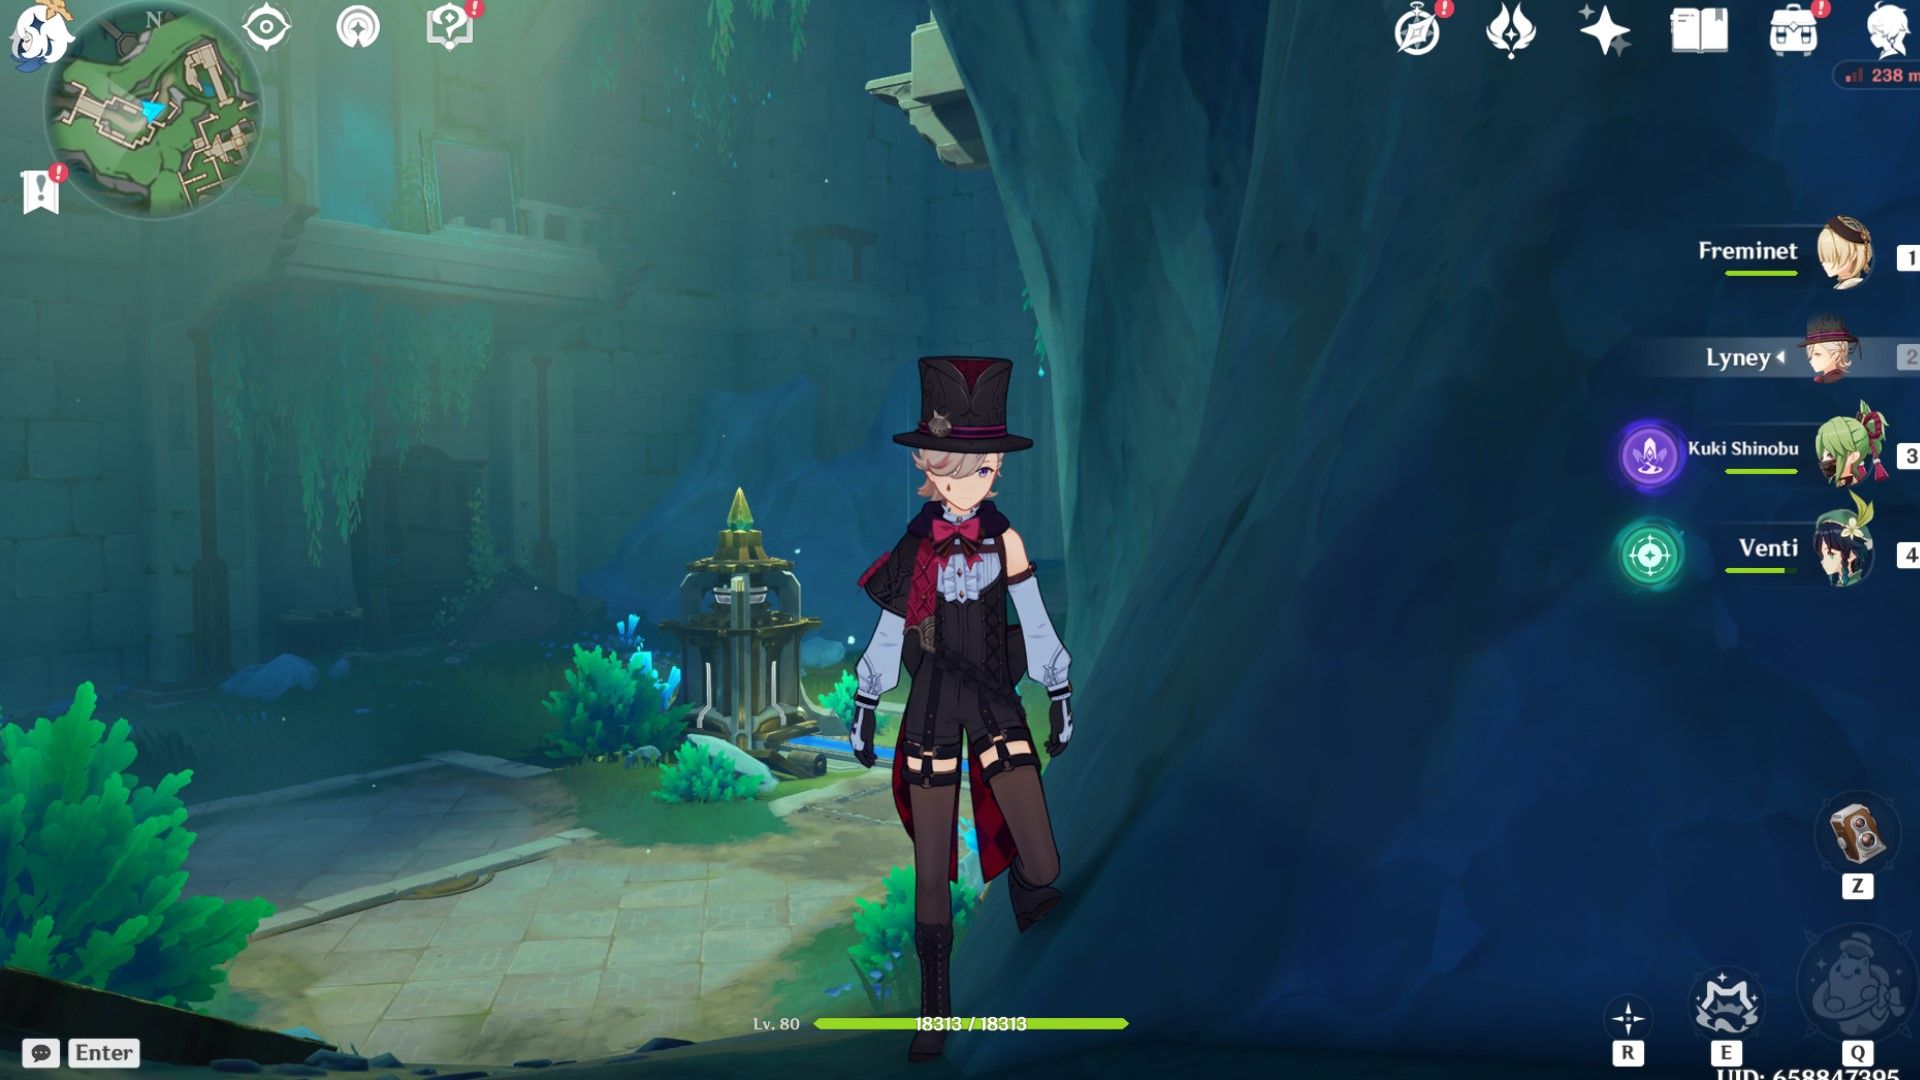
- Enter the centre room of the ruin.
- Go to the top quadrant of the ruin and interact with the statue. It will release water.
- Head to the right quandrant. You will encounter a few different mechanisms here.

Genshin Impact: Best C𒀰ha🅷racters for Primordial Winged Jade Spear
Here are the best characters to use the Primo𝕴rdial Winged Jade Spea﷽r in Genshin Impact.
Right Quadrant
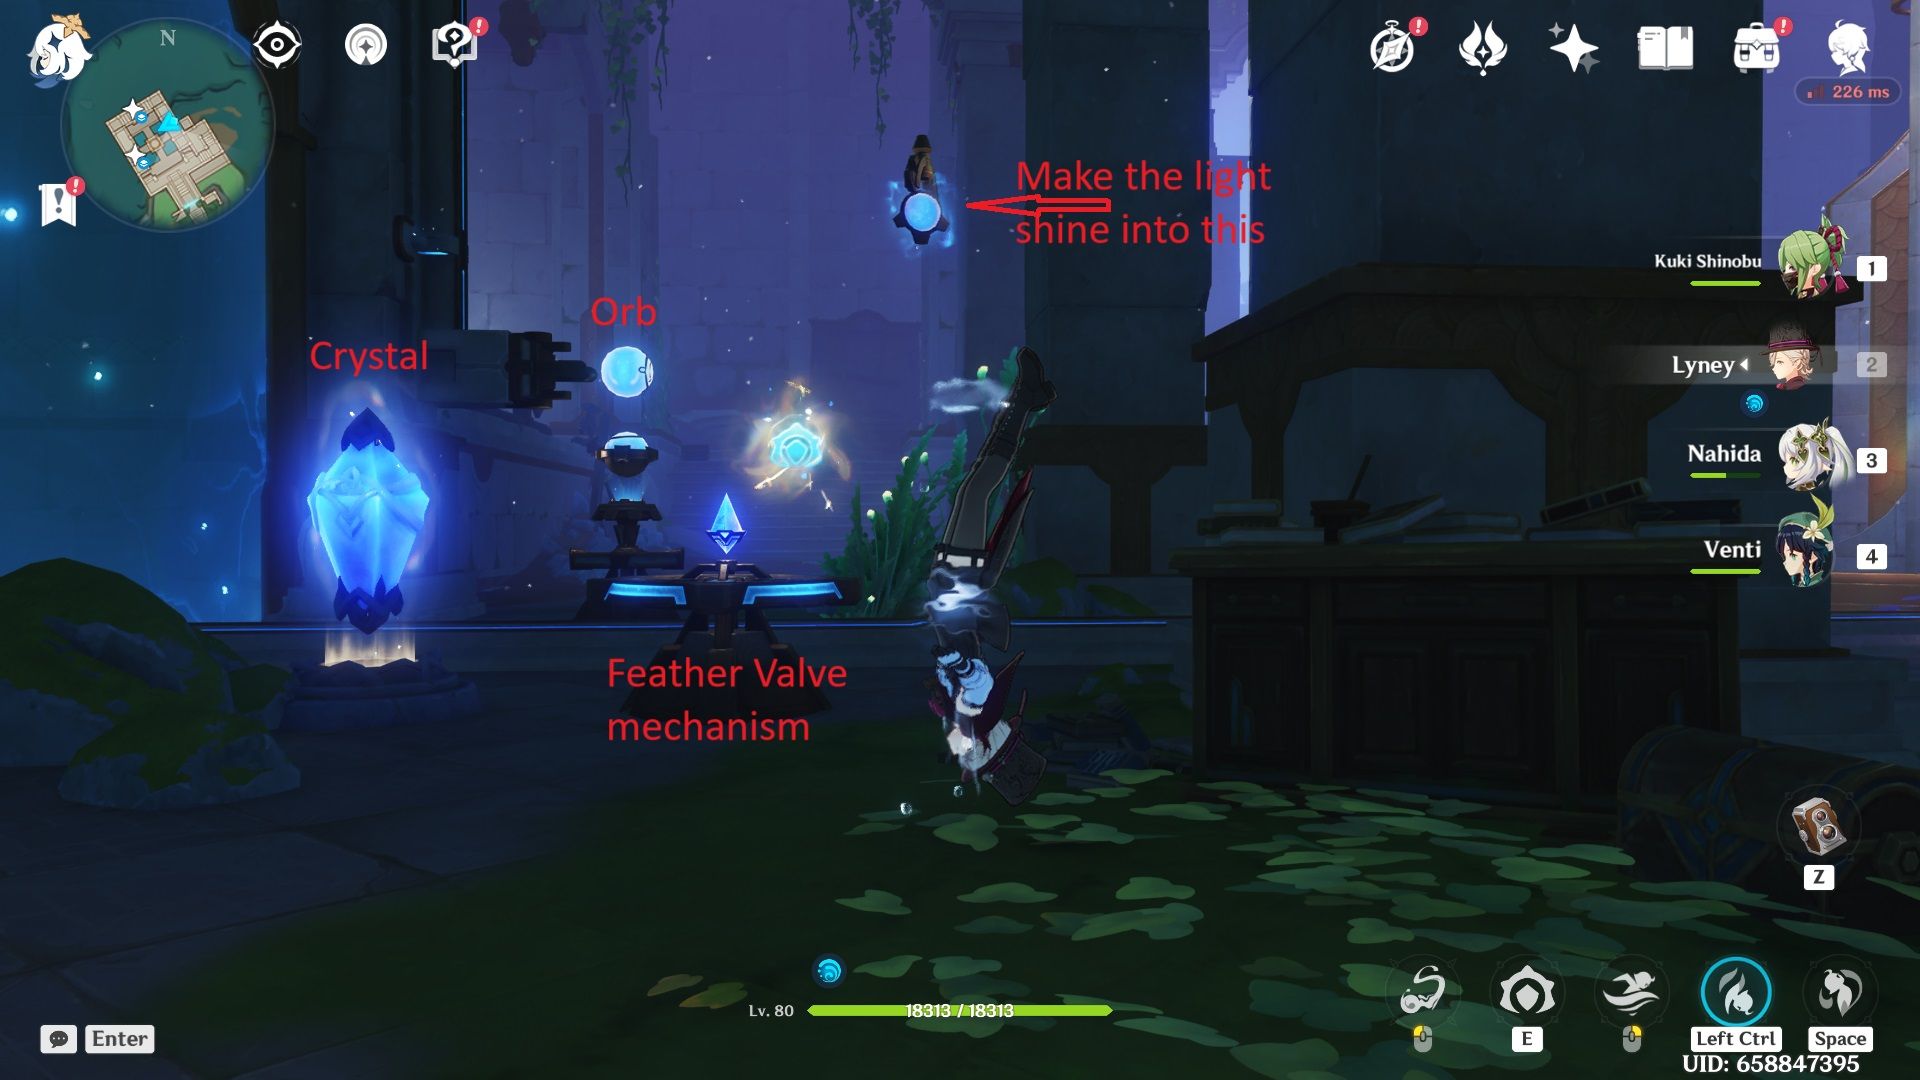
- Interact with the glowing blue orb so you can move the Feather Valve.
- Attack the glowing crystal so it goes from orange to blue. This will allow the next mechanism to move.
- Use the Feather Valve mechanism to turn the wheel. This will cause a glowing blue orb on the wall to move upwards. Get it as high on the wall as you can and immediately attack the crystal again so it turns back to blue. This will create a locked "floor," which will prevent the orb from falling back to the ground.
- The laser from the orb should now be refracting into a smaller blue orb. This new orb will spin, lifting the gate with the lift locked behind it.
- Interact with the lift and cause it to go down. This lift will become an empty vessel for you to transport water.
- Use the Feather Valve mechanism to lift the gate behind the larger statue.
- Interact with the larger statue, causing it to release water towards the smaller statue.
- Once the lift statue glows blue, return to it and allow it to go back up. This will take you back to the main room. Select Release, and the water will travel to the main seal/fountain.
Finish The First Seal
Intܫeract with the main statue. This will trigger a cutscene and 🐷flood this part of the ruins.

168澳洲幸运5开奖网: Genღshin Impact: Best Builds For Lyney
Lyney is the first playable character hailing from Fontaine, and here's everything you need to know if you're planning to build hꦅim.
How To Unlock Seal Two (Meteoric Lance)
Here is ꦯhow to find the second seal, also known as the Meteori♒c Lance subquest.
How To Find The Second Seal
- Head to a Teleport Waypoint south of the Fort Charybdis Ruins in the Morte Region of Fontaine.
- Head towards the southeastern coast, where you will find a large cave. Enter the cave.
- Go through the cave and into the entrance of the ruins.
Entrance
- Use the Feather Valve Mechanism to turn the orb, which projects a laser to the two pillars.
- Use the Feather Valve Mechanism on the towers to grow or shrink them. Do this so the laser goes through the crystals on both of them and hits the dull orbs on the other side of the room.
- The Looking Glass will light up, and the gate will rise.
- Enter the Looking Glass and defeat the Ruin Hound on the other side.
- Enter the Looking Glass behind the chest.
- Leap off the balcony and take the lift down.
- Trigger the Dendro bomb and sprint down the stairs. When the Dendro bomb explodes, it will cause the last gate to open, but the first gate will close. You need to be on the stairwell when this happens so you can go through the second gate when it opens.
Gen🐻shin Impact: Where To Find 🌠The Ancient City Key In Chenyu Vale
Valuable rewards await you after finding the ancient city key in Gens🎀hin Impact.
Unlock The Seal Part One
You will not enter the room with the main seal mechanism�🧸� with the main statue.
- Go to the gate on the right and use the Feather Valve mechanism on the pillars to make sure they aren't blocking the laser. This mechanism is the same on either side of the door.
- The gate will now open.
- Go through and defeat the Mech guarding the lift.
- Take the lift down.
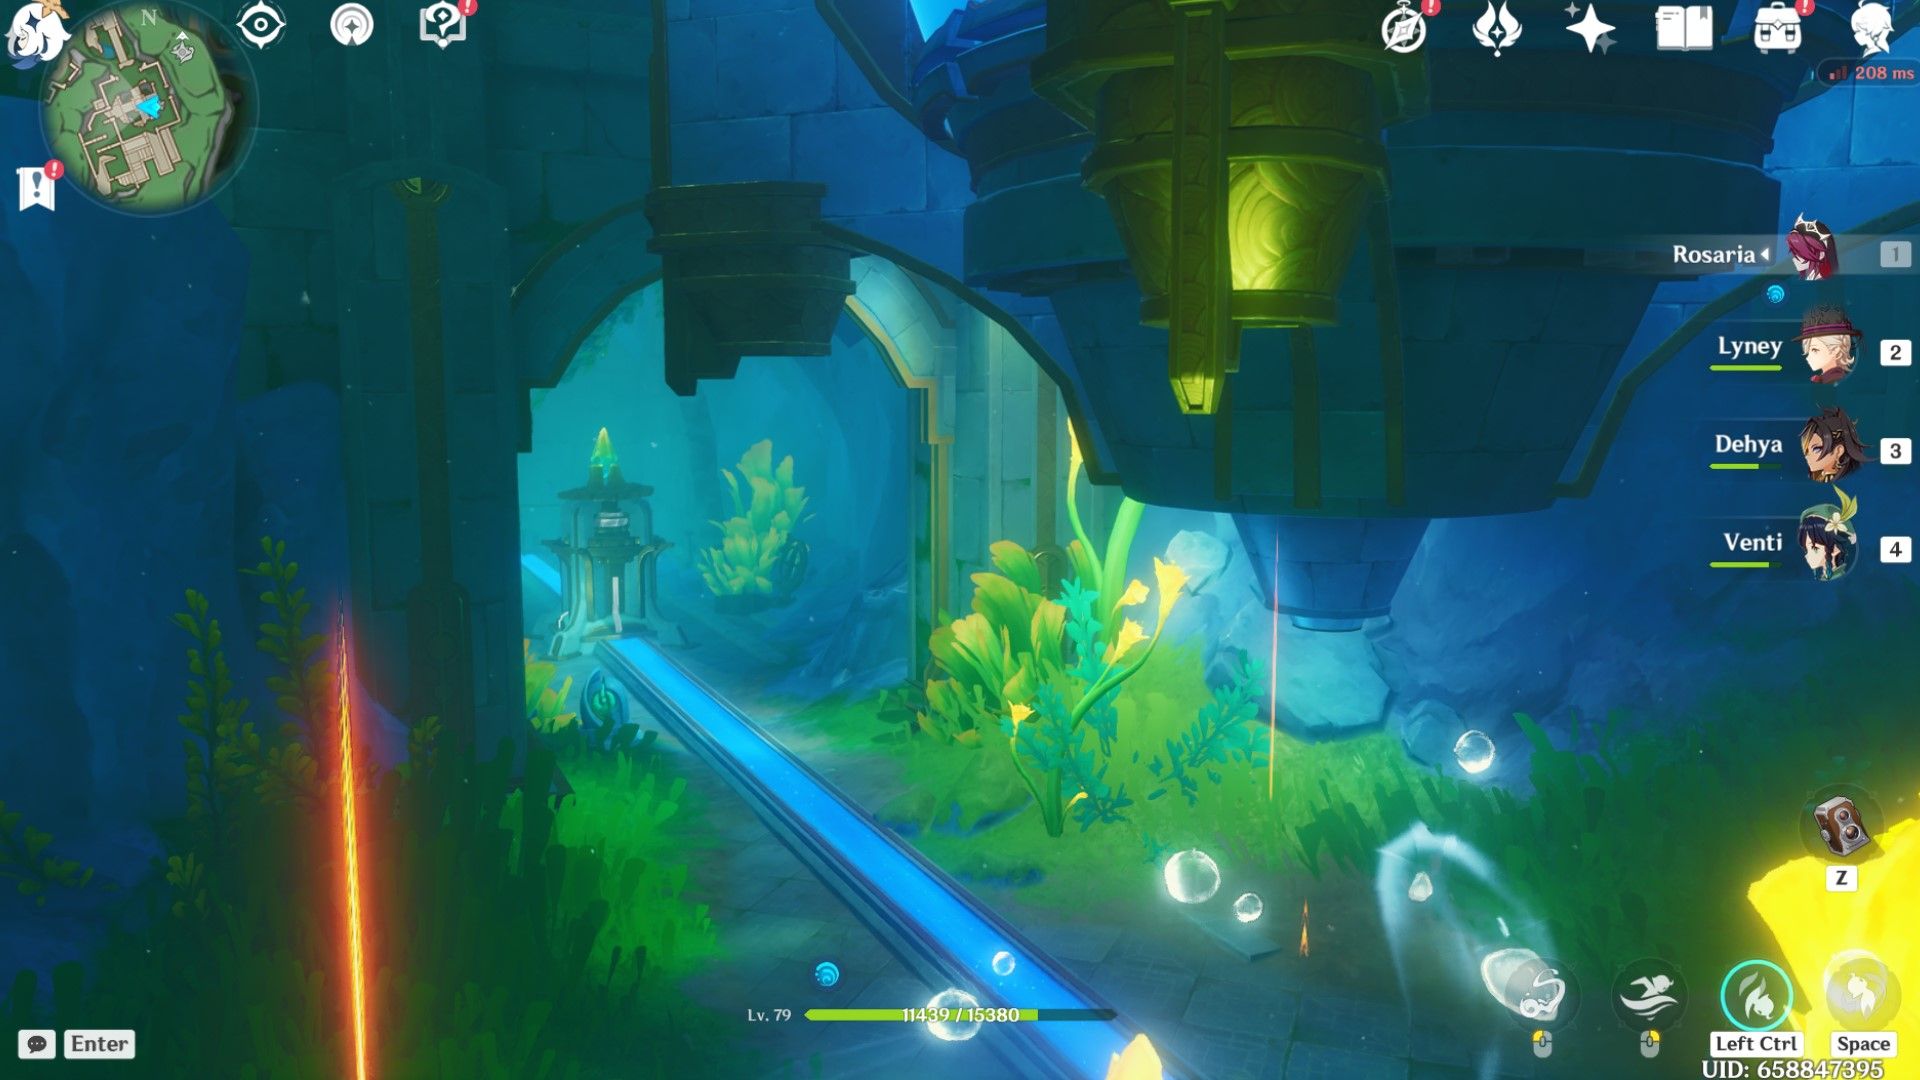
- Release the water valve.
- Use the Feather Valve so the blue parts of the gears align with the track. This will allow the water to pass through them and towards the lift.
- Once the water has reached the lift, take it up.
- Release the water, and it will flow towards the main mechanism.
- Use the glowing blue mechanism next to the gate to open it and leave.
Unlock The Underwater Seal
This seal can be found underwater under the main statue.
- Jump off the edge of the main room into the water and dive to the area underneath the main seal (the seelie from the previous seal will show you where to go).
- Use the Stingray Fontemer Abborant to defeat the underwater mechs. The octopus Fontemer Abborant will appear. Interact with it.
- Use the Feather Valves to move the gears so they can allow water through them.
- Release the waterway from the statue.
- Use the Stingray Fontemer Abborant to cut through the seaweed so you can traverse down the hall.
- Go down the hall to the lift and take it upwards. You will need to select "Go up" twice because the lift will stop first at the incorrect floor.
- Release the waterway, and it will flow towards the main seal.
Finish Unlocking The Seal
To finish this part of the seal, climb to the top of it anꦚd interact with it. This will trigger a cutscene. You're now free to travel to the next seal location.
How To Unlock Seal Three (Cupid's Lover)
Here's how to unlock the th🍬ird seal, also k🍎nown as the Cupid's Lover subquest.
How To Find Seal Three
- Teleport to the Teleport Waypoint on the East Slopes of Mont Automnequi in the Belleau Region. Head west towards the coast where you will find a cave.
- Head to the small island near the mouth of the cave to summon the Waverider.
- Go as deep as you can into the cave and trigger the cutscene near the raft with the books on it.
- Dive underwater.
As soon as you enter the underwater portion of the cave🙈, you will be met with cannon fire.
Enter The Ruins
- Collect the crystals to trigger the Feather Valves on the cannons. Point and fire the cannon towards the destructible blue rocks to reveal the Pneuma Block.
- Head to the statues on either side of the entrance. Use the Feather Valve to rotate the gears so they will allow water to pass through them.
- Release the waterways.
- Enter through the doorway and release the waterways from the first statue.
- Walk down the hall, jump off the balcony, and head to the room with the main part of the seal.
Seal Three Puzzle One
- Go to the bottom hallway and take the lift down.
- Hit the glowing crystal and take the ocean current to another room.
- Hit the glowing crystal within that room, causing the gate to open. Go through the gate.
- Interact with the jellyfish Fontemer Aborrant and fire a jellyfish at the crystal you can see in the other room. This will cause the gate to shut but the one in front of the nearest statue to open.
- Hit the nearest crystal and sprint into the same room as the statue before the gate closes.
- Interact with the statue. This section of the ruins will drain, and the waterway will be activated.
- Return to the lift and take it up.
- Once you return to the main level, release the water towards the main seal.
Seal Three Puzzle Two
- Go to the left part of the ruins.
- Take the lift down.
- Release the waterway from the statue in the hall.
- Pick up the Special Key item from the windowsill at the end of the hall (it will be glowing).
- Take the lift back down and release the waterway so it meets with the main seal.
- Take the Hydro teleporter up to the balcony you used to jump off when you entered the ruins.
- Use the Special Key to open the gate that's blocking the way to the lift.
- Take the lift down and release the waterway.
Finish Unlocking Seal Three

Climb to the top of the seal (fountain) and interact with it. Th🧸𓂃is will trigger the next cutscene and allow you to travel to the last seal.
How To Unlock Seal Four (Thalia And Melpomene)
Here is how to unlock the fourth and final seal (also known as th𒉰e subquest Thalia and Melpomene).
How To Find Seal Four
- Go underwater to the ruins south of the Sealed Ruin Tower.
- Go through the doorway into an open space and head through the cave to another entrance. You will trigger another cutscene.
- Enter the ruins.
Seal Four Part One
- Interact with the statue you will see as you enter and release its waterway.
- Continue through the ruins.
- Enter the main room, which consists of a cavern and the remains of a building.
- On the cavern floor, make sure the gears are properly aligned so the waterway can pass through it.
- Release the waterways on the cavern floor.
- Go to the lift inside the ruined building and go up.
- You will now find yourself in the main room. Release the waterway.
Seal Four Part Two
- Dive below the main room and go to the bottom part of the room.
- Swim through the left hall.
- Interact with the crabfish Fontermer Aborrant and break the blue rocks.
- Pick up the blue crystals and interact with the octopus Fontemer Aborrant.
- Put the crystals into the Feather Valve mechanism and turn it until the waterway gears are positioned to allow water through them.
- Release the water from one of the statues (it will be behind a breakable blue rock).
- The water will stop at another statue nearby, on a ledge overlooking this part of the ruins. Make sure to release the water from this statue so the water can pass through it.
Seal Four Part Three
- From where you are already, interact with the mechanism to open the gate.
- Swim through the gate and enter an aired room. Collect a Key from the bookshelf (it will be glowing).
- Return to the main room and head to the above-water lower hallway.
- Use the key to open the gate. Go up the stairs and call for the lift.
- Return to the main room and go back to the underwater part of the ruins where you were in Part Two.
- Interact with the lift to go up.
Finish Unlocking The Final Seal
Interact with the fountain seal one final time. You will suddenly find yourself ♐flying through the air towards the Sealed Ruin Tower.
Enter The Sealed Ruin Tower
You will be transported to the top of the Sealed Ruin Tower. You can enter the tower through a small metal door on the roof. This will trigg🌱er several cutscenes and a boss battl💛e.

Genshin Impact: The Entire Plot Of Fonꦐtaine So Far, Explained
The main quest of Fontaine int🦹roduces a ton of new characters with a phenomenal plot, but it can be quite difficult to unde🍌rstand everything.