


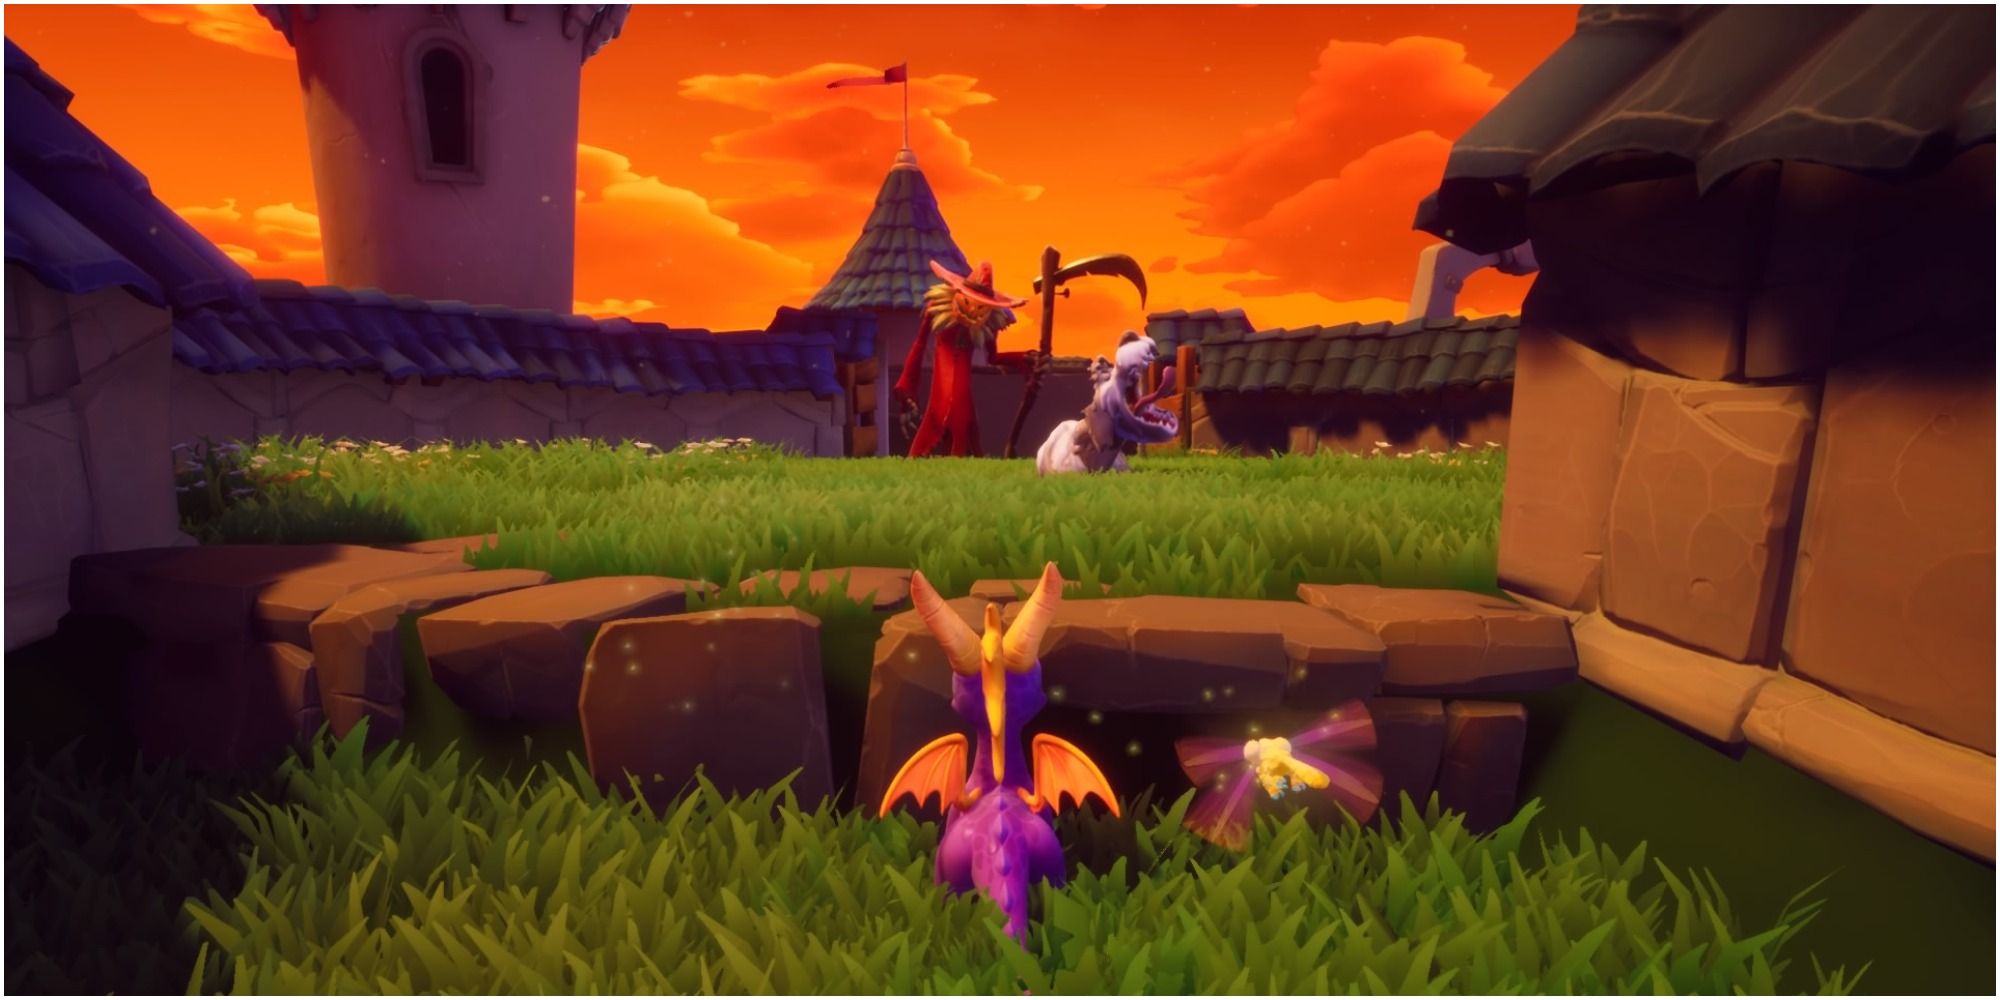
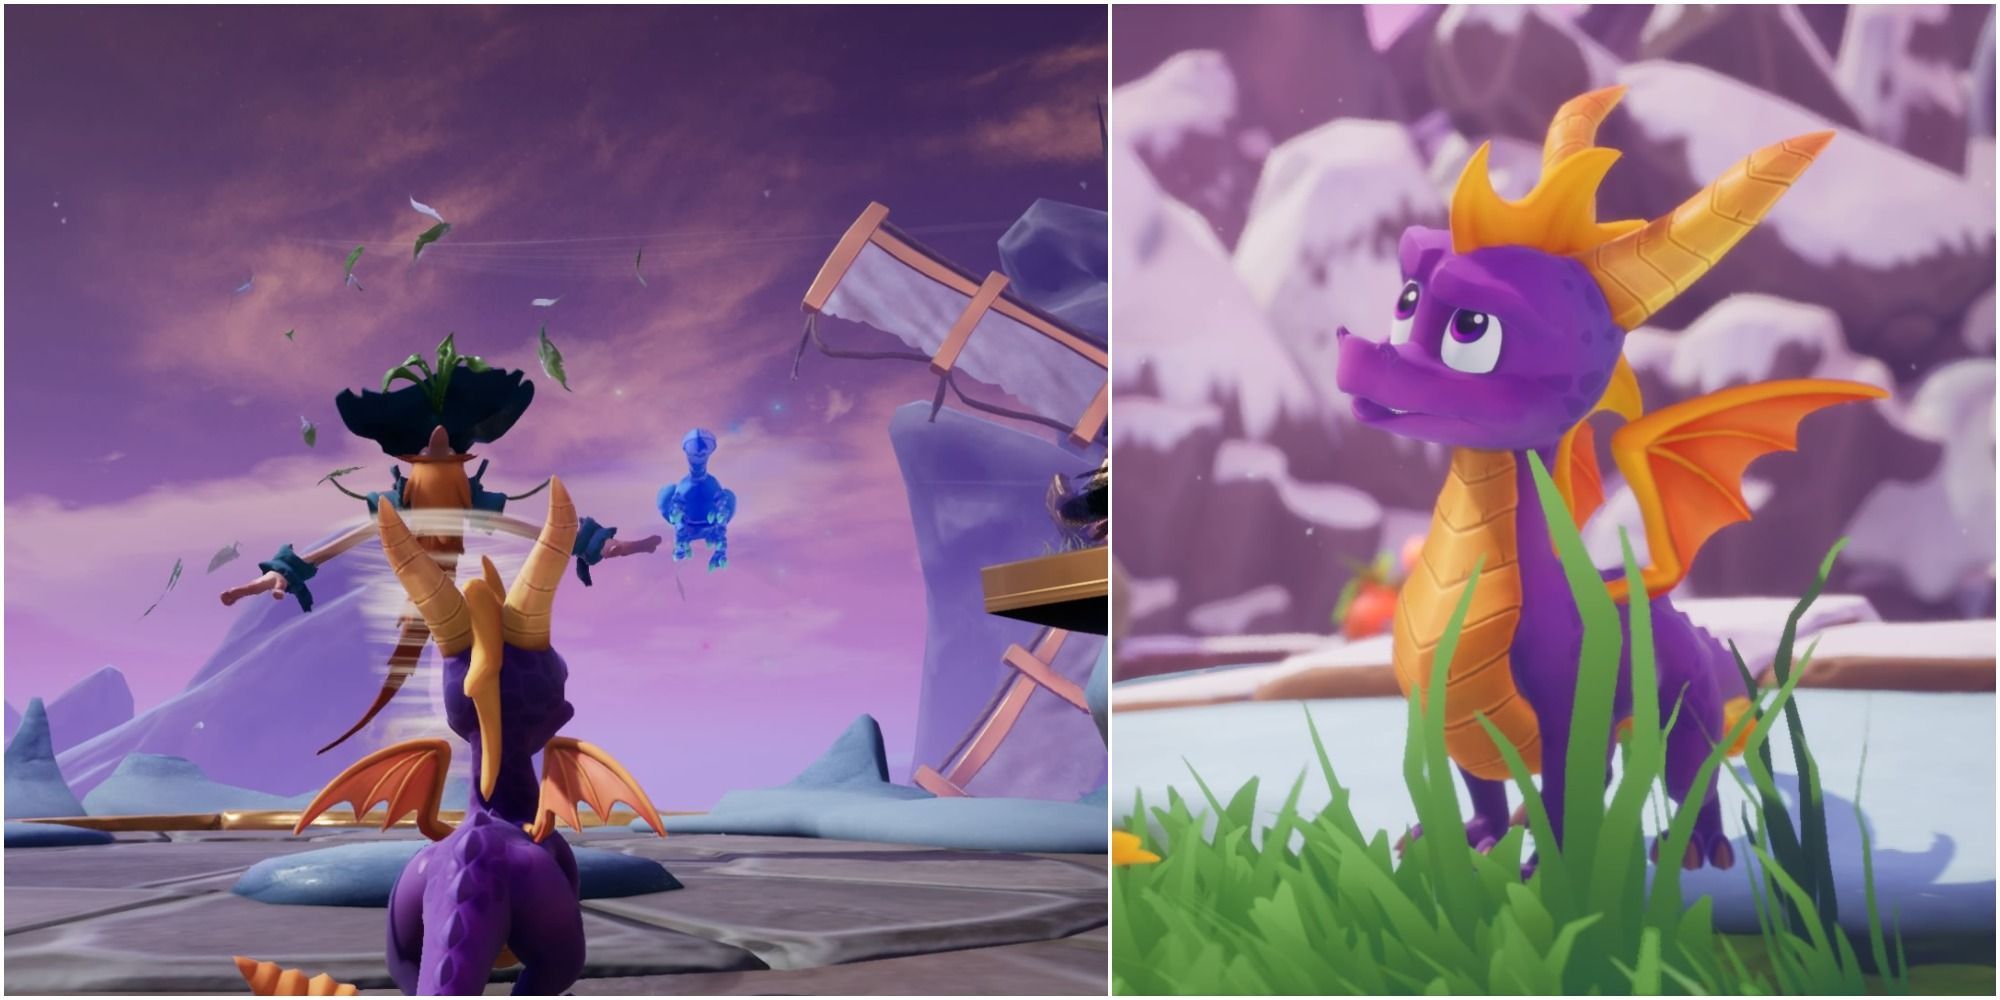
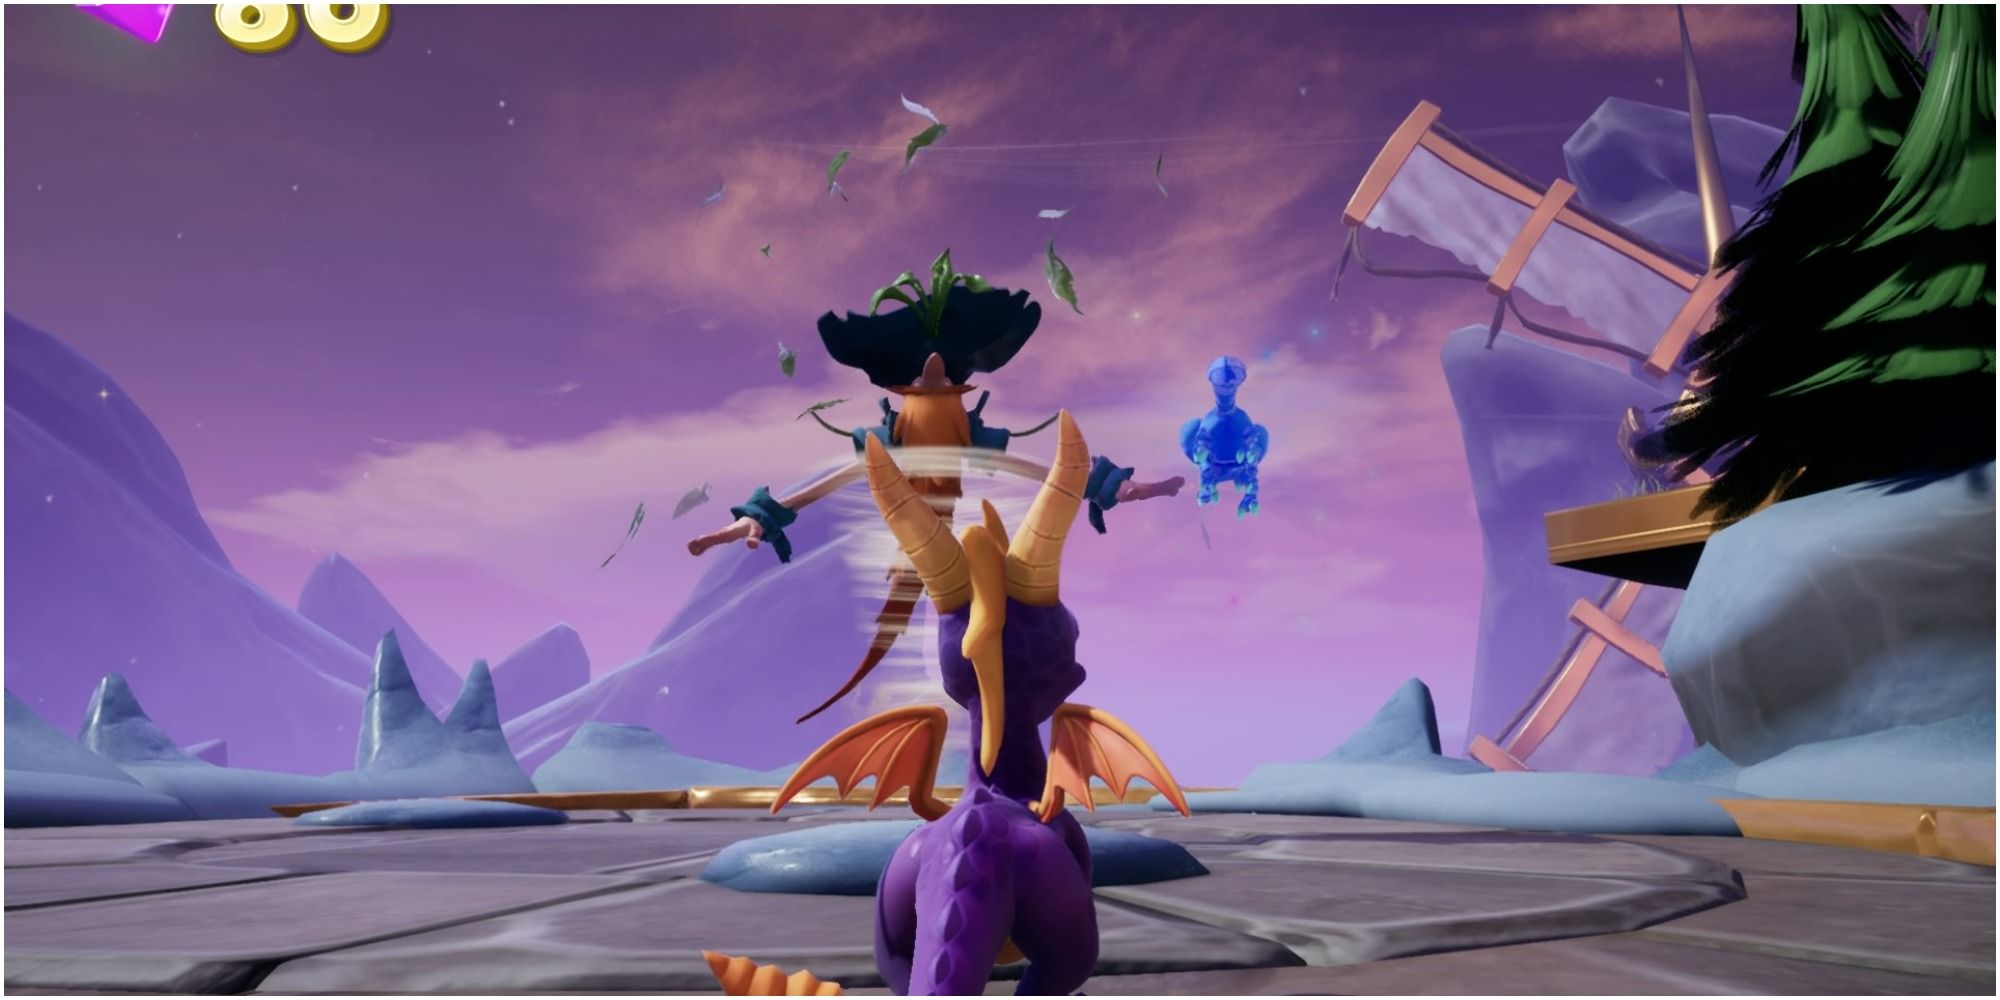
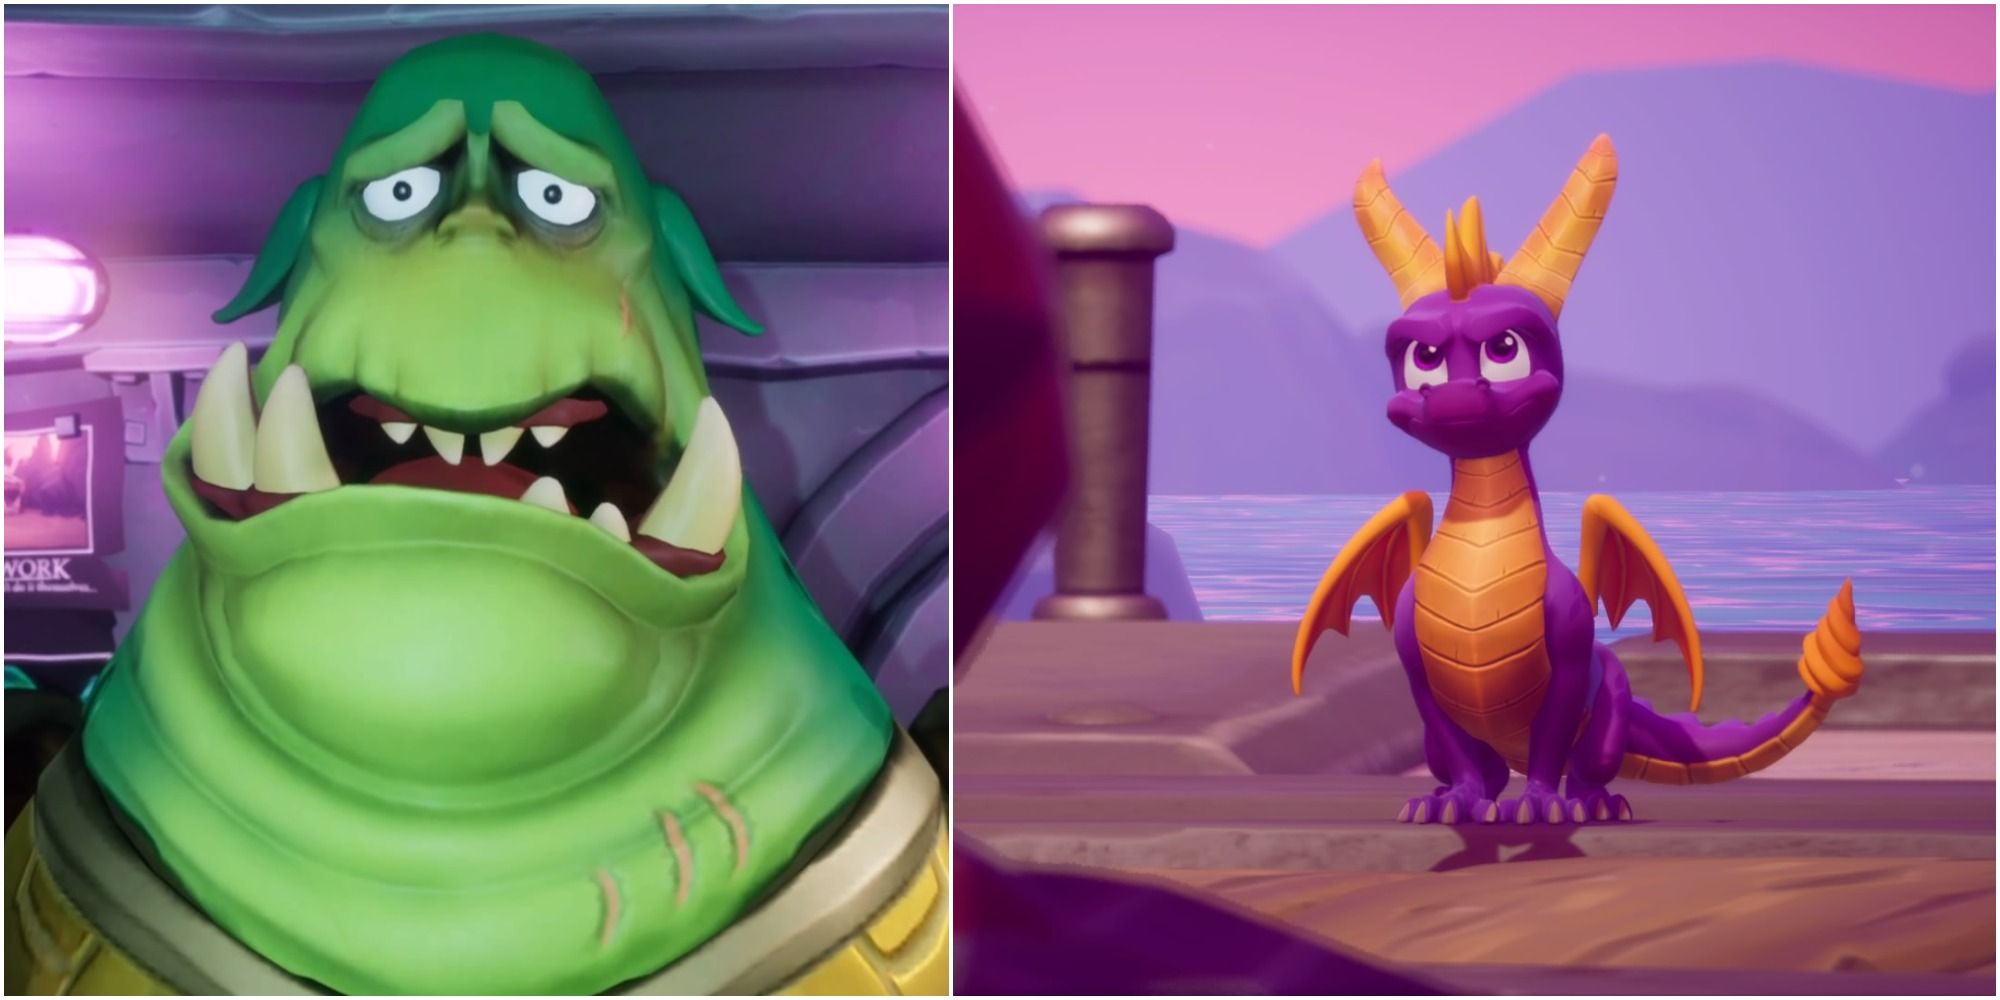
168澳洲幸运5开奖网:Spyro The Dragon was the very first game that introduced the small purple hero to the world. Released in 1998, the game is now over 20 years old and is still capturing gaᩚᩚᩚᩚᩚᩚᩚᩚᩚ𒀱ᩚᩚᩚmer's hearts. After many successful (and some unsuccessful) games, the Spyro Re-ignited trilogy came around in 2018 and it was ꧟a perfect remaster of the first three games in the series.
The game has really entertaining buℱt sometimes infuriating boss fights. Each boss boasts their own challenges but players can follow this guide to make fighting them a breeze!
- Listen carefully to the dragons rescued before facing any boss as they hint at how to defeat them.
How To Beat Toasty - Artisan World

Finding Toasty
The first world in the game is the Artisan World. This world helps you learn to control Spyro and find your feet in the gܫame and this is no different when it comes to the boss.
Toasty is only available once you have completed one other level in that world.

Enter 🎃the level through the frankly awesome-looking dragon mouth, and navigate it to reach the boss at the end.
- You should pay close attention to the dogs that you'll need to fight through to reach Toasty, this will be important later.
Rescuing a dragon called Nevin indicates the start of the bos𒈔s fight.
Fighting Toasty
- You MUST be careful when fighting this boss as there are no sheep to recharge Spark's health. If Spyro dies then you'll have to start the fight over again.
Toasty is first seen with two hounds in front of him. You must take out the dogs before you can get close enough to Toasty. Otherwise, you risk takin💎g potentially f💝atal damage.
Phase One:
- The dogs can be taken out through Spyro using his flame ability on them twice.
- The first time he flames them they will be scorched and turn black, then the second time he flames them they will disappear.
- The dogs will jump and try to flatten Spyro!
- You can flame them in mid-air or dodge them by rolling to the side once they begin to jump up.
- When the dogs have been taken out, you'll need to use Spyro's flame breath on Toasty.
Phase Two:
Toasty will move to the next a🦩rea andꦇ be guarded by two dogs.
- You'll need to, once again, take down the dogs using Spyro's flame breath.
- Then when the dogs are out of the way you'll need to attack Toasty again with the flame ability.
This will remove Toasty's outer clothiꦏng and reveal him to be a sheep on stilts. Then, Toasty will move to the final area of the boss battle. Here he is guarded by three dogs.
Phase Three:
- Take the dogs out.
- Attack toasty with Spyro's flame breath.
Onc🦩e defeated he will turn into a pile of gems and the way back to the Art💦isan world will be accessible.
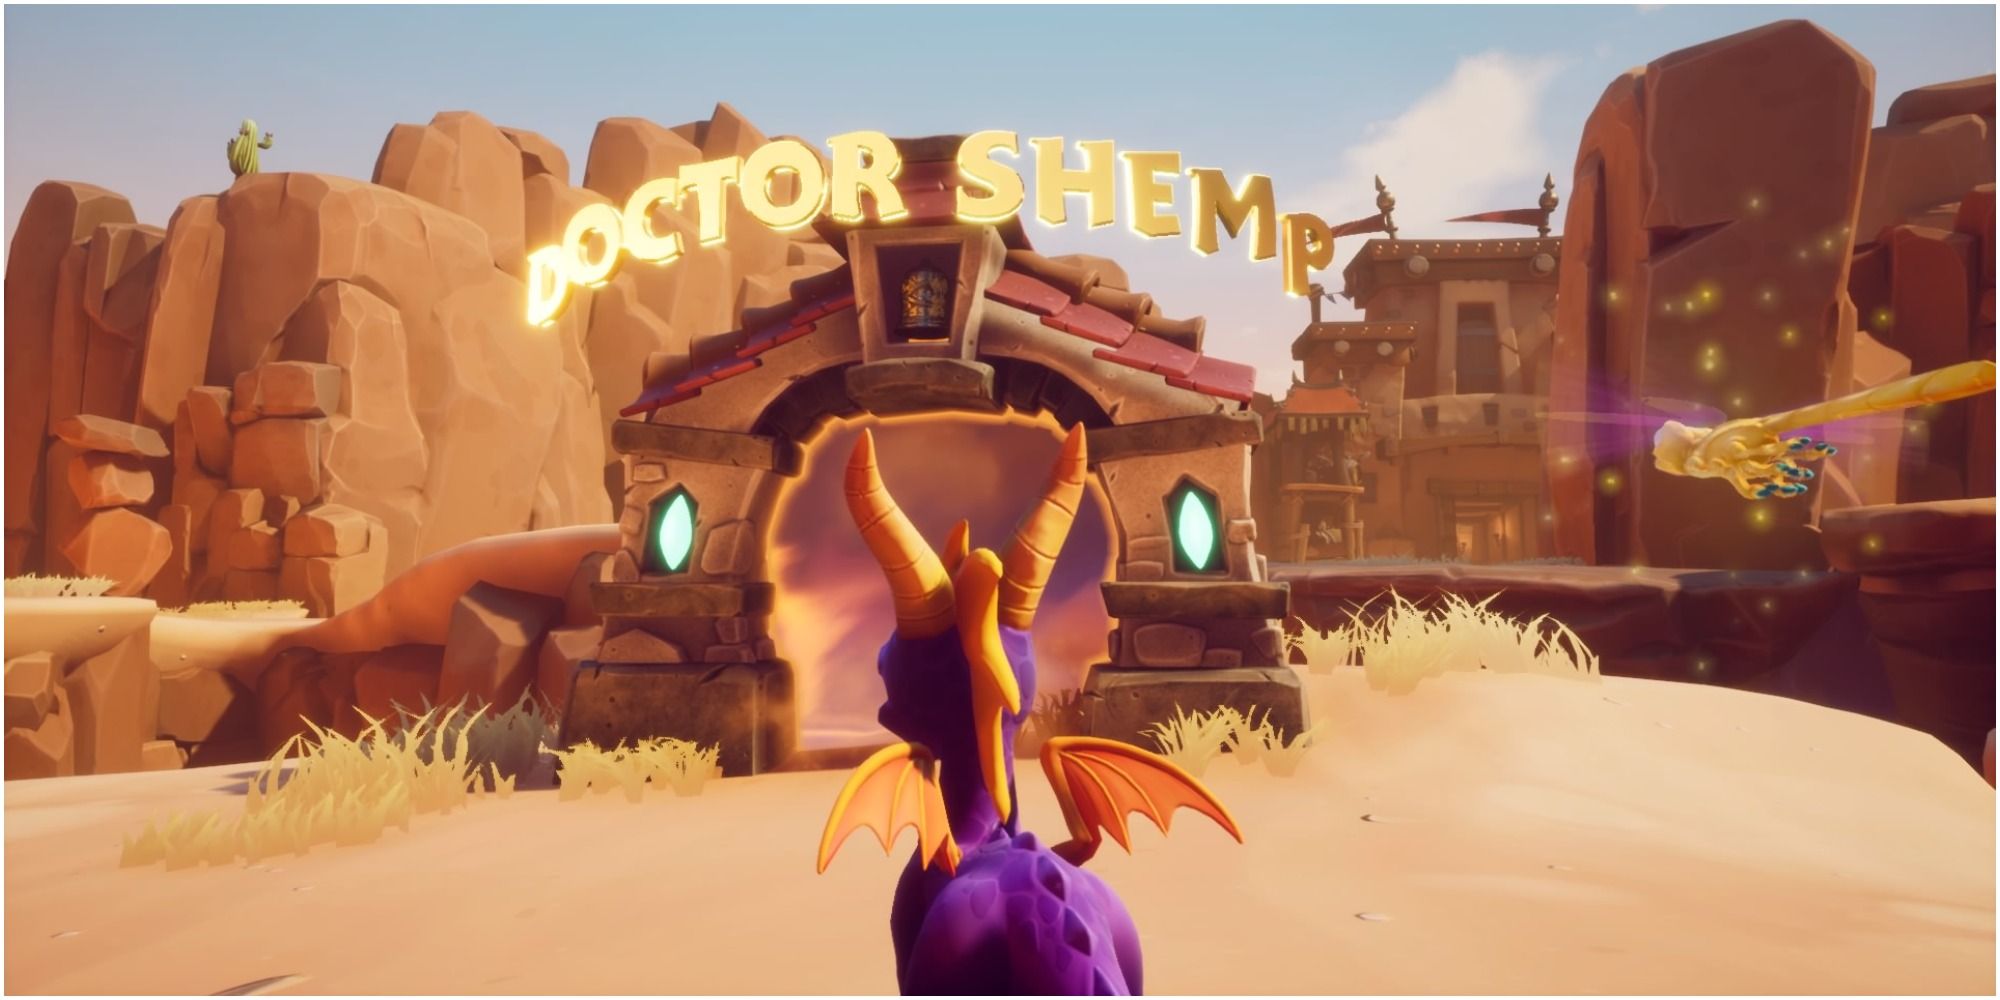
How To Beat Doctor Shemp - Peace Keepers
Finding Doctor Shemp
This boss is available for you to challenge from the minute you arrive in Peace Keepers. The portal is situated on the right side of the map (from where Spyro arrives) and is on its own island near the balloonist.
Once Spyro enters t♛he portal he'll have to navigate a short way before reaching a magic t💧ornado that will lift him onto the next area.
Then you need to rescue a dragon called Trondo. This dragon indicates the sta🧜rt of the boss fight.
Fighting Doctor Shemp
Doctor Shemp will wait until Spyro gets close to him before he begi🍷ns to slowly run around the outer edge of the 🍃first platform.
Phase One:
- Shemp cannot be charged because of his size and metal armor.
- Instead, you'll need to run behind him and use Spyro's flame breath on his exposed back.
He will then run off across a bridge to the next platform so you need 🍷to follow him.
Phase Two:
- Once you are close enough to him, he will spin around and swing his staff.
- Mid-way through spinning around you'll need to flame Shemp's exposed back again.
- If you're too slow, you must run away from Shemp to dodge his attack - but stay on the platform!
After this, Doctor Shemp will run off across another bridge to the next🍌 platform and players need to fol꧅low him. On this final platform, his attacks will be quicker.
Phase Three:
- Again, you need to get Spyro close to him.
- Once you're close enough he will quickly swing his staff low to the floor and try to hit Spyro.
- The best way to dodge this is to jump
- You should use Spyro's flame breath at the same time as the jump as Shemp's back will only be briefly exposed.
Shemp will then disappear into a pile of gems.
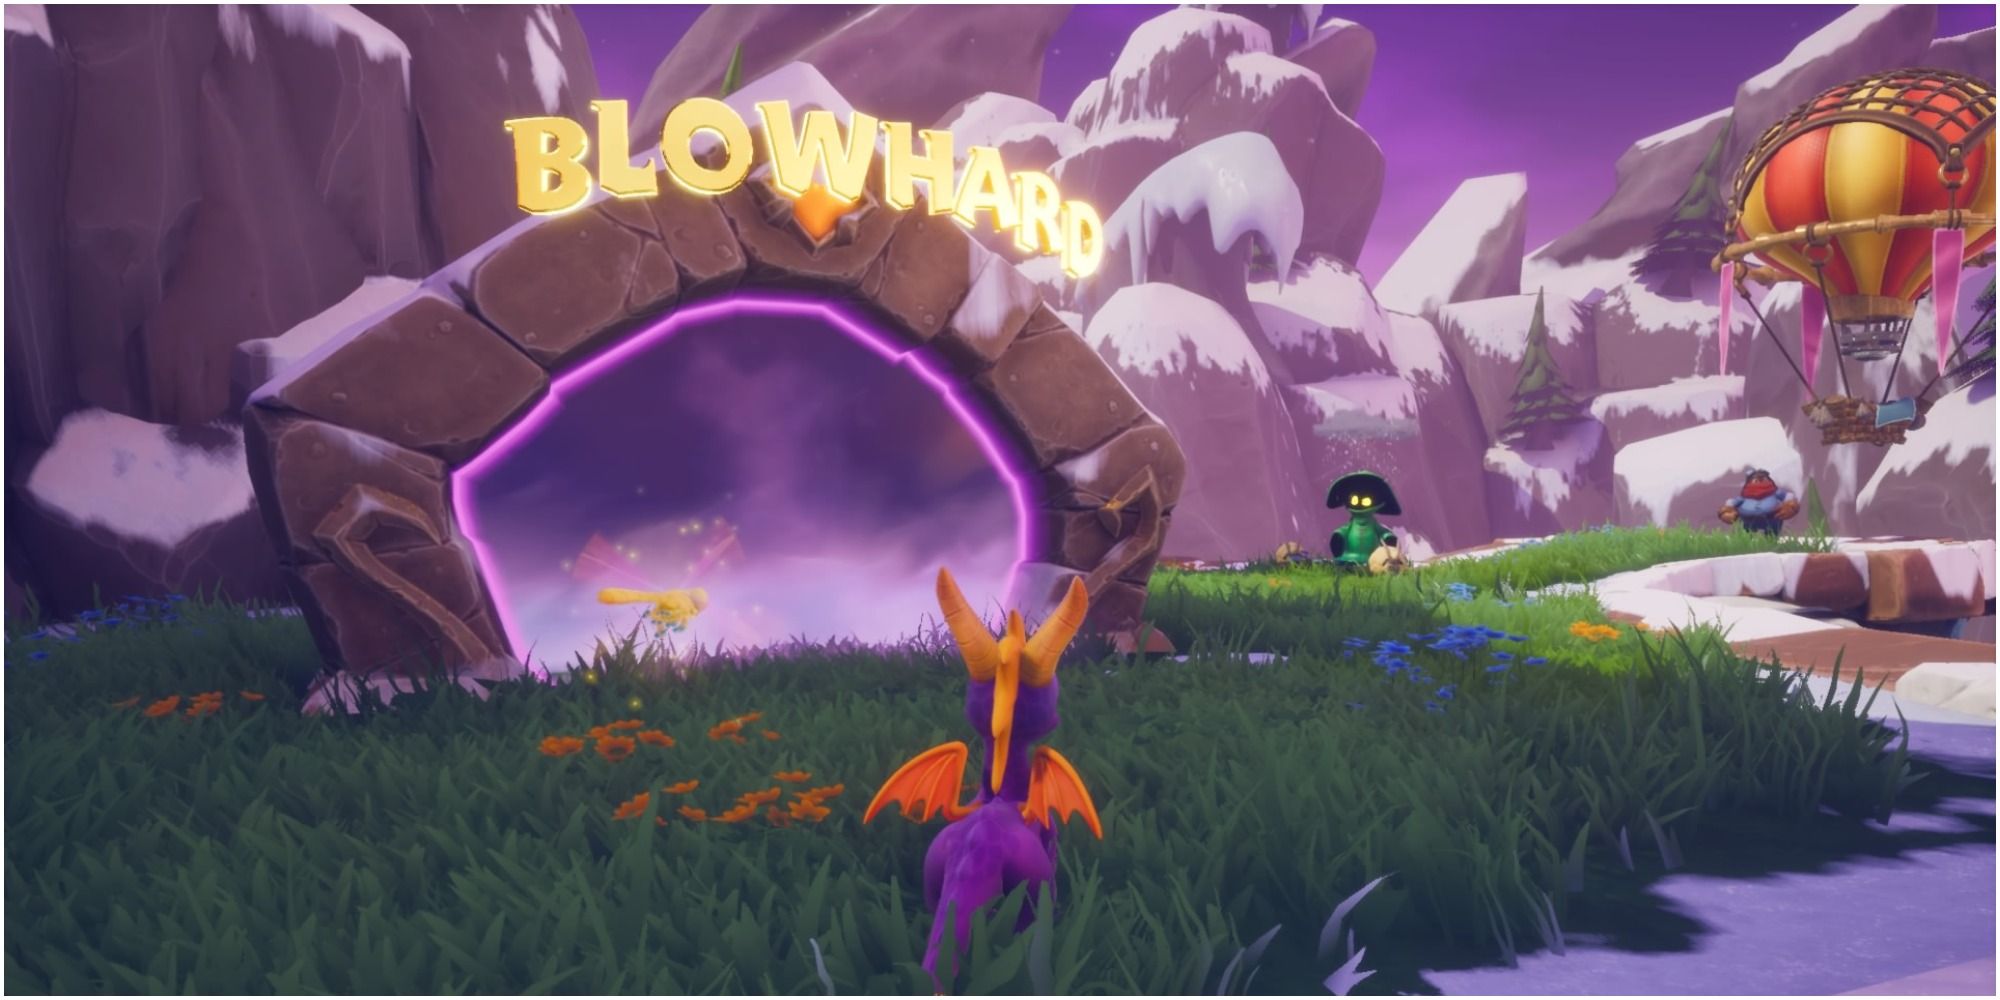
How To Beat Blowhard - Magic Crafters
Finding Blowhard
You can face Blowhard from the moment you arrive in Magic Crafters. Although, it is a good idea to play at least one of the other levels to learn about 💜the quirks ꦍand magic-wielding pests that are part of Magic Crafters as they will show up in the boss level.
Blowhard 🎃is situated at the farthest side of the map i🍷n Magic Crafters, just before you reach the balloonist.
- If Sparks is low on health it's a good idea to recharge him with butterflies before entering the level.
In the level, Spyro needs to follow the path around and defeat any other minoဣr enemies in his way. He'll need to fight through a few wizards before meeting Blowhard for the first time.
Fighting Blowhard
You should join Blowhard in the circular area but let him make the first attack. His attacks consisꦰt of firing stormclouds at Spyro that will electrocute him if they touch him.
They can easily be dodged by rolling to the left or the right.
Phase One:
- Once Blowhard has launched his attack, there will be a brief window where he will be lower to the ground and that is when Spyro should attack.
- Jump and flame at the same time whilst in front of him.
Before reaching the next area for Blow✱hard, you'll need to navigate some platf🐼orms that are being moved by Druids.
Wait until the platforms are close to Spyro then jump onto them and the platforms will swing close enough to the Druids for Spyro to flameಞ them. The platforms ♌will stop moving after that.
When comingꦗ out of that area, you need to go to the right t📖o find Blowhard waiting for you.
Phase Two:
- Let Blowhard attack first, dodge it, and then use Spyro's flame breath on him directly after his attack.
He 🌃will soon fly ofꦓf again then for one final time you'll need to follow Blowhard.
Phase Three:
- Let Blowhard attack.
- Dodge it.
- Flame him again.
When Blowhard is defeated he wi💟ll become a pile o🍰f gems.
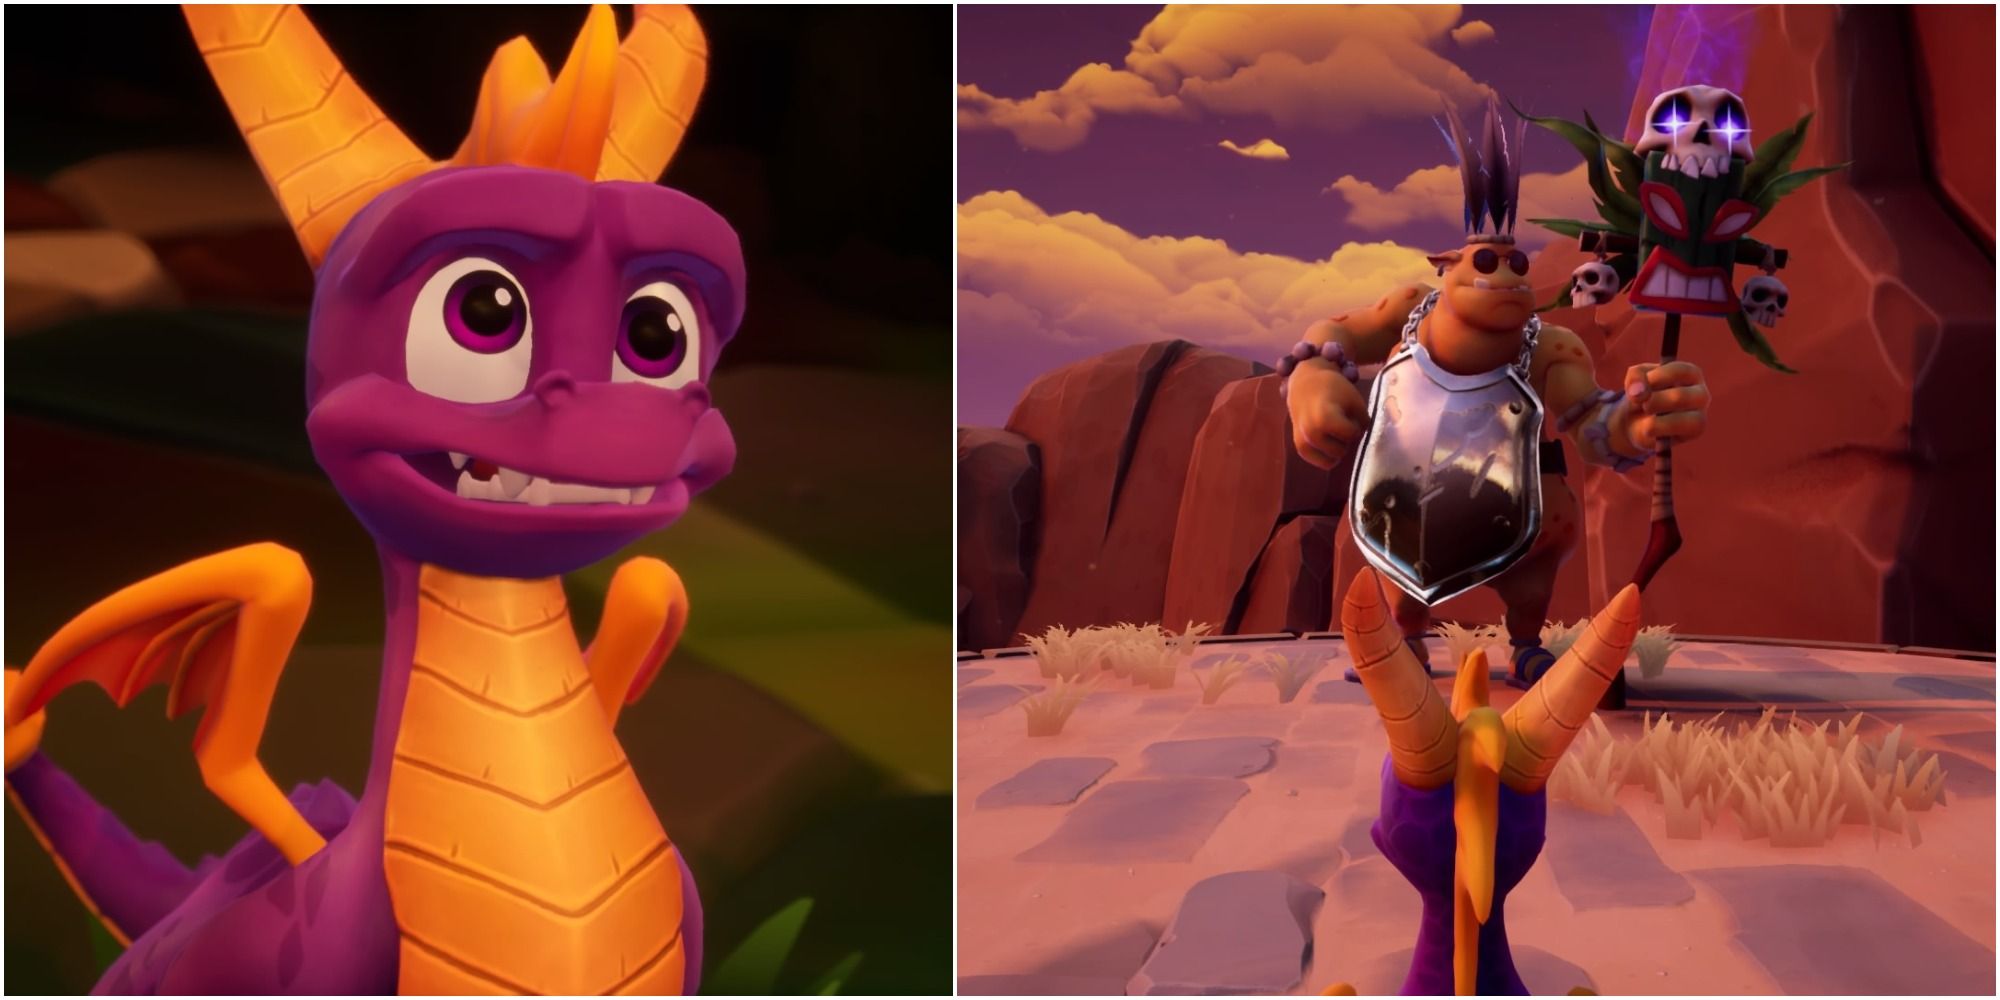
How To Beat Metalhead - Beast Makers
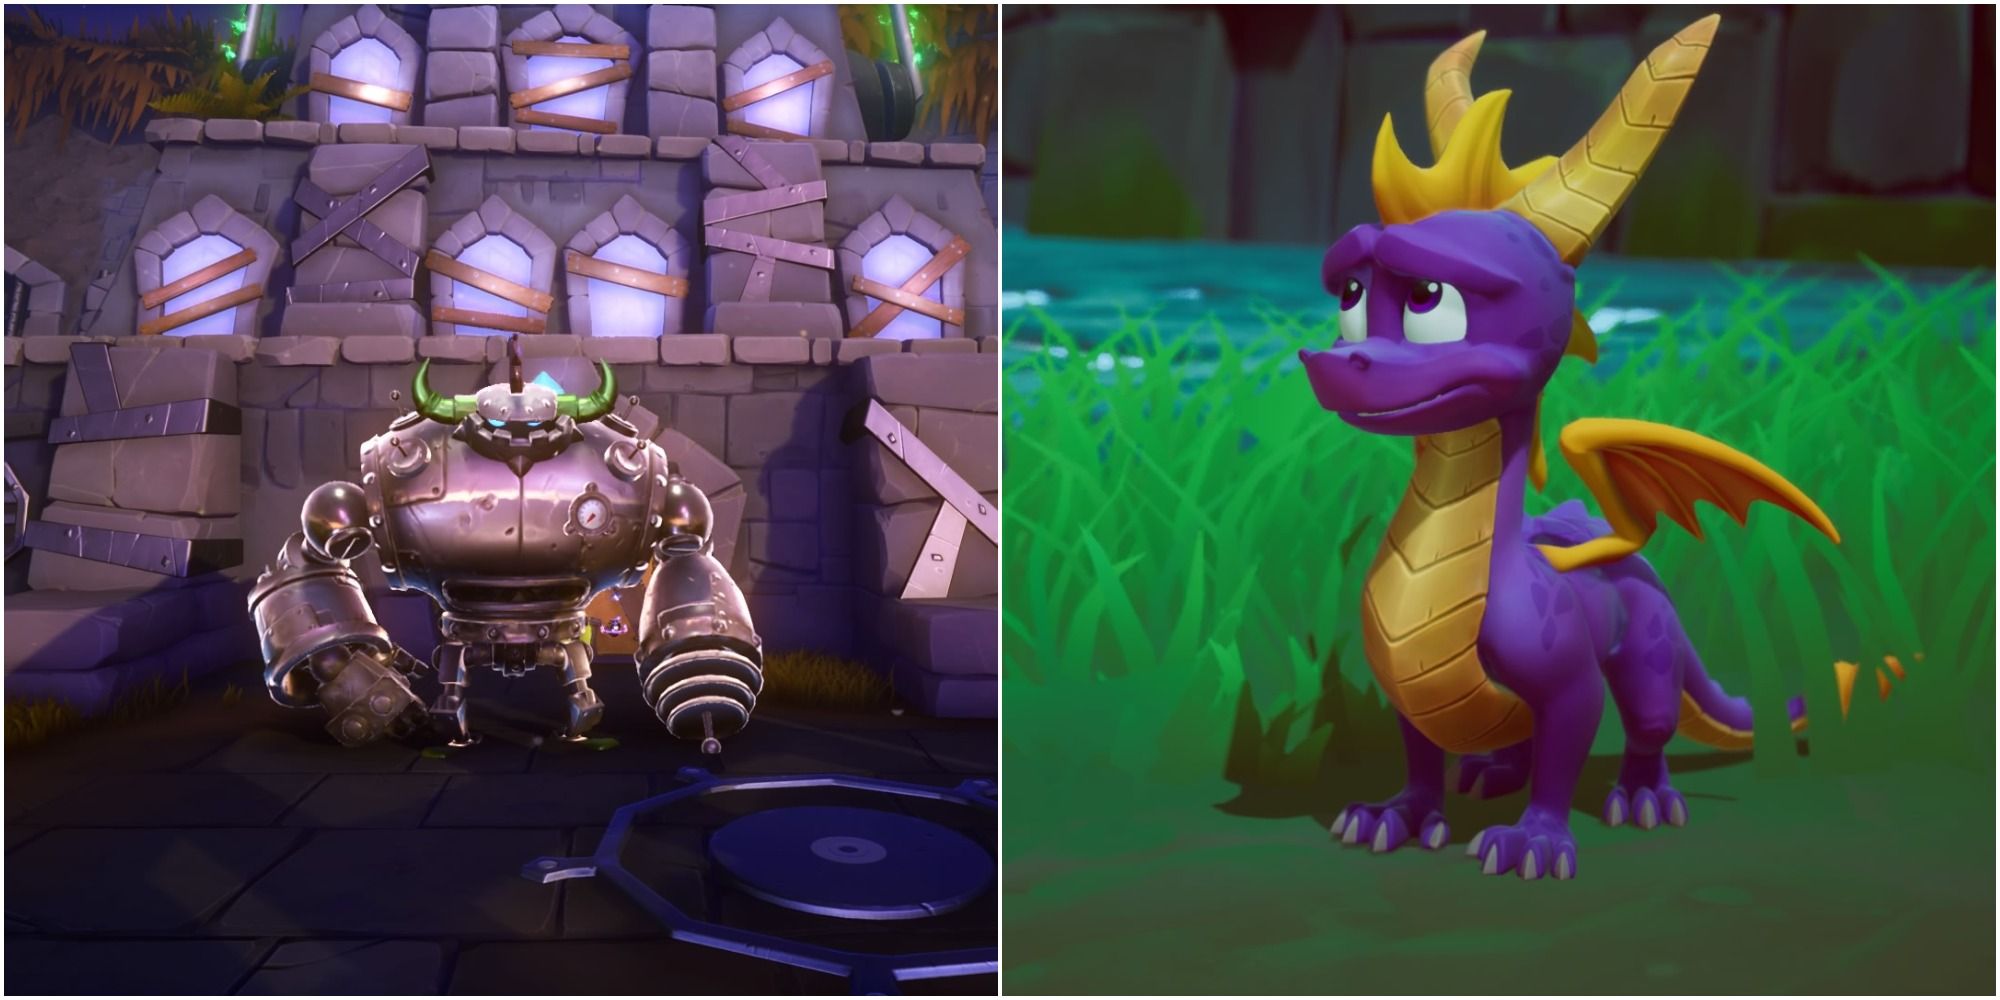
Finding Metal Head
This boss is available for you to fight as soon as you arrive in Beast Makers.
Follow the map around and the entry portal will be next to the balloonist. To climb around to the portal, you'll need to navigate the electrical platforms. You should wait for the electrical charge to wear off before jumping onto them and then you'll need to attack the Gnorcs before they electrify the platform again🌄.
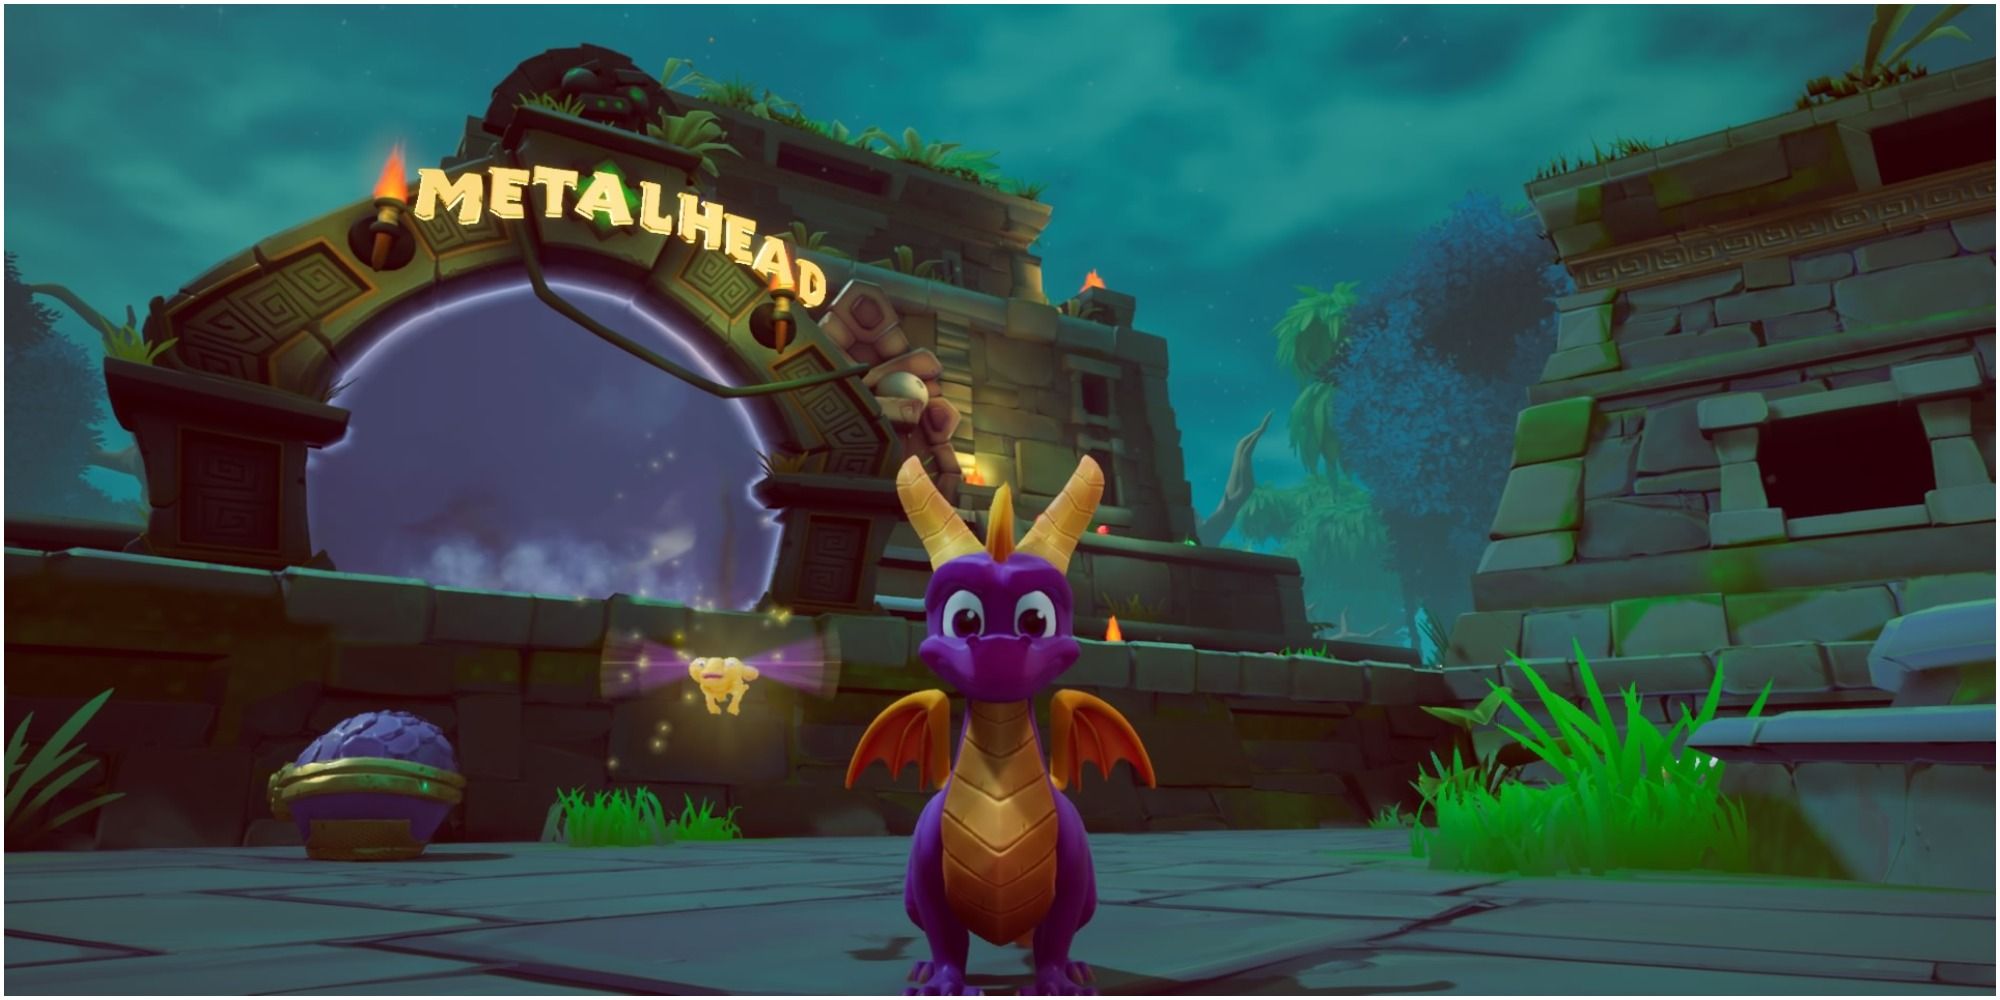
When you g♉et into the level, you'll need to fight ꧙your way through a few enemies before finding Metal Head.
- Some enemies are little monsters covered in armor that cannot be flamed, but their size means a quick charge will sort them out.
- Spyro needs to be careful, these monsters throw bunches of bananas at him and they hurt.
- Also, there are big enemies that look suspiciously like mutated orangutans. These can give a painful kick so you should flame them before getting too close.
Once you rescue a dragon called Sadiki, you can turn to the rig💯ht and will find Metal Head.
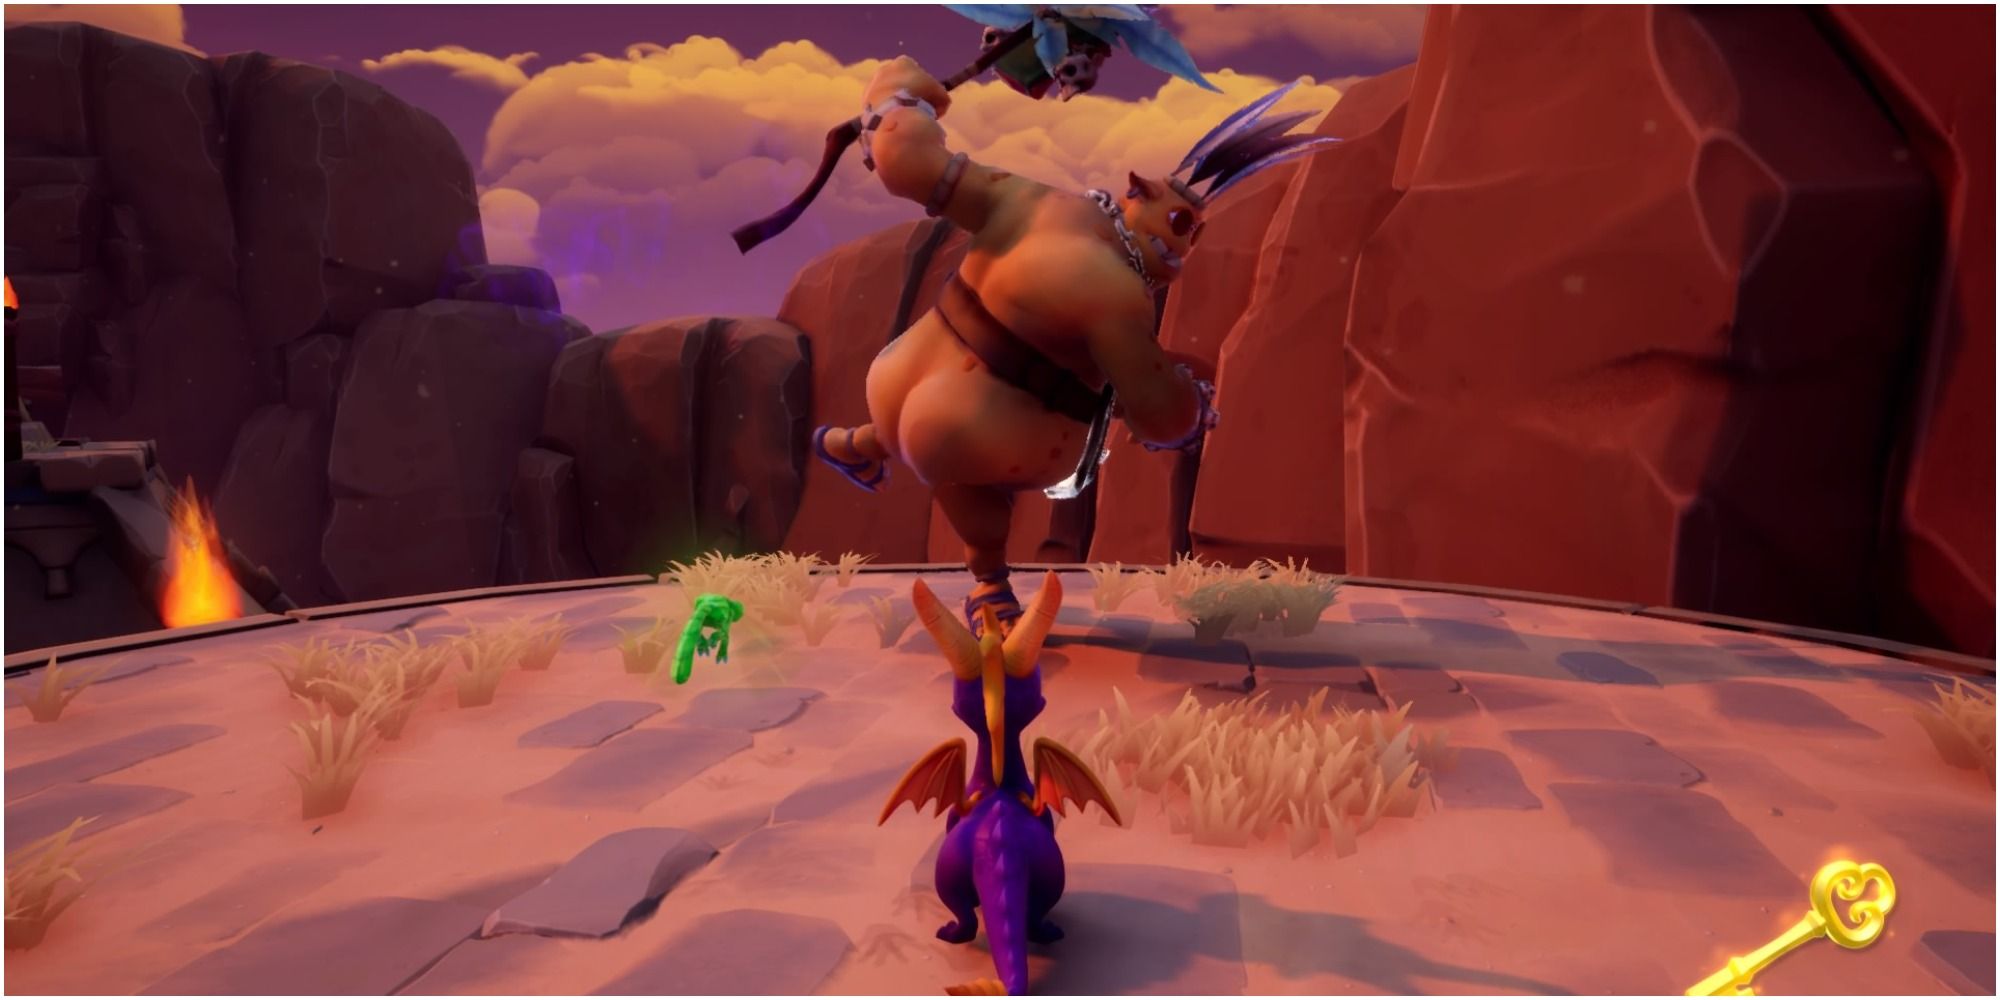
Fighting Metal Head
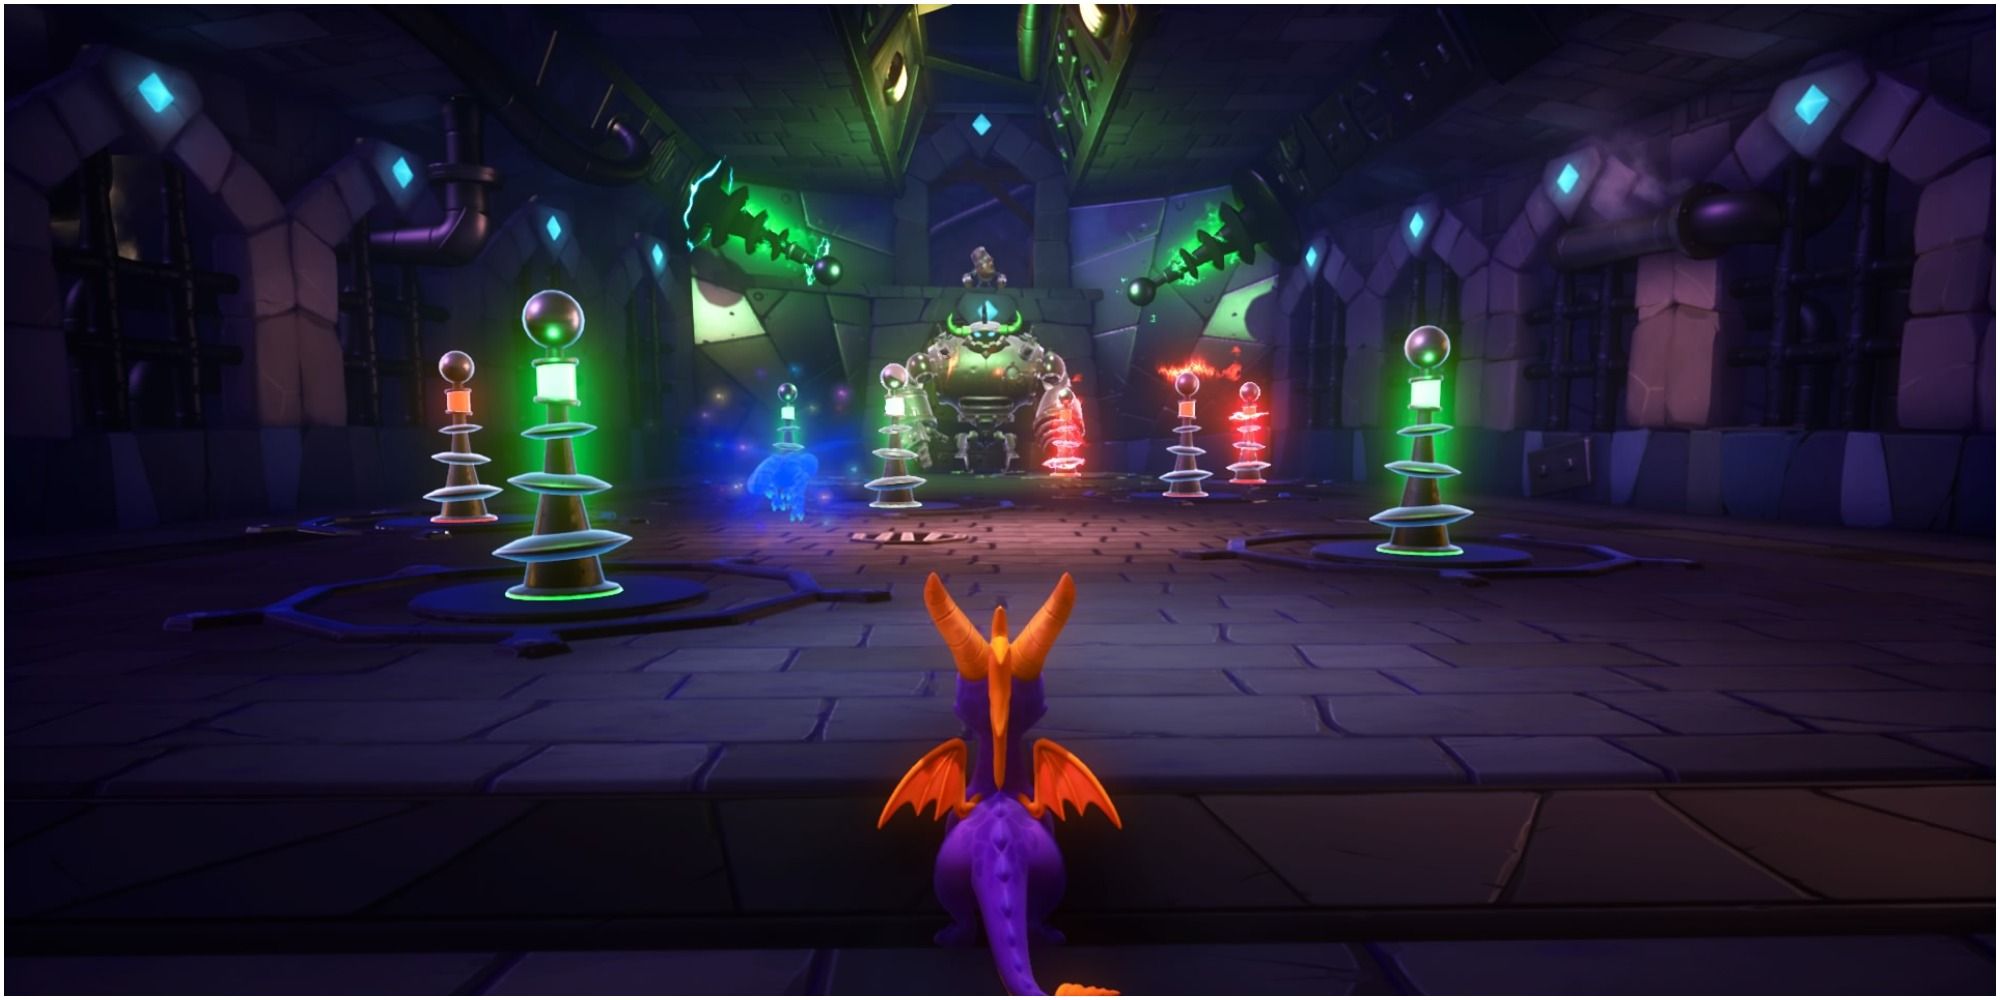
Meꦏtal Head will be found in a room filled with electrical poles that flash between red and green.
Phase One:
- Charge down these poles when they are green. When they're red they are sending electrical charges to Metal Head, meaning that if Spyro charges them at this point he will be shocked.
- Metal head will throw the small armor-clad monsters at you whilst you're charging around or fire an electrical stream at you. This means that you need to be aware of your surroundings.
Once the poles hav✨e been destroyed, Metal Head will run off around to the next 🌞area. It's a short path and Spyro should follow him.
Metal Head will again, be found on the other side of a collection of electrical poles.
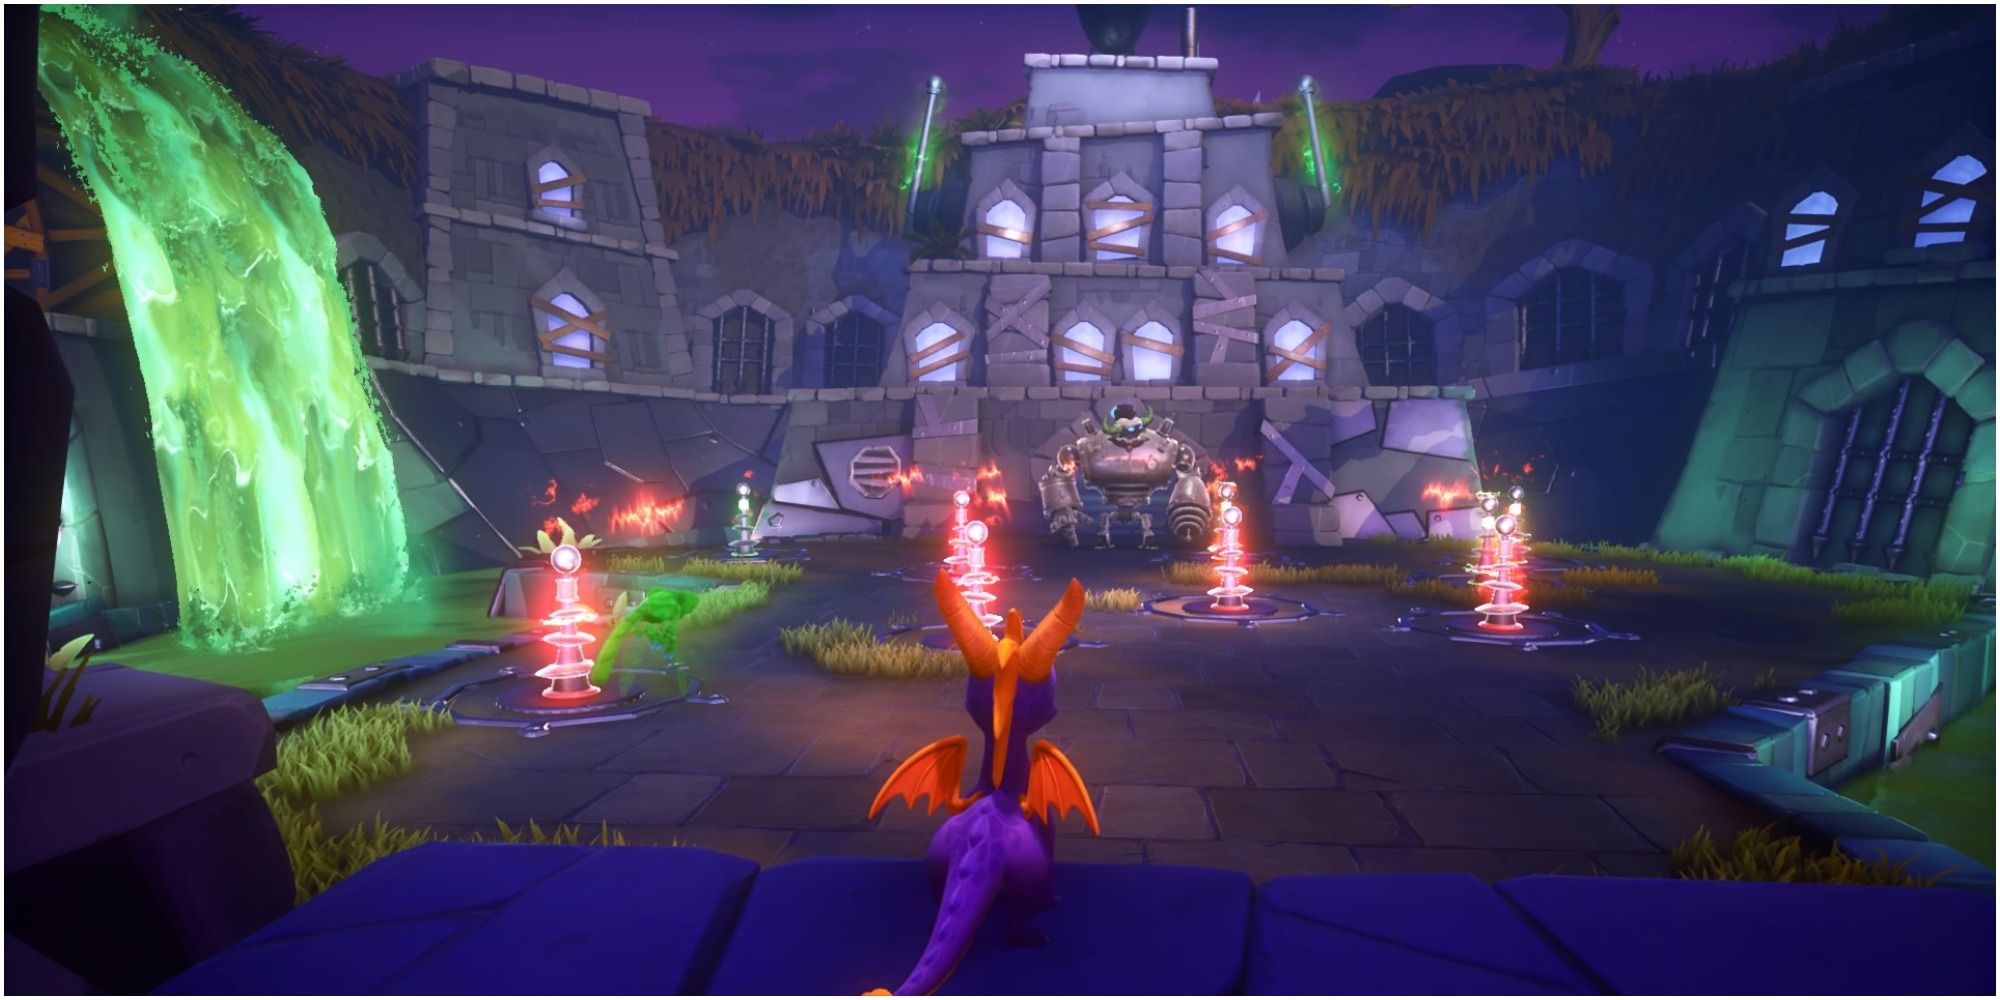
Phase Two:
- These poles will instantly turn red when Metal Head arrives so do not try to charge them right away.
- You should wait for them to turn green and charge at them.
The colors will change much faster than in 🧔the previous room however Metal Head's attacks will remain the same.
Once all the poles are down, his bat𒆙tery will pop out and Metal Head will be nothing more than a pile of gems.
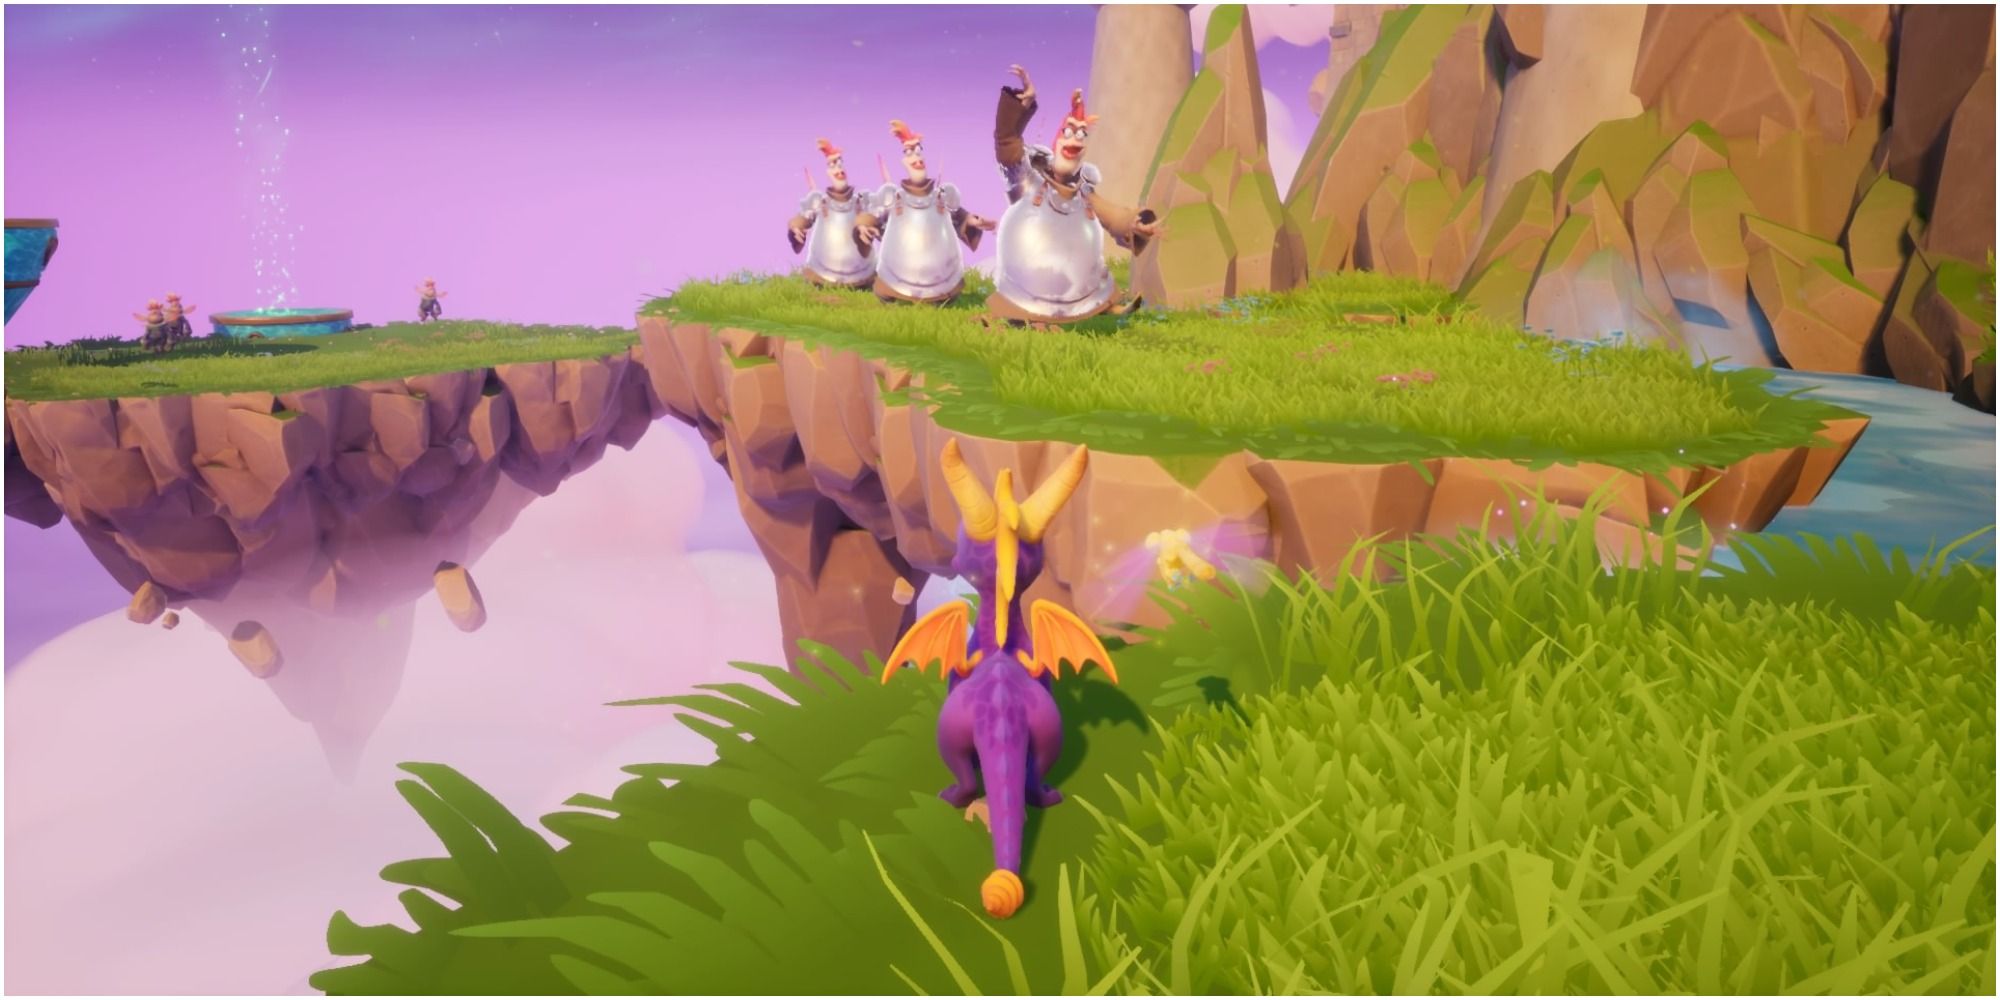
How To Beat Jaques - Dream Weavers

Finding Jaques
You can confront Jaques once you unlock Dream Weavers world. The boss level is slightly hidden on the map.
From the location where you arrive, you'll need to head to the right and navigate the platforms. Eventually, you'll reach a magic tornado that will🔜 lift Spyro and takeᩚᩚᩚᩚᩚᩚᩚᩚᩚ𒀱ᩚᩚᩚ him to another area.
In this area, you'll see a trio of armored enemies lined up in a row. Wait for these enemies to be shrunk by the magic being fired from the cannon at the center of the map and then charge all three down.
Alternatively, Spyro can charge right past them to the other side of theꦑ area they are stand♋ing on and hop over the small river to the right.
It may look like there is just a wall but you should keep walking forwards from this river and when you hit the wall, turn right and you'll see a set of steps. Climb these steps an꧋d the entry to Jaques will be found.
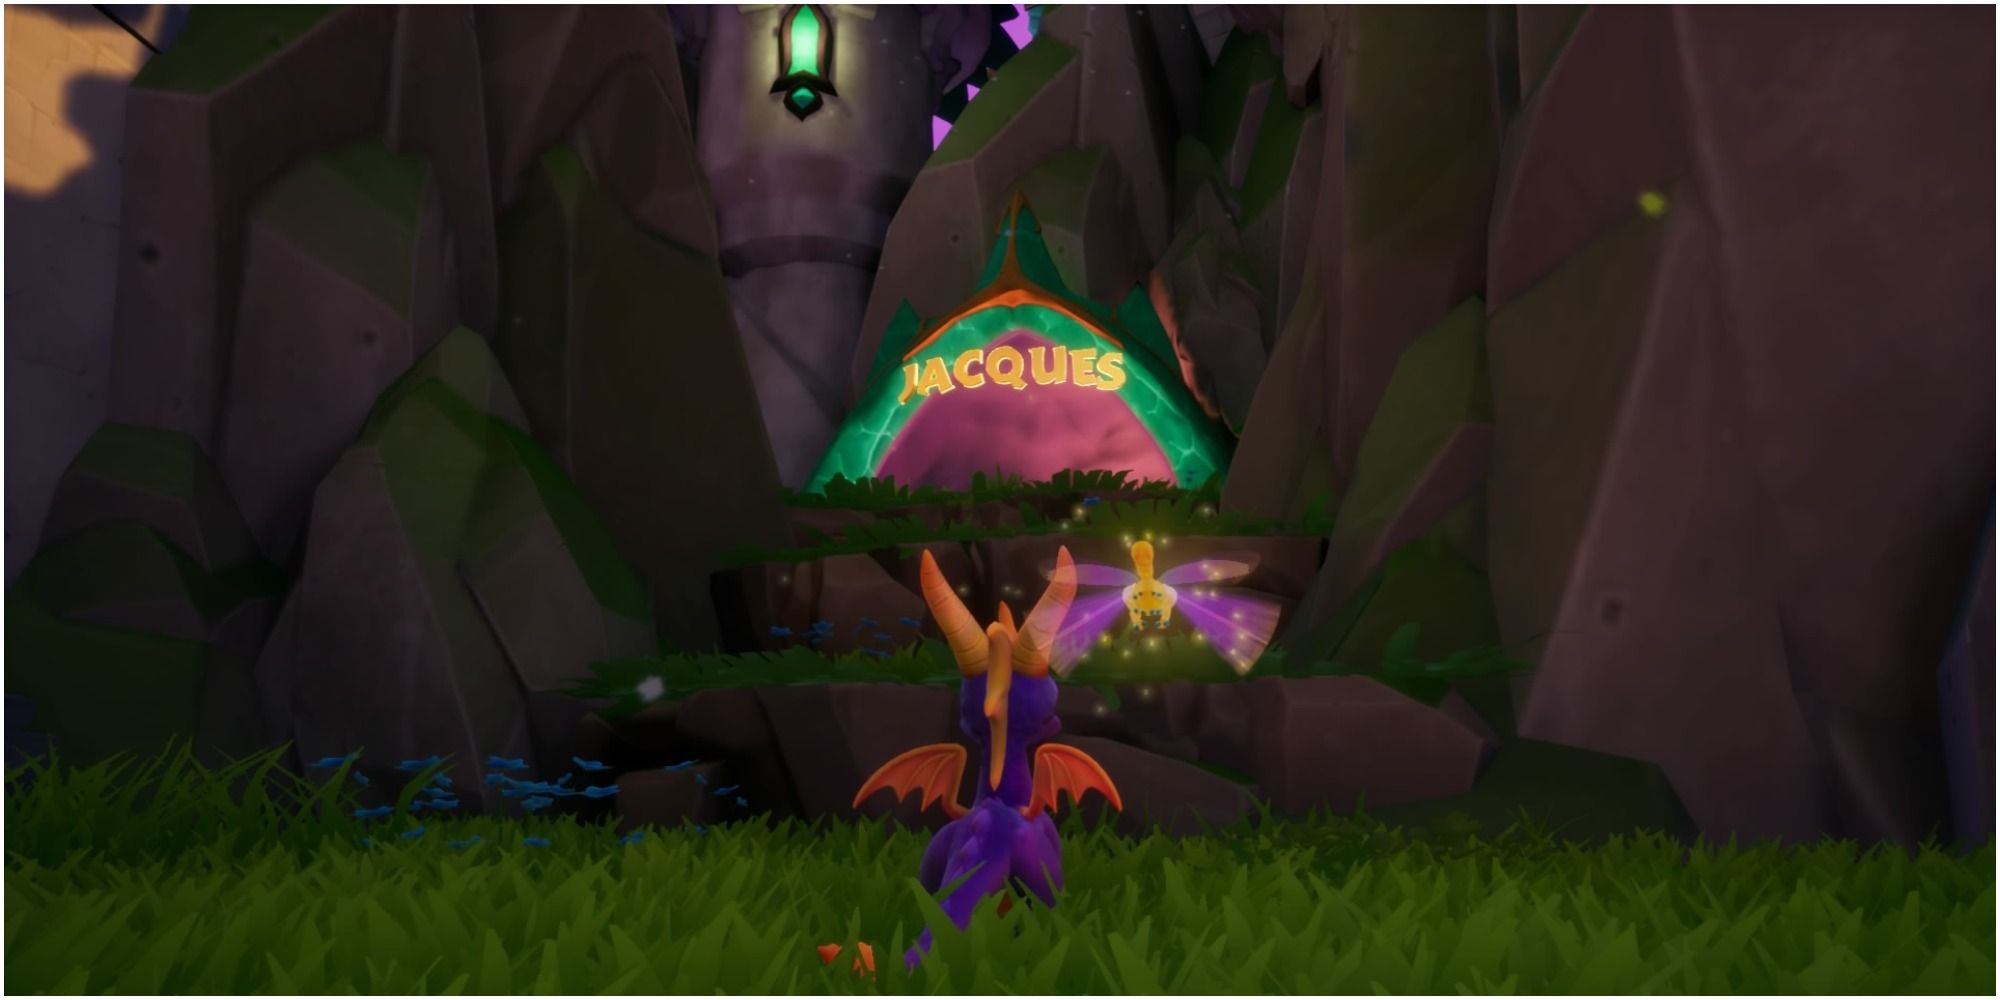
This is definitely one of the hardest boss levels in the game to navigate.
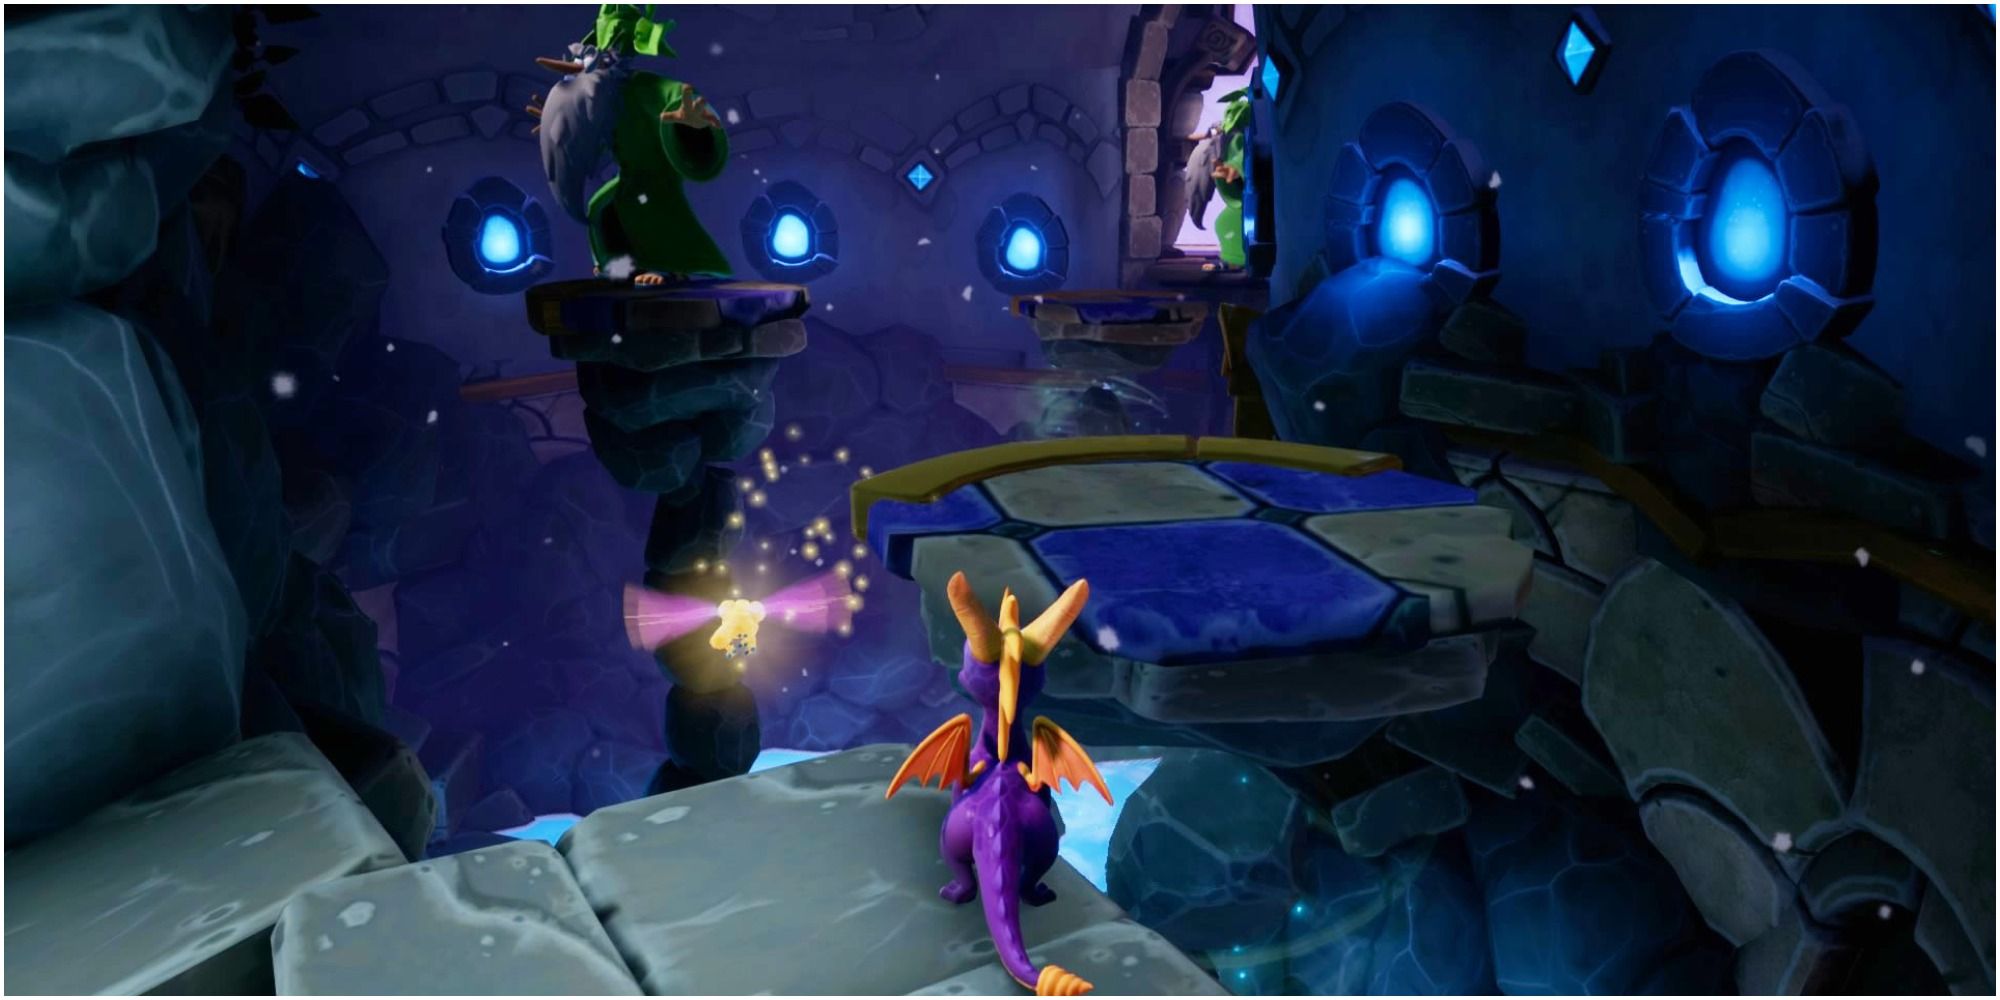
Once you're inside the level, you'll need to head towards the circles on the floor with a spiral pattern on them. Then you'll need to flame the small Jesters, known as Fools, and they will become a clock for a b🤡rief amount of time💛.
- Flaming the Jesters will trigger the platforms to raise for a short period of time and Spyro must use these to reach the next area.
- Stay to the left area - it's easier to get through.

After navigating a floating platform, you'll reach a small area that has two Fools running around on it. You'll need to time your attacks perfectly and flame them both as soon as possible.
This will trigger a double platform to rise💖, kind of res༒embling a tiered cake, and you can climb this to glide to the next area.

This area will have three enemies on it that look like armored evil sloths. The best way to defeat these is to jump and charge them mid-air.
Once each enemy has been charged, Spyro can use the empty platforms to jump up to the next area and follow the dark steps downwards.
Once you've followed the steps down, you will rescue a dragon called Revilo. This indicates the start of the boss fight.
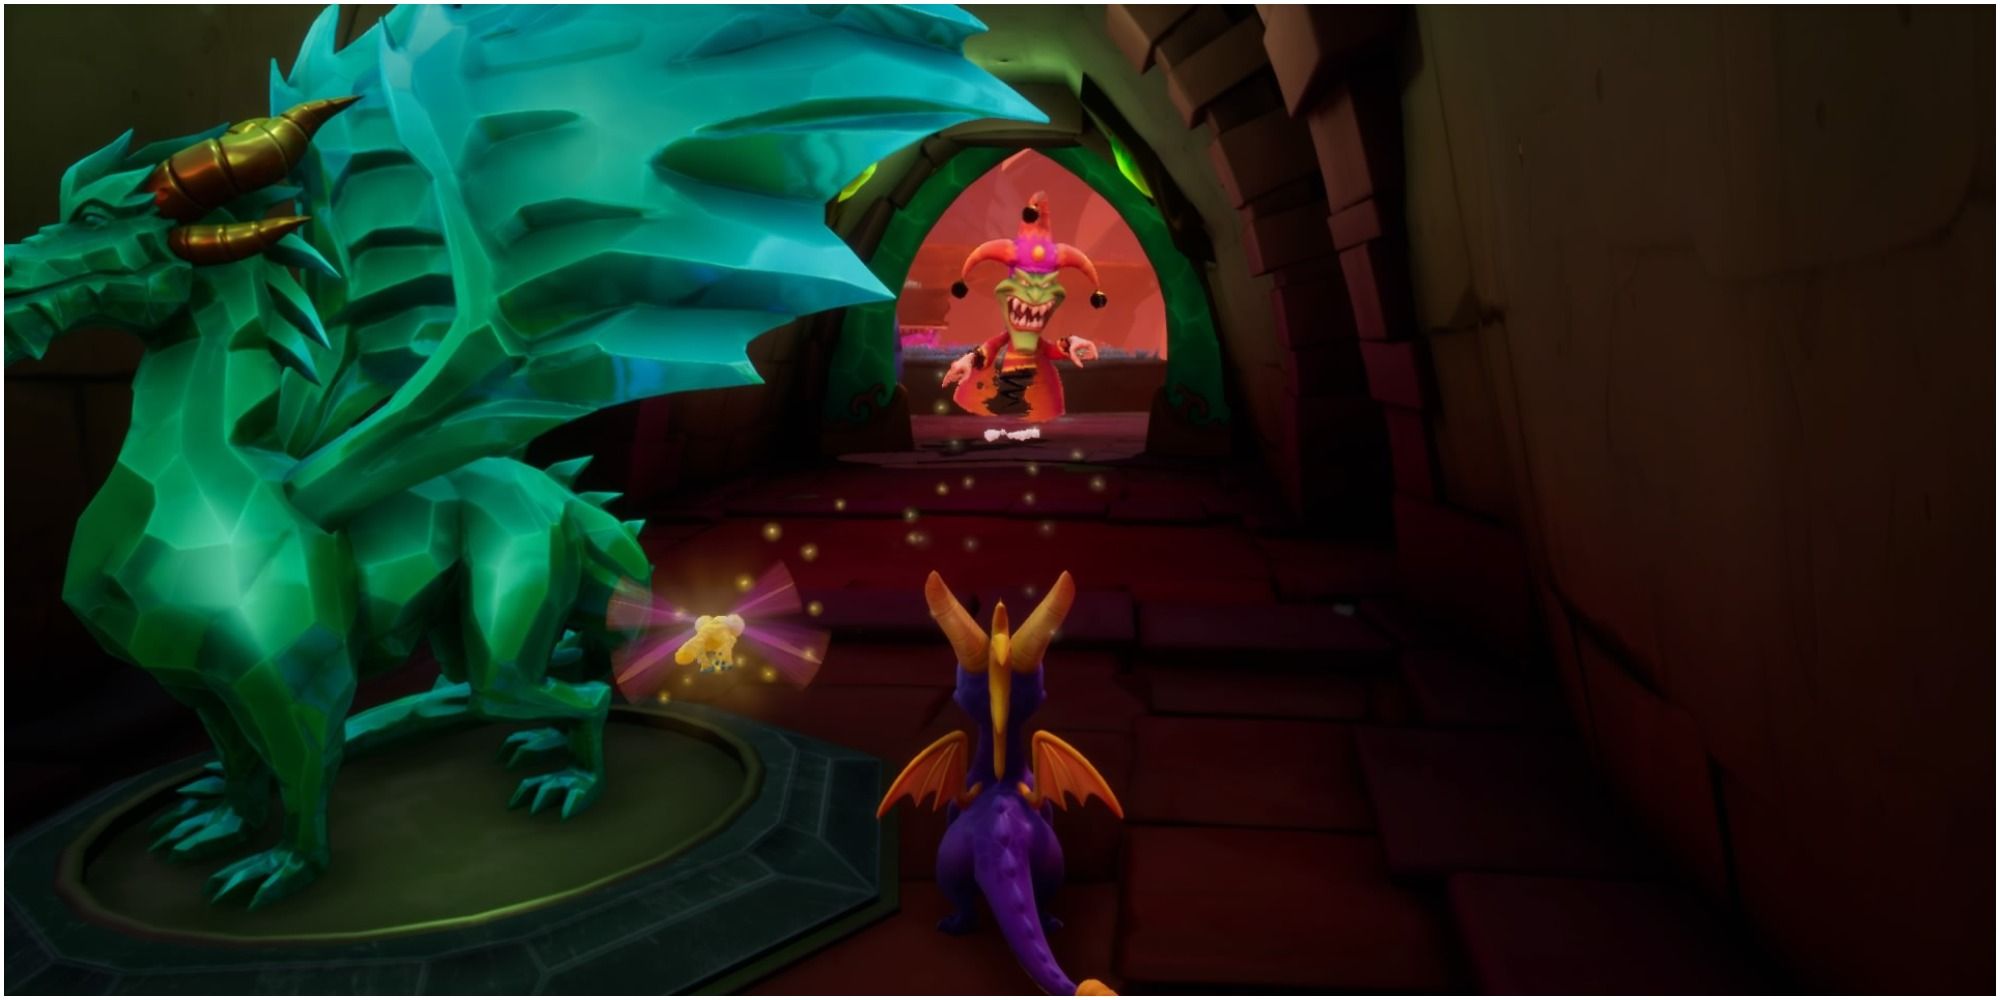
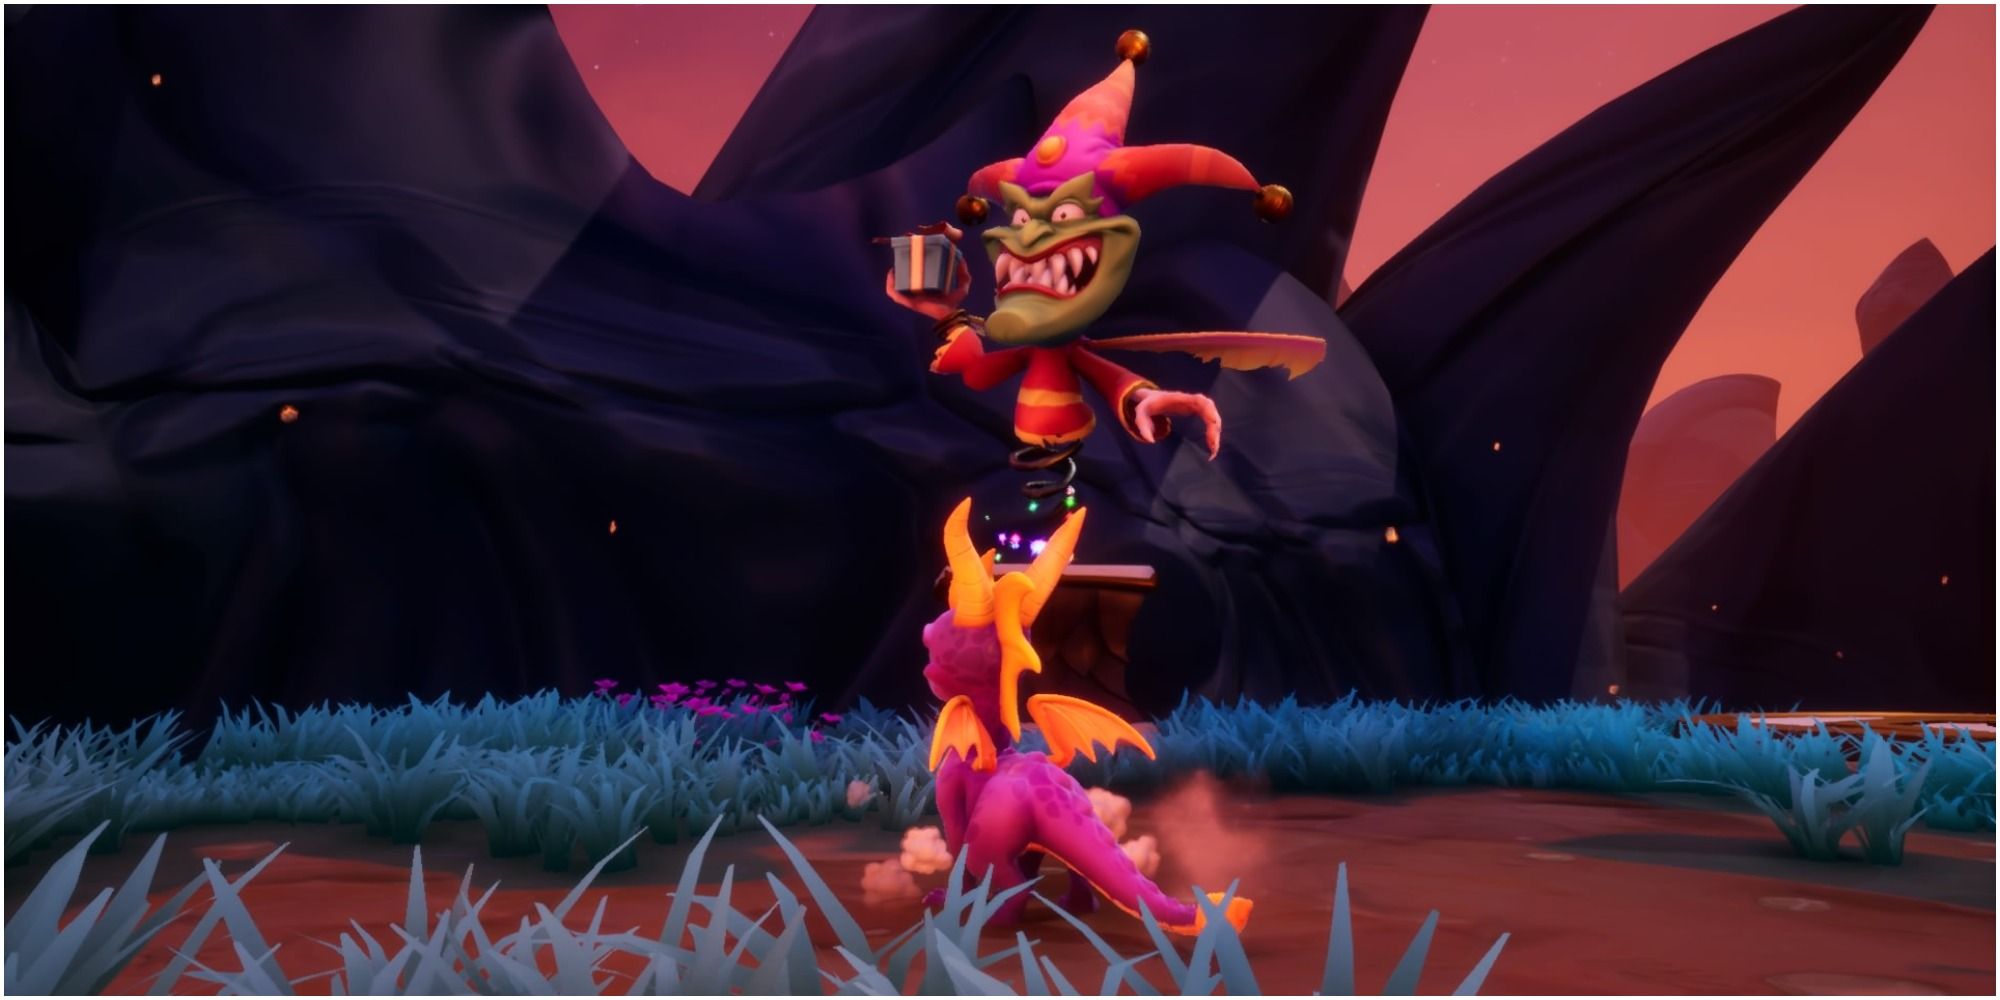
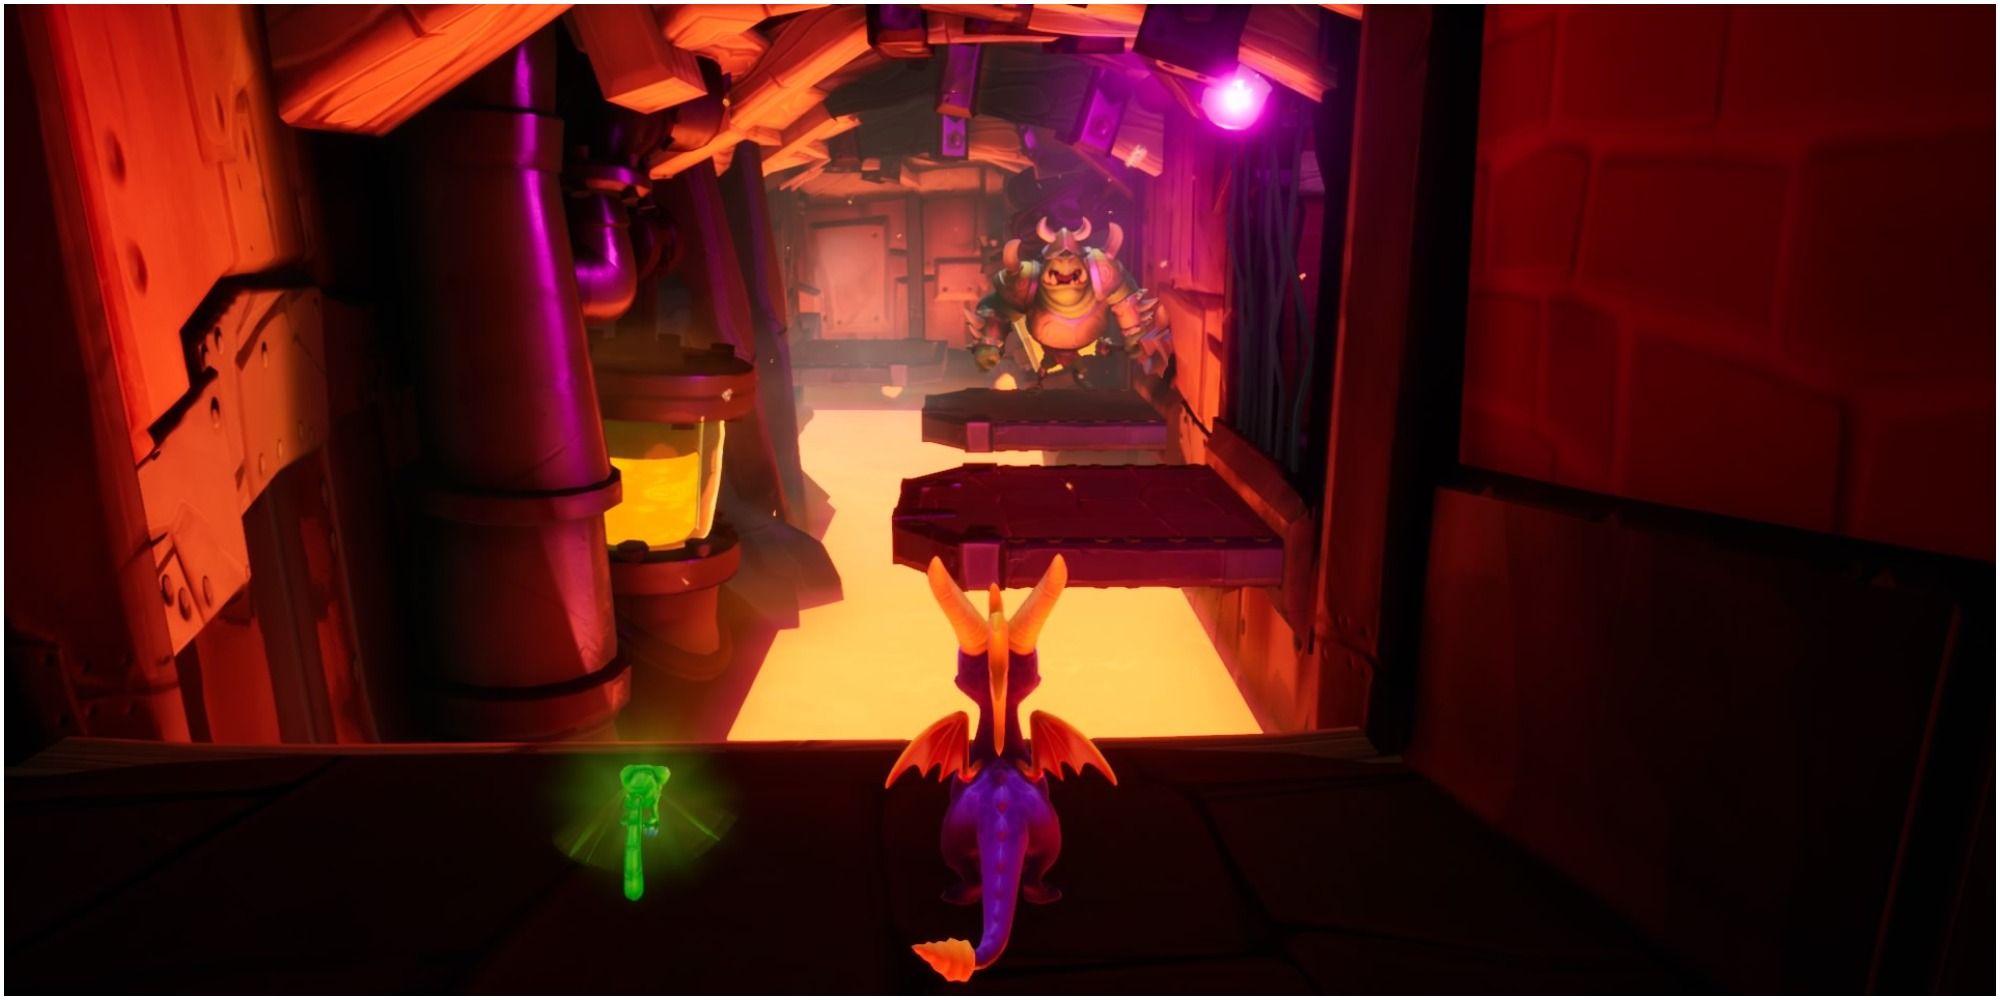
After freeing Revilo, Spyro can see quite honestly the scariest-looking boss in the game. Jaques's attacks are faster than any of the other bosses so far.
You'll need to move close to him an♔d then he will fly off.
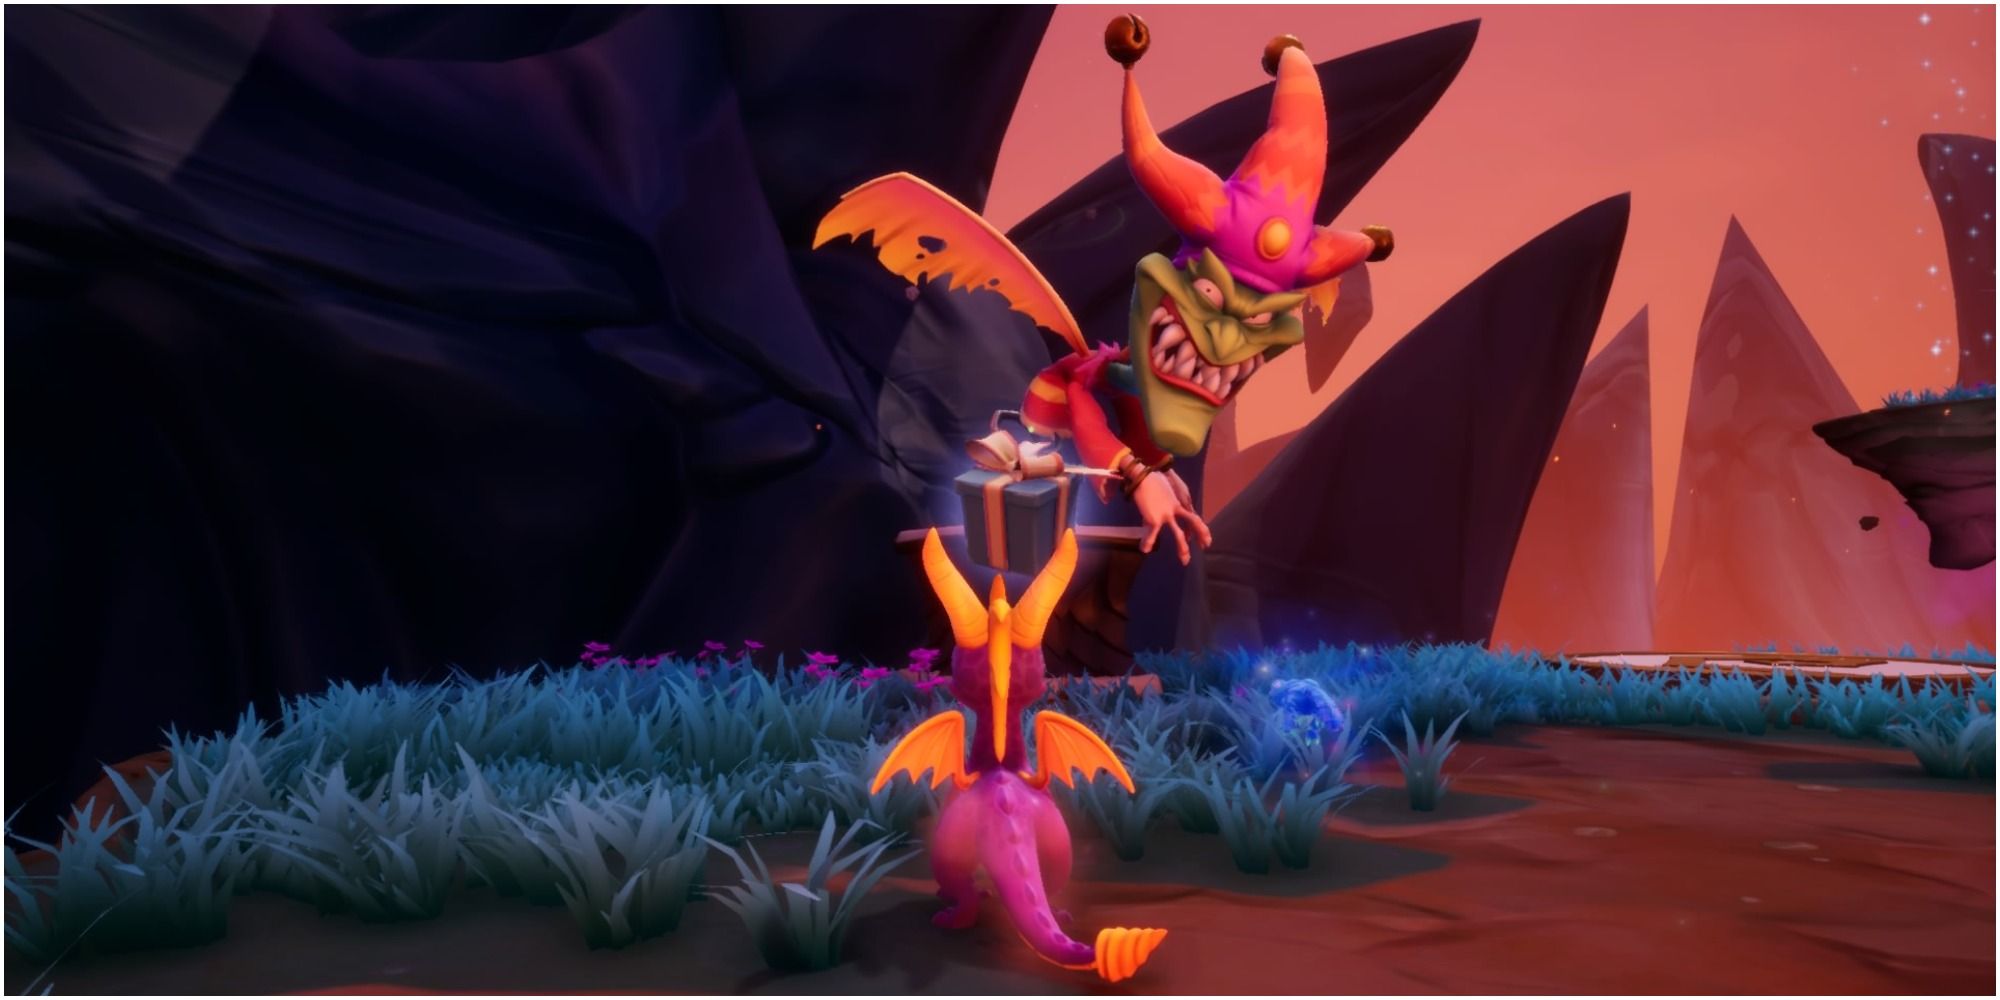
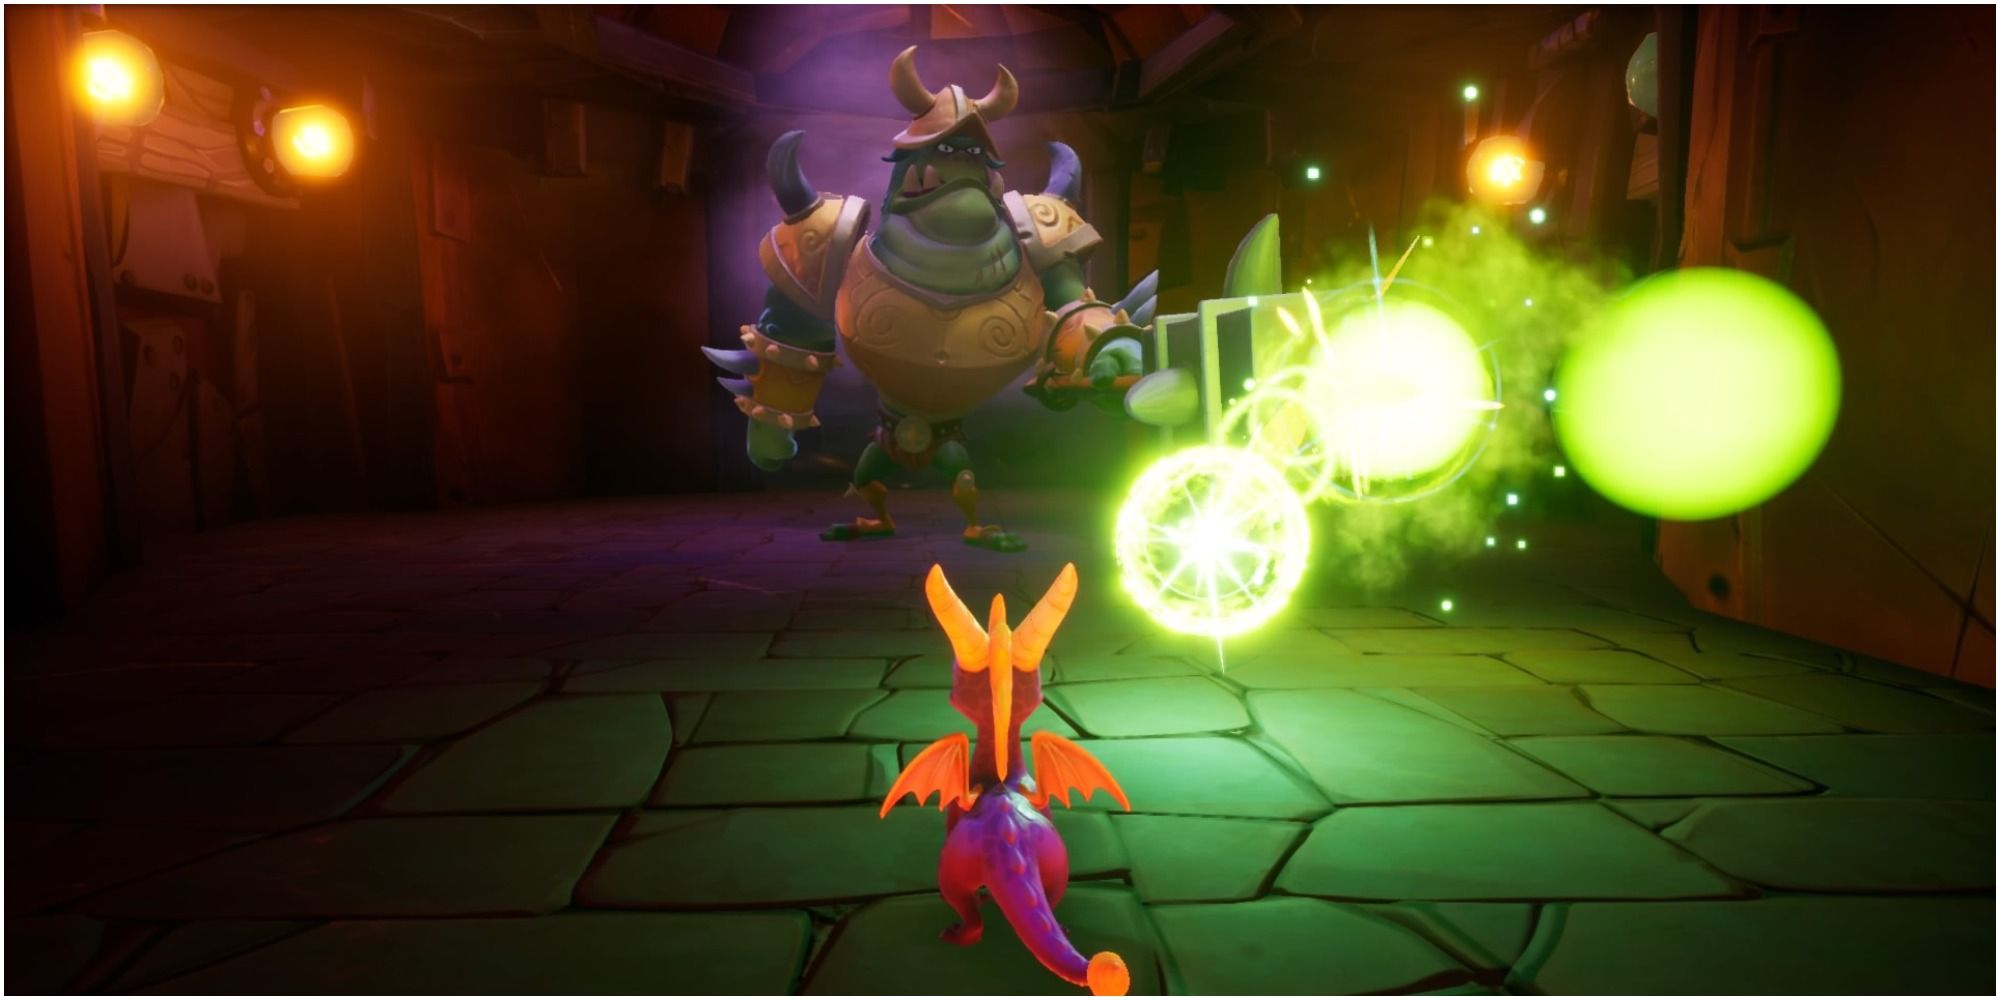
Phase One:
- You'll need to follow him until he stops on a square plinth (mimicking how a jack-in-a-box looks). He will stop here and throw boxes at Spyro.
- The easiest way to attack him is to jump and flame him whilst in front of him.
Jaques will then move off again and you'll need to follow him, ca𒅌refully navigating your way up the platforms.
Phase Two:
- He will again, stop on a square plinth and throw boxes.
- All you need to do is jump and flame, it's that easy.
He will now run off yet again. This time you'll need to use the🌟 magic tornado to get enough lift to glide over to Jaques.
Phase Three:
- He will bounce off and you must follow him until, once more, he stops on a square plinth.
- Attack him carefully as this plinth is on a very small platform.
If hit with a box, Spyro will fall off the platform and the boss will reset to the beginning again.
- Jumping and flaming Jaques one last time will do the trick.
Good riddance.
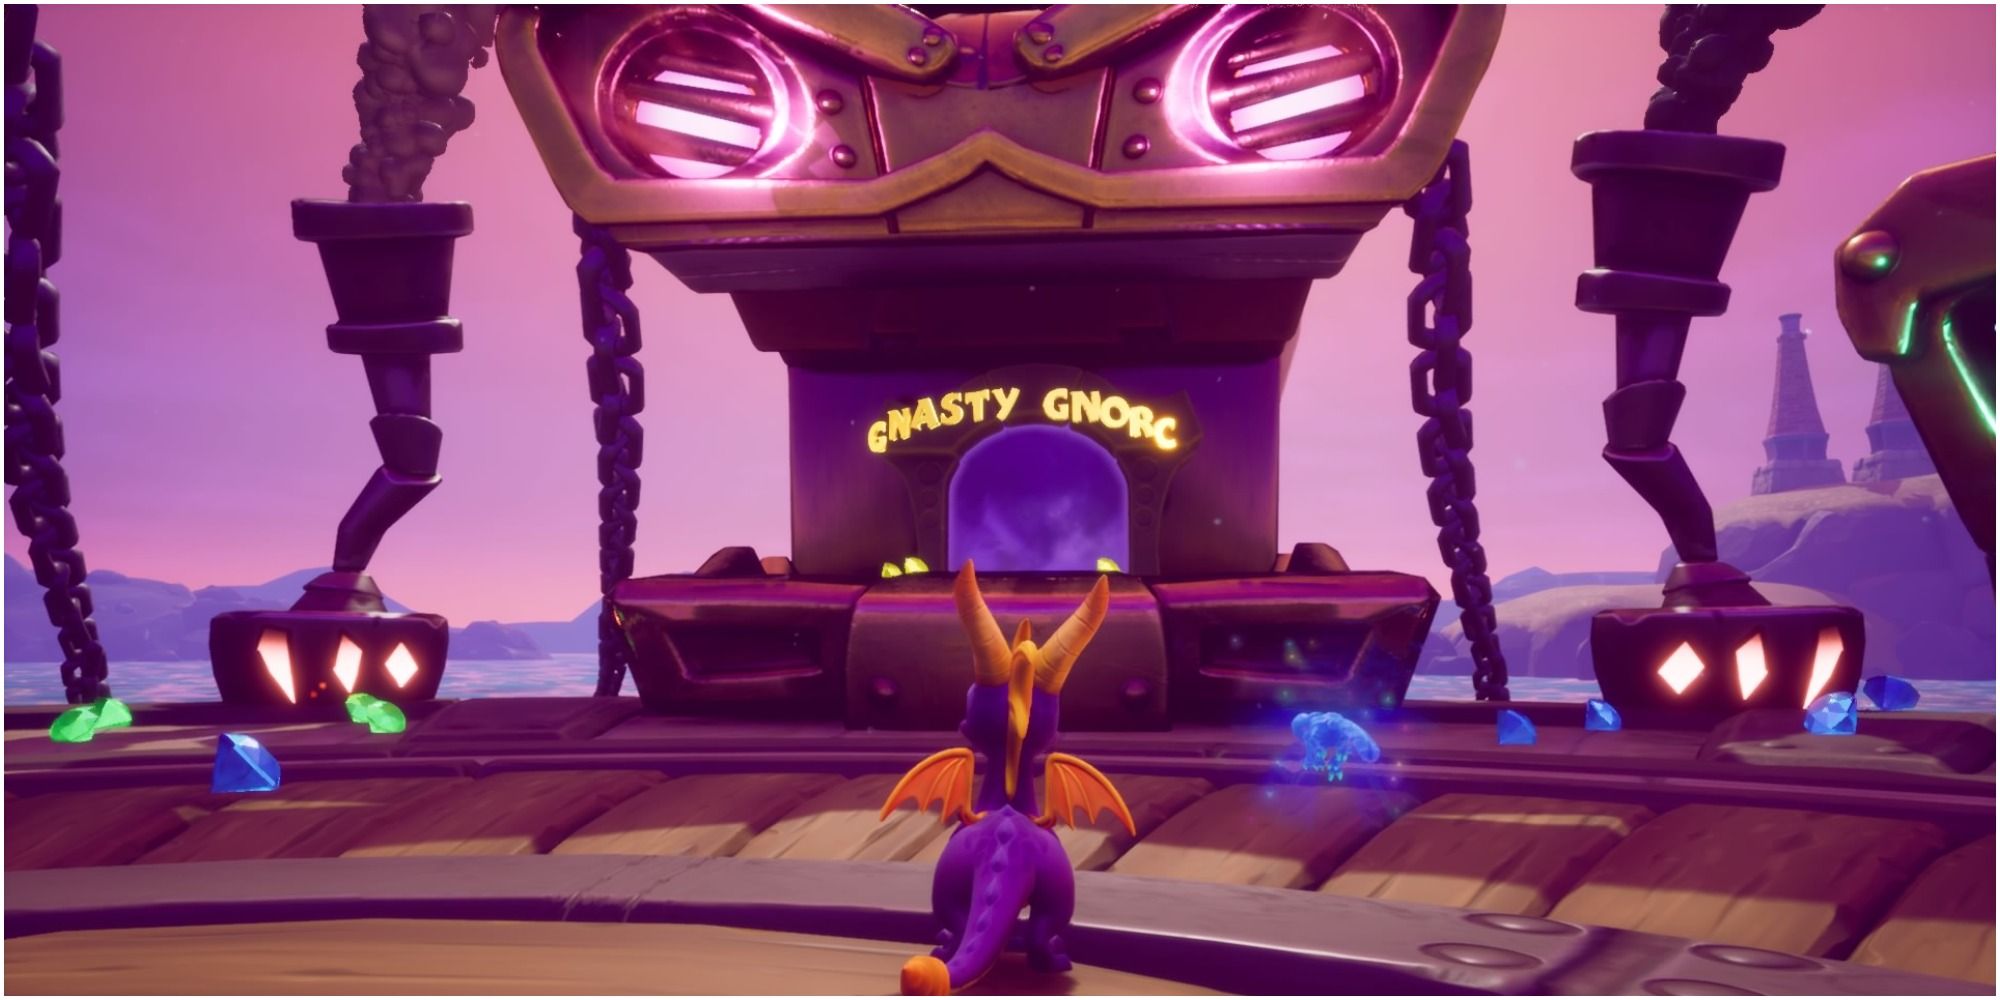
How To Beat Gnasty Gnorc - Gnasty's World
- A Word of Warning: If you die on this level then you'll have to do the entire thing again!
Finding Gnasty Gnorc
To be able to face Gnasty, Spyro must first reach the exits in Gnorc Cove and Twilight Harbor. Whe💦n you do this, the middle dragon's mouth will open and reveal the portal to Gnasty Gnorc.
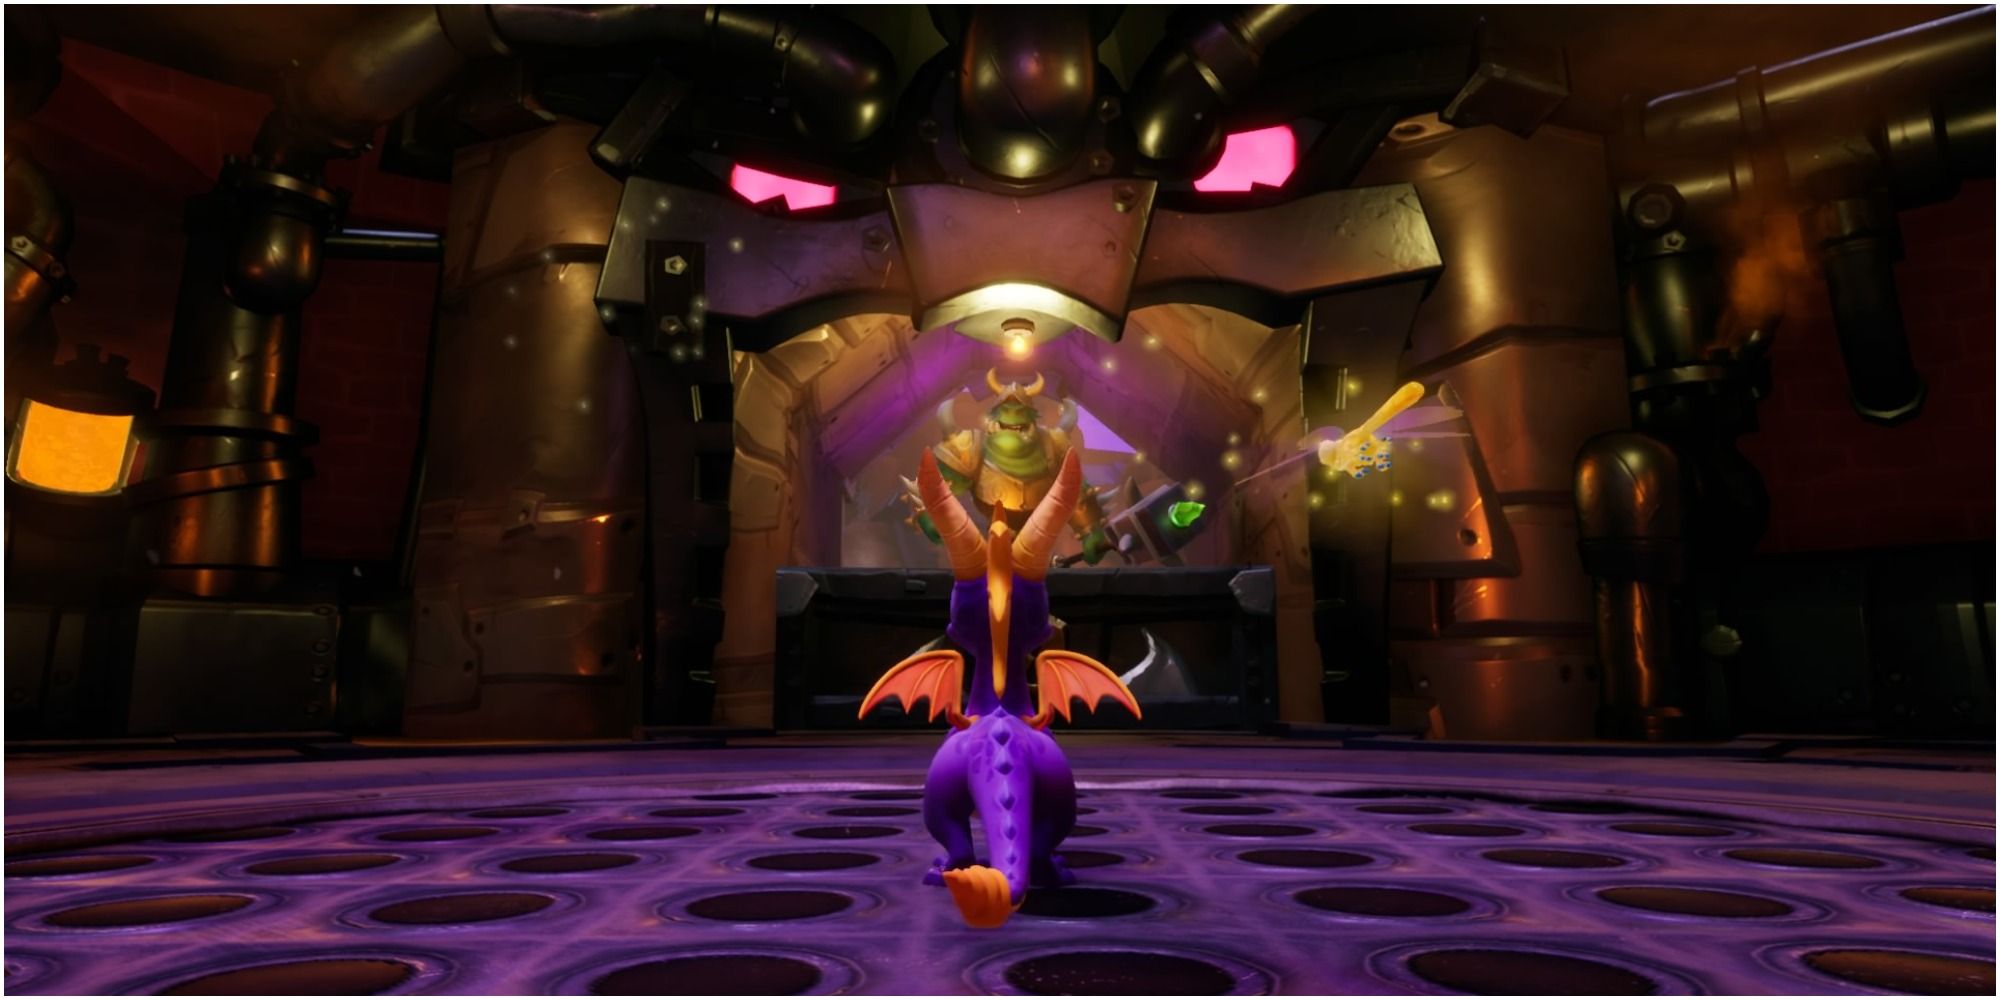
Fighting Gnasty Gnorc
Spyro is thrown into battle the moment he arrives. Gnasty will be stood on top of a higher platform and will start firing at you almost instantly. At first, there seems to be no way out but you should turn to their right and they will see a green thief holding a key.
- It's time to put all the charge practice to the test.
You need to charge and chase after the thief. It's a tricky chase with a lot of sudden twists in it.
- Once Spyro charges the thief they will drop the first key.
O𒊎nce Spyro has the key, you should quickly head to the main💎 room.

Then you'll need to swiftly run to ౠthe lo𝐆cked door that can be found to the right of where they saw the first thief.
- If you aren't quick enough, Gnasty's attacks will hit you
Once this door is unlocked, ta-da, it's another thief! The same rule applies as before - chase that thief down and they'll give up the key.
You'll now need to go back to the main room and charge towards where Gnasty is standing.
The last key will unlock the step and make it low enough for Spyro 🐼to be able to jump up onto it. This is where you can first confront Gna🎶sty properly.
- Gnasty will wait until Spyro is close and he will then run away.
- As tempting as it may be to charge straight after him, you should walk the chase the first time through.
Once you are comfortable with the route, then you can charge after Gnasty again. This area goes ꦿin a repetitive circuit, so you needn't worry if you don't catch up to him the first time.

Phase One:
- When you tail fairly close behind him, Gnasty will briefly wait on a platform.
- Flame him!
If the opportunity is missed, the chase will start again until he gets flamed.
Once flamed, Gnasty will run off to the right of the platform and through a previously inaccessible door. Once you follow him, you'll find him standing on a platform above lava.
You need to cross these platforms carefully and quickly.
- Once Spyro touches the platforms they start to slowly retract into the wall.
You should quickly but carefully make your way across a🥃ll of the🌠 platforms until you come face to face with Gnasty.
Phase Two:
- If Gnorc starts to attack Spyro, you can dodge by rolling or running out of the way.
- All you need to do is use the flame attack one last time.
That will spell the end of Gnasty ✱Gnorc, for now at least.